
If you have a sweet tooth but little time to spare, the Tiramisu Balls: Effortless No-Bake Delight in Just 10 Minutes Recipe is about to become your new best friend. Imagine that classic Italian tiramisu flavor transformed into little bite-sized treats that don’t require baking and take just minutes to put together. With creamy mascarpone, rich coffee-soaked lady fingers, and a dusting of cocoa, these tiramisu balls deliver all the indulgence with none of the fuss. Whether you’re whipping up a quick dessert for guests or just craving a luscious snack, this recipe promises a deliciously simple way to enjoy a beloved classic in an entirely new, fun format.
Ingredients You’ll Need
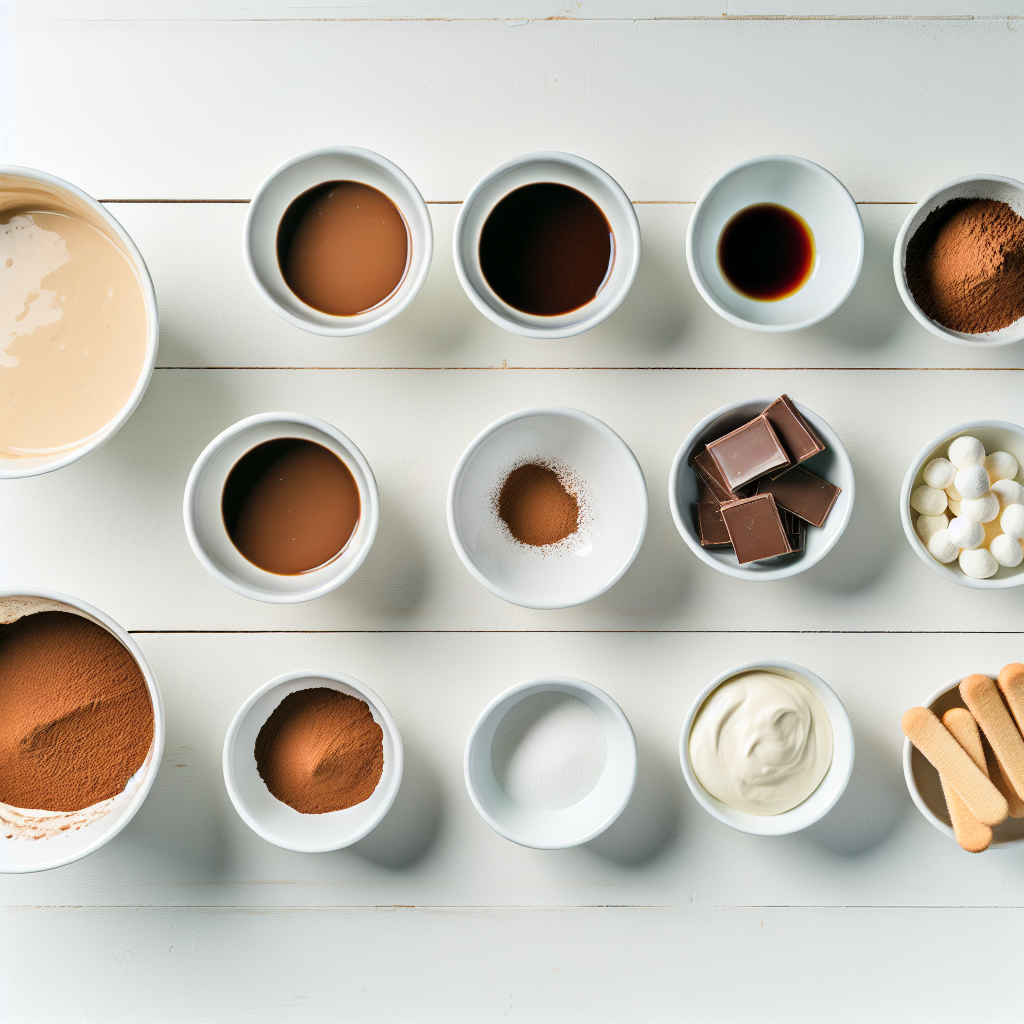
The beauty of this recipe lies in its simplicity—just a handful of essential ingredients come together to create a treat bursting with flavor and smooth texture. Each item plays a vital role, from the crispiness of the lady fingers to the indulgent creaminess of mascarpone cheese, ensuring every bite is a perfect balance.
- Lady Fingers (200 grams): Ensure they are dry and crisp for the best texture—these form the crumbly base.
- Mascarpone Cheese (250 grams): This creamy cheese lends the rich and velvety mouthfeel essential to tiramisu’s charm.
- Brewed Coffee (100 milliliters): Using espresso enhances authenticity with its robust coffee flavor.
- Cocoa Powder (30 grams): Classic for coating, it adds that bittersweet finish and complements the creaminess perfectly.
- Melted Chocolate (100 grams, optional): For an extra decadent touch, dipping the balls in chocolate creates a luscious outer shell.
- Sweetener (50 grams, optional): Adjust sweetness to your taste—perfect if you prefer your dessert a touch sweeter.
How to Make Tiramisu Balls: Effortless No-Bake Delight in Just 10 Minutes Recipe
Step 1: Pulse the Lady Fingers
Begin by breaking down your lady fingers into fine, crumbly bits. Using a mini food processor makes this quick and easy, creating the perfect base that will soak up all the creamy goodness later.
Step 2: Mix Ingredients Together
In a mixing bowl, combine those lady finger crumbs with luscious mascarpone cheese and freshly brewed coffee. Stir them gently but thoroughly until you get a smooth, sticky mixture that smells just like classic tiramisu.
Step 3: Shape Into Balls
Using a cookie scoop or spoon, portion out the mixture. Roll each portion between your palms until smooth and form small balls about an inch in diameter. This hands-on step is fun and relaxing—perfect for a quick kitchen activity.
Step 4: Chill to Firm Up
Place your tiramisu balls on a tray and pop them into the freezer for 15 to 20 minutes. Chilling helps them firm up, making them easier to coat and giving you a lovely texture when you bite in.
Step 5: Coat with Cocoa or Chocolate
Once chilled, roll each ball in a generous dusting of cocoa powder for that classic bittersweet kick. If you’re feeling indulgent, dip them into melted chocolate to create a rich, shiny coating. Both ways taste incredible, so feel free to mix and match!
Step 6: Refrigerate Until Serving
Store your finished tiramisu balls in the refrigerator until you’re ready to serve. This keeps them fresh and lets their flavors meld beautifully, giving you that authentic tiramisu experience in a bite-sized form.
How to Serve Tiramisu Balls: Effortless No-Bake Delight in Just 10 Minutes Recipe
Garnishes
Adding a garnish takes your tiramisu balls from delicious to downright irresistible. Sprinkle extra cocoa powder lightly over the top just before serving, or shave some dark chocolate for texture and flair. A few coffee beans or fresh mint leaves also add freshness and visual appeal.
Side Dishes
These tiramisu balls pair beautifully with a scoop of vanilla ice cream or a dollop of whipped cream to balance richness with a touch of coolness. For coffee lovers, serve alongside a freshly brewed espresso or cappuccino to enhance those deep coffee notes.
Creative Ways to Present
Serve these delightful treats on a decorative platter arranged in neat rows, or use mini cupcake liners for an elegant touch. You can even skewer a few balls on toothpicks for eye-catching tiramisu ball lollipops—a playful party favorite that’s sure to impress.
Make Ahead and Storage
Storing Leftovers
Leftover tiramisu balls keep wonderfully in an airtight container in the refrigerator for up to 3 days. Make sure they’re well covered to prevent them from drying out and to keep all those rich flavors locked in.
Freezing
If you want to prepare these treats in advance, you can freeze the balls after shaping but before coating. Place them on a baking sheet to freeze individually, then transfer to a freezer-safe container. They keep well for up to a month, perfect for last-minute dessert cravings.
Reheating
Because these are best enjoyed cold or chilled, heating isn’t recommended. However, if frozen, simply thaw them in the refrigerator overnight before serving. This method ensures the texture and flavors remain intact and delightful.
FAQs
Can I use a different type of cookie instead of lady fingers?
Absolutely! While lady fingers provide the classic tiramisu texture, you can experiment with sponge cake cubes or vanilla wafer cookies for a different twist, but the texture and flavor might slightly vary.
Is it necessary to use mascarpone cheese?
Mascarpone is key for that rich, creamy tiramisu flavor. If you can’t find it, blend cream cheese with a touch of heavy cream as a substitute, but mascarpone remains the top choice for authentic taste.
Can I make Tiramisu Balls vegan or dairy-free?
Yes, swap mascarpone for a dairy-free cream cheese alternative and ensure the lady fingers are egg-free. Use plant-based coffee creamer if desired, and you’ll have a vegan-friendly version that’s just as delicious.
How long do Tiramisu Balls need to chill before serving?
Chilling for at least 15-20 minutes helps the balls firm up and improves texture, but for even better flavor melding, refrigerate them for an hour before serving.
Can I adjust the sweetness in this recipe?
Definitely! The amount of sweetener is optional and can be adjusted to suit your palate. You can also add a bit of powdered sugar or honey if you prefer it sweeter or keep it subtle with just the natural flavors.
Final Thoughts
If you’re looking for a dessert that delivers classic tiramisu flavor without the fuss, do not hesitate to try this Tiramisu Balls: Effortless No-Bake Delight in Just 10 Minutes Recipe. These easy-to-make treats bring indulgence into your kitchen in a fun, bite-sized form. They’re perfect for last-minute guests, casual parties, or anytime your sweet tooth demands quick satisfaction. Give this recipe a go—you might just find a new favorite for your dessert repertoire!
Print
Tiramisu Balls: Effortless No-Bake Delight in Just 10 Minutes Recipe
- Prep Time: 10 minutes
- Cook Time: 0 minutes
- Total Time: 30 minutes (including chilling/freezing time)
- Yield: 12 servings
- Category: Dessert
- Method: No-Cook
- Cuisine: Italian
Description
These Tiramisu Balls offer a quick and easy no-bake dessert that captures the classic flavors of traditional tiramisu in bite-sized treats. Combining lady finger crumbs, creamy mascarpone, and espresso, these truffles are perfect for a delightful, effortless dessert ready in just 10 minutes plus chilling time.
Ingredients
Base Ingredients
- 200 grams Lady Fingers (dry and crisp for best texture)
- 250 grams Mascarpone Cheese (creamy richness)
- 100 milliliters Brewed Coffee (preferably espresso for authenticity)
Coating
- 30 grams Cocoa Powder (classic for coating)
- 100 grams Melted Chocolate (optional for a sweeter layer)
- 50 grams Sweetener (optional, adjust to taste)
Instructions
- Pulse Lady Fingers: Start by pulsing the dry lady fingers in a mini food processor until they become fine crumbs, creating the base texture.
- Combine Ingredients: In a mixing bowl, mix the lady finger crumbs with the mascarpone cheese and brewed coffee until well combined, forming a creamy mixture.
- Shape the Balls: Using a cookie scoop, portion out the mixture and roll into small balls about 1 inch in diameter to form individual servings.
- Chill to Set: Place the formed balls on a tray and put them into the freezer for 15-20 minutes to help them firm up and make rolling easier.
- Coat the Truffles: Roll the chilled balls in cocoa powder or powdered sugar, or dip them into melted chocolate for an optional sweeter coating.
- Refrigerate Until Serving: Keep your tiramisu balls refrigerated to maintain their texture and freshness until ready to serve.
Notes
- Use espresso for a richer, authentic coffee flavor.
- Adjust sweetener amount according to taste preference or omit if using sweetened lady fingers.
- Ensure lady fingers are fully dry and crisp for best crumb texture.
- Freeze time can be extended if you want firmer truffles.
- Store leftovers in an airtight container in the refrigerator for up to 3 days.
- For a decorative touch, sprinkle cocoa powder right before serving to avoid moisture absorption.


