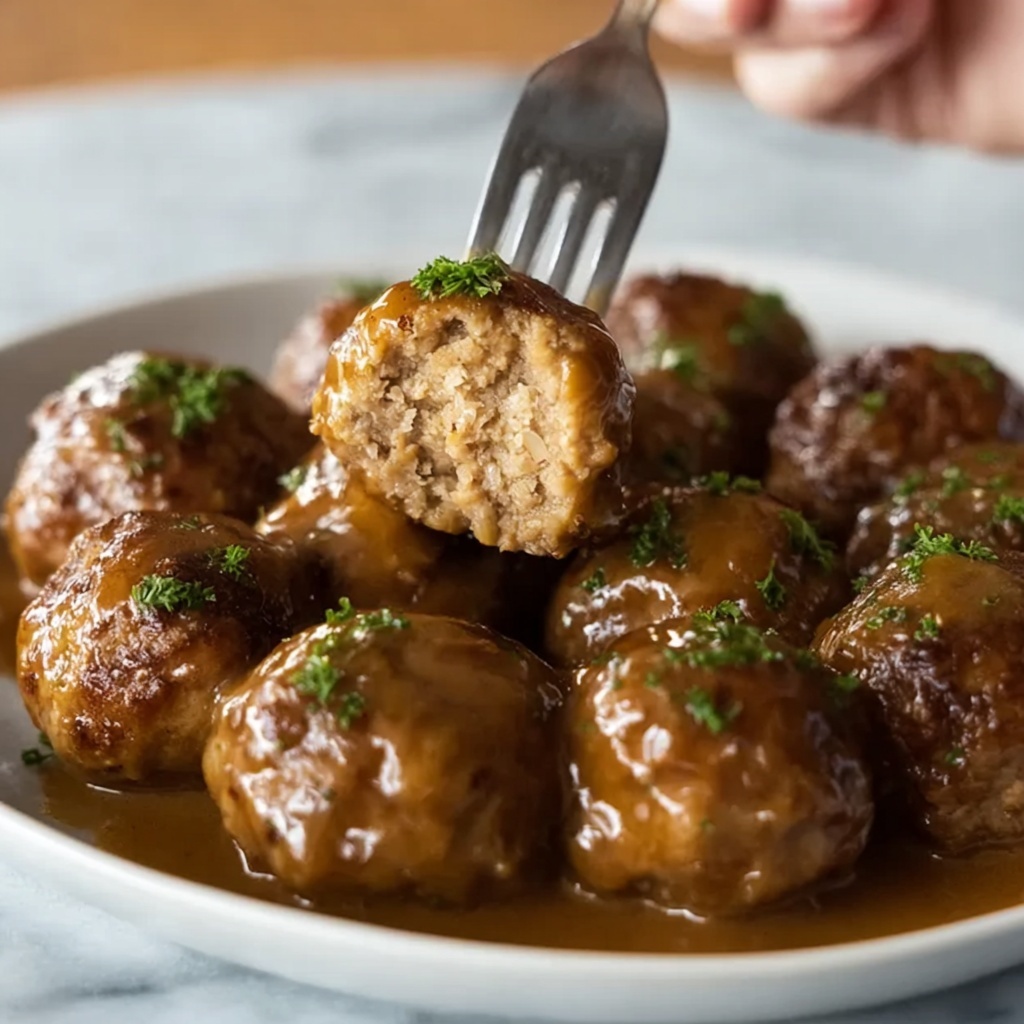
If you’re craving a new twist on classic holiday fare, this Thanksgiving Stuffing Balls Recipe is your golden ticket to a crowd-pleasing side dish that’s crispy on the outside and bursting with flavor inside. These delightful little bites take your beloved Thanksgiving stuffing, roll it into perfectly sized portions, and bake them until crispy and irresistible. Whether you’re aiming to impress family or just want a fun way to enjoy stuffing, these balls bring a fun, playful vibe to your table with every bite.
Ingredients You’ll Need
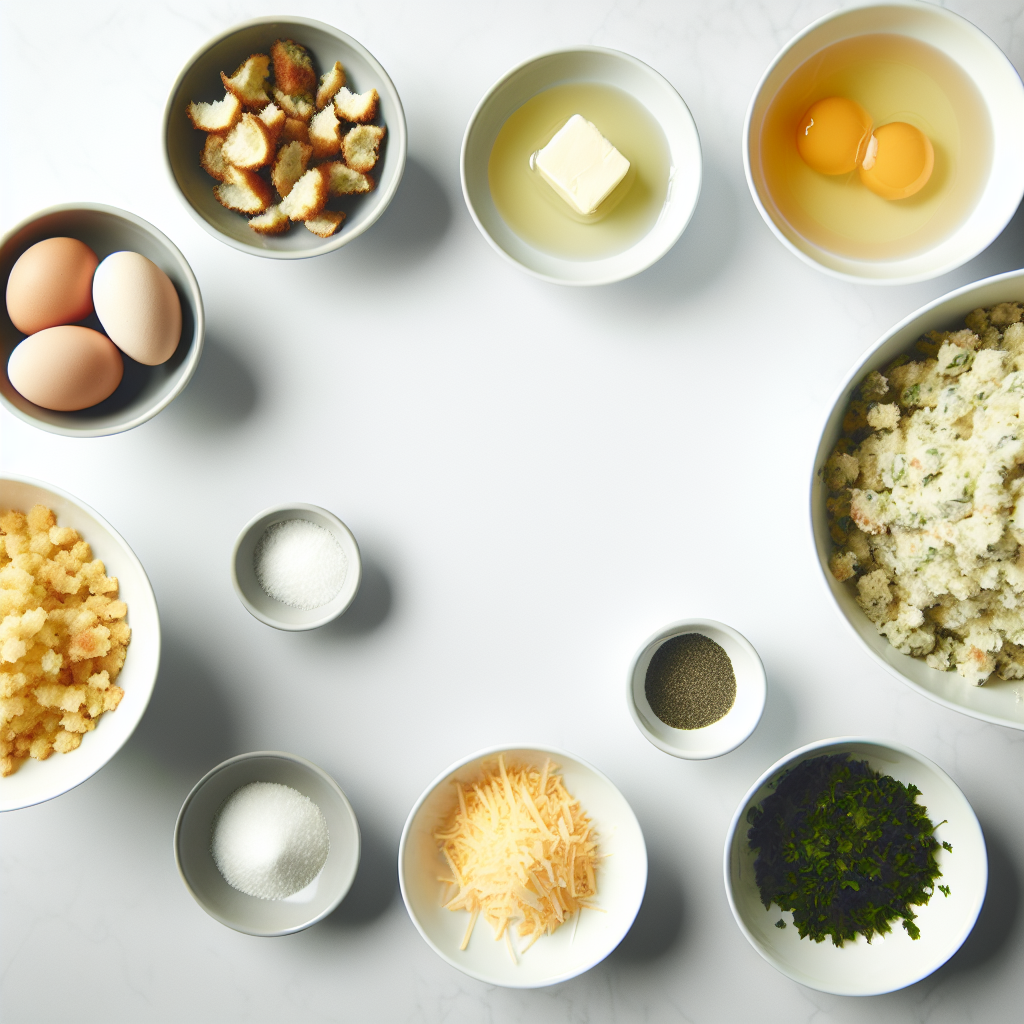
The magic behind the Thanksgiving Stuffing Balls Recipe lies in its simplicity and balance of ingredients. Each element adds something special, from the richness of the cheese to the fresh brightness of parsley, helping create that perfect harmony of taste, texture, and color.
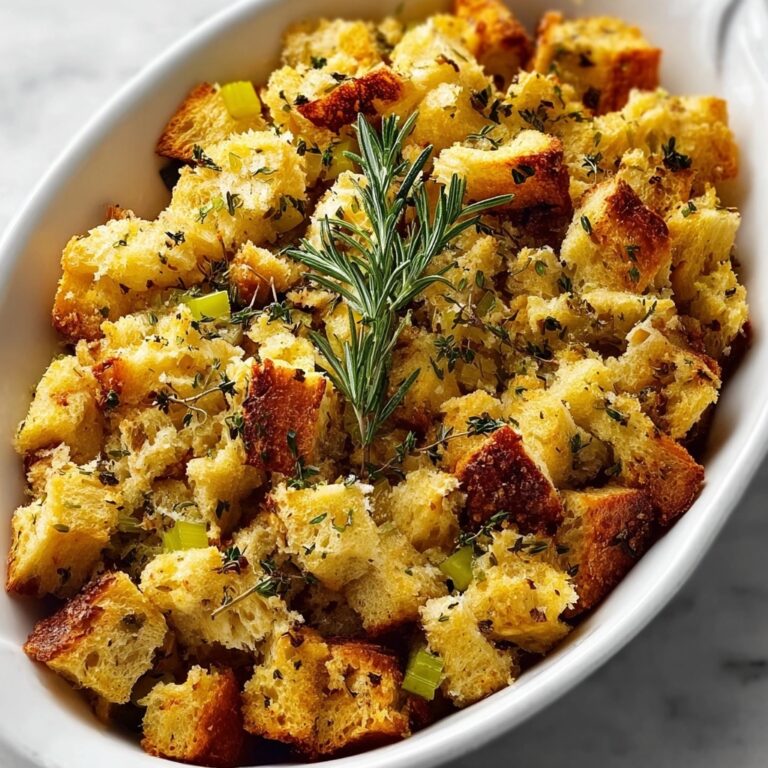
- 3 cups cooked stuffing: This is the hearty base that carries all the traditional flavors and textures you love.
- 2 large eggs: Eggs act as a natural binder, holding everything together for easy shaping.
- 1 cup grated cheddar or Parmesan cheese: Cheese adds a sharp, creamy flavor and helps create a lovely golden crust.
- 2 tablespoons fresh parsley, chopped: A fresh, green herb that brightens the dish and gives a pop of color.
- 2 tablespoons melted butter: Butter enriches the mixture with a silky mouthfeel and adds depth of flavor.
- 2 to 4 tablespoons chicken or vegetable broth: Adding broth helps keep the mixture moist and easy to mold.
- 1/2 teaspoon salt: Essential for balancing and enhancing all the flavors.
- 1/4 teaspoon black pepper: Adds a subtle spicy kick to round out the flavor profile.
How to Make Thanksgiving Stuffing Balls Recipe
Step 1: Prep Your Stuffing
Start by letting your cooked stuffing come to room temperature if it’s been refrigerated; this ensures it’s pliable and easy to work with. Break up any large clumps and place it in a large mixing bowl, setting the stage for all those fabulous flavors to mingle.
Step 2: Mix the Binding Ingredients
Next, add your eggs, grated cheese, freshly chopped parsley, melted butter, salt, and black pepper to the bowl with the stuffing. Mix everything thoroughly to combine, allowing each ingredient to weave into the stuffing, turning it into a rich, flavorful mixture ready for shaping.
Step 3: Adjust Moisture with Broth
If you notice your stuffing mixture feels dry or crumbly, gradually add chicken or vegetable broth—one tablespoon at a time—until the texture becomes moist enough to hold its shape. This step is key to achieving perfect, firm stuffing balls that won’t fall apart.
Step 4: Shape the Stuffing Balls
Now comes the fun part: rolling about two tablespoons of the mixture into compact balls. Place each formed ball on a baking sheet lined with parchment paper, spacing them evenly for that perfect bake and golden crust.
Step 5: Chill to Set
Pop the baking sheet into the refrigerator to chill for 20 to 30 minutes. This resting time helps the stuffing balls firm up, making them easier to bake so they retain their delightful shape and texture.
Step 6: Get Ready to Bake
Preheat your oven to 400°F, or if you have an air fryer, set it to 375°F. Having a hot oven or air fryer is crucial for turning these balls irresistibly crispy on the outside while keeping them tender and flavorful inside.
Step 7: Bake or Air Fry
Bake the balls for 20 to 25 minutes, flipping halfway through the process to ensure even browning. If using an air fryer, cook them for about 10 to 12 minutes, flipping halfway as well, until they turn a gorgeous golden brown and crisp up pleasingly.
Step 8: Cool and Serve
Let your Thanksgiving stuffing balls cool slightly before serving; this makes them easier to handle and lets the flavors settle perfectly. They’re fantastic served with gravy, cranberry sauce, or your favorite dipping sauce to kick the taste up a notch.
How to Serve Thanksgiving Stuffing Balls Recipe
Garnishes
Adding garnishes can elevate your stunning stuffing balls into a festive presentation. Sprinkle freshly chopped parsley or chives on top for a bright green pop, or add a light drizzle of herb-infused olive oil for that extra layer of flavor and shine.
Side Dishes
These stuffing balls pair beautifully with traditional Thanksgiving sides like roasted turkey, creamy mashed potatoes, or a fresh green bean casserole. Their crispy texture provides the perfect contrast to soft and comforting dishes.
Creative Ways to Present
Feel like getting creative? Serve your Thanksgiving Stuffing Balls Recipe on a wooden board alongside small dishes of cranberry sauce, gravy, or aioli for dipping. Or pop them on skewers for a fun appetizer platter that’s easy for guests to grab and enjoy.
Make Ahead and Storage
Storing Leftovers
If you have leftovers, store the stuffing balls in an airtight container in the refrigerator. They’ll keep well for up to 3 days, making for an easy reheat and snack that’s just as comforting the second time around.
Freezing
You can freeze unbaked stuffed balls by arranging them on a tray to freeze individually. Once solid, transfer them to a freezer-safe bag or container. They’ll keep their quality for up to 2 months, ready whenever you need a quick holiday-inspired treat.
Reheating
For the best reheated texture, pop your stuffed balls in a 350°F oven for 10 to 15 minutes or heat in an air fryer for a few minutes. This will crisp them back up without drying out the flavorful interior.
FAQs
Can I use store-bought stuffing for this recipe?
Absolutely! Store-bought stuffing works just fine for the Thanksgiving Stuffing Balls Recipe. Just ensure it’s not too dry and adjust the broth accordingly to help the mixture hold together.
Can I make these gluten-free?
Yes! Use gluten-free stuffing or homemade stuffing made with gluten-free bread, and ensure any broth or seasonings you use are gluten-free as well.
Can I bake these stuffing balls ahead of time?
You can shape and chill the balls a day before baking, but it’s best to bake them fresh just before serving for optimal crispiness.
What dipping sauces pair well with stuffing balls?
Cranberry sauce, turkey gravy, spicy aioli, or even a tangy mustard sauce all complement these stuffing balls wonderfully, enhancing their flavors with a burst of extra taste.
Can I air fry stuffing balls instead of baking?
Definitely! Air frying is a fantastic way to get an extra crisp exterior in less time. Just adjust the cooking time slightly to avoid overcooking and keep them tender inside.
Final Thoughts
Feel free to tuck this Thanksgiving Stuffing Balls Recipe away as your new favorite holiday side or appetizer. Its crispy, cheesy, comforting bite is a guaranteed crowd-pleaser that’ll bring smiles and happy sighs at any gathering. I promise you’ll find reasons to make these beyond the holidays because they’re just that delicious and fun!
Print
Thanksgiving Stuffing Balls Recipe
- Prep Time: 15 minutes
- Cook Time: 20 minutes
- Total Time: 40 minutes
- Yield: 16 servings
- Category: Side Dish
- Method: Baking
- Cuisine: American
Description
These Thanksgiving Stuffing Balls are a delightful twist on traditional stuffing, transformed into crisp, golden-brown bite-sized treats. Perfect as a side dish or appetizer, they combine savory herbs, cheese, and buttery richness for a scrumptious holiday addition.
Ingredients
Stuffing Mixture
- 3 cups cooked stuffing
- 2 large eggs
- 1 cup grated cheddar or Parmesan cheese
- 2 tablespoons fresh parsley, chopped
- 2 tablespoons melted butter
- 1/2 teaspoon salt
- 1/4 teaspoon black pepper
Moisture Adjustment
- 2 to 4 tablespoons chicken or vegetable broth (as needed)
Instructions
- Prepare Stuffing: Let the cooked stuffing come to room temperature if refrigerated. Break up any large clumps into smaller pieces and place them in a large mixing bowl to ensure an even mixture.
- Add Ingredients: To the stuffing, add the eggs, grated cheese, chopped parsley, melted butter, salt, and black pepper. Mix everything thoroughly until well combined, ensuring the eggs and cheese bind the stuffing together.
- Adjust Moisture: Check the texture of the mixture. If it feels dry or crumbly and doesn’t hold shape, gradually add chicken or vegetable broth one tablespoon at a time, mixing after each addition until the mixture becomes moist and moldable.
- Form Balls: Roll approximately 2 tablespoons of the mixture into firm balls; this size ensures a crispy exterior and tender inside. Place each ball evenly spaced on a baking sheet lined with parchment paper.
- Chill: Refrigerate the formed balls for 20 to 30 minutes. This chilling step helps the balls set and maintain their shape during cooking.
- Preheat Cooking Equipment: Preheat your oven to 400°F (204°C) or, if using an air fryer, preheat it to 375°F (190°C) to ensure even cooking and a crispy texture.
- Cook the Balls: Bake the stuffing balls in the oven for 20 to 25 minutes or air fry for 10 to 12 minutes. Be sure to turn them halfway through to achieve an evenly golden-brown and crispy exterior.
- Cool and Serve: Allow the stuffing balls to cool slightly on a wire rack before serving. They pair wonderfully with gravy, cranberry sauce, or your choice of dipping sauces for a festive touch.
Notes
- Using day-old stuffing or stuffing that has been refrigerated overnight works best to hold together.
- Adjust the broth quantity carefully; too much liquid can make the mixture too soft to shape.
- If desired, substitute cheddar cheese with Parmesan for a sharper flavor.
- These balls can be made ahead and refrigerated before cooking or frozen for longer storage.
- Turning the balls halfway during cooking ensures even browning and crispness.
- Serve warm for the best taste and texture.


