If you’ve ever dreamed of biting into a candy that perfectly balances sweet, buttery richness with a hint of salt, then this Salted Caramels Recipe is your new best friend. It captures that nostalgic, melt-in-your-mouth texture and the wow factor of a sprinkle of flaky sea salt on top. Whether you want to gift them, enjoy a little treat yourself, or impress guests with homemade candy, these salted caramels hit every note in the most delicious way possible.
Ingredients You’ll Need
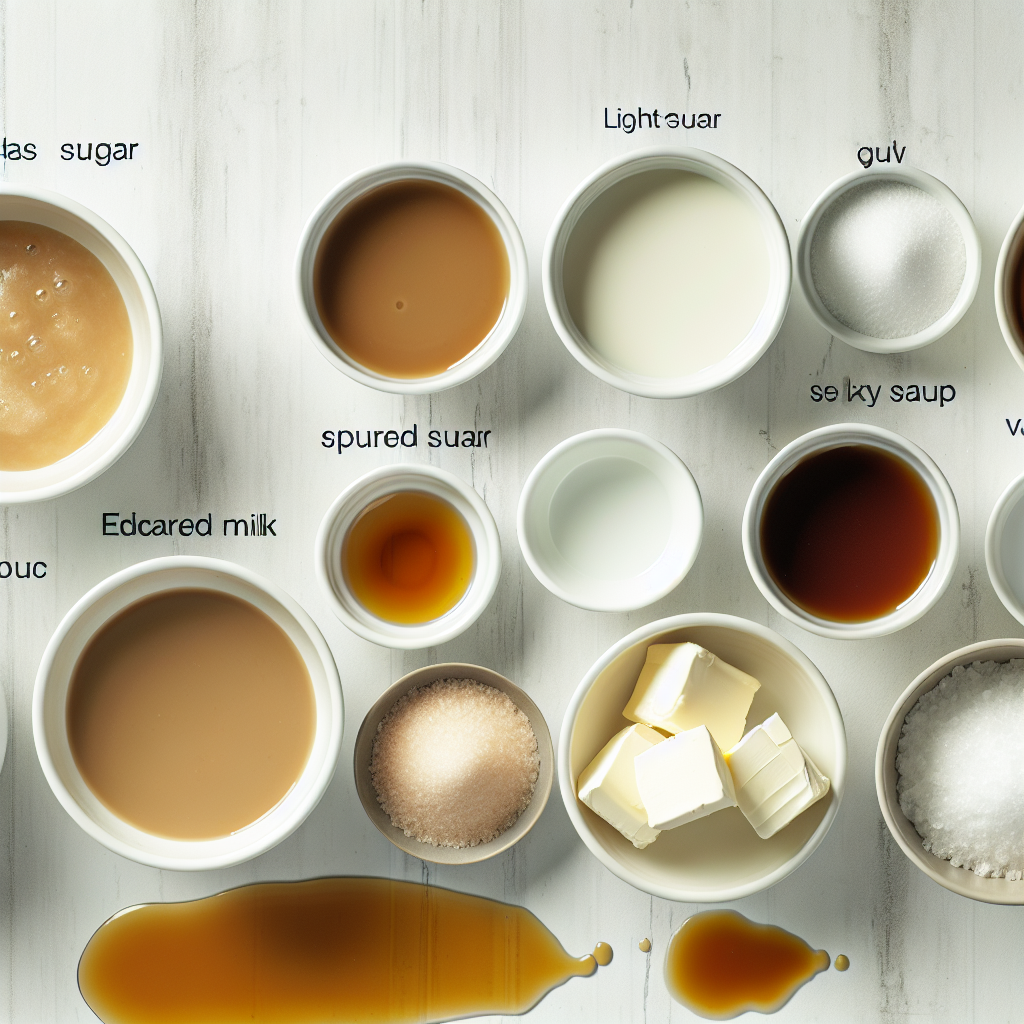
The magic of this Salted Caramels Recipe comes down to a handful of straightforward ingredients. Each plays a crucial role: sugars add sweetness and color, dairy provides creaminess, and the salt perfectly elevates the whole experience.
- Granulated sugar: Adds pure sweetness and helps achieve that perfect caramel color.
- Light brown sugar: Packed firmly to contribute subtle molasses richness and moisture.
- Evaporated milk: Gives depth and creaminess, enhancing the caramel’s smooth texture.
- Heavy cream: Essential for that luscious mouthfeel and luscious caramel flavor.
- Light corn syrup: Keeps the mixture smooth and prevents crystallization for a silky finish.
- Unsalted butter: Provides rich fat content that makes each bite indulgent.
- Fine sea salt: Blended right into the mixture to balance sweetness throughout.
- Vanilla extract: Adds warmth and depth to the caramel’s flavor profile.
- Flaky sea salt: Sprinkled on top to create delightful bursts of saltiness and texture.
How to Make Salted Caramels Recipe
Step 1: Prepare Your Pan
Begin by lining an 8×8-inch baking pan with parchment paper, then lightly butter or spray it to prevent sticking. This prep step ensures your caramels will come out easily once set without breaking or sticking to the pan’s surface.
Step 2: Combine the Ingredients
Next, gather all your sugars, evaporated milk, heavy cream, corn syrup, butter, and fine sea salt into a large, heavy-bottomed saucepan. Having everything measured and ready makes the cooking process smooth and stress-free.
Step 3: Heat the Mixture
Place the pan over medium heat and stir frequently until the butter has fully melted and the mixture becomes smooth and uniform. This step is important to dissolve all the sugars and combine the flavors before moving on.
Step 4: Cook to the Perfect Temperature
Attach a candy thermometer to the pan, making sure it doesn’t touch the bottom to avoid false readings. This is a waiting game—the mixture needs to reach 240–243°F (115–117°C), known as the firm-ball stage. Stir constantly as the mixture thickens. It can take 45 to 60 minutes, but patience here yields that perfect chewy texture.
Step 5: Cool and Add Finishing Touches
Remove the pan from heat and stir in the fragrant vanilla extract. Immediately pour the hot caramel into your prepared pan and smooth the top with a spatula. After about 10 minutes, sprinkle the flaky sea salt generously across the surface to create those amazing salty pops you’ll love.
Step 6: Cut and Wrap
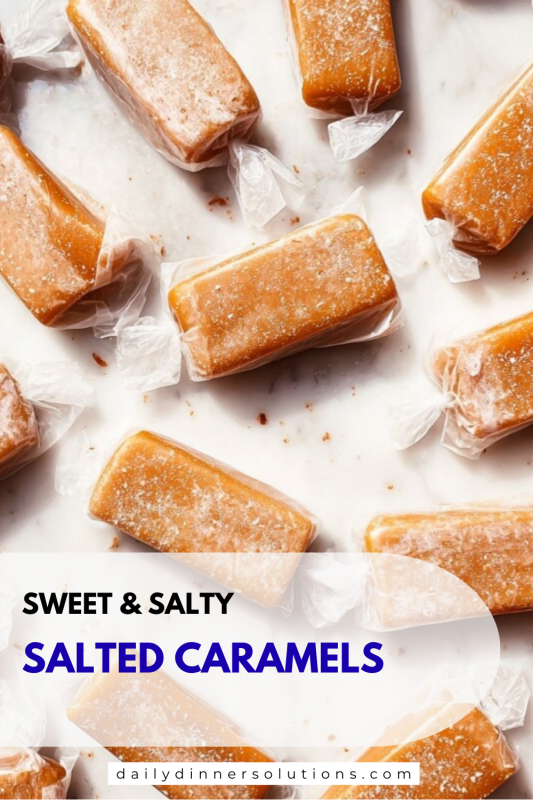
Allow the caramel to cool completely at room temperature for several hours or overnight. Once set, use a sharp knife to cut into squares or rectangles. Wrapping each piece in wax paper or cellophane will keep them fresh and ready for sharing.
How to Serve Salted Caramels Recipe
Garnishes
A little sprinkle of extra flaky sea salt right before serving amps up the flavor and adds texture. You can also dip one side of the caramels in dark chocolate for an added touch of decadence—it’s like taking the best of both worlds and making them one!
Side Dishes
Salted caramels pair beautifully with robust coffee or a creamy hot chocolate. They also make a fantastic sweet bite alongside a cheese board, especially with sharp cheddar or crumbly blue cheese, highlighting the salty-sweet flavor dance.
Creative Ways to Present
Try gifting your batch in a decorative tin or a glass jar tied with rustic twine—homemade salted caramels are heartwarming gifts that feel personal and thoughtful. For a party, arrange them on a pretty platter with edible flowers or festive sprinkles for a show-stopping centerpiece.
Make Ahead and Storage
Storing Leftovers
Keep your salted caramels in an airtight container at room temperature away from direct heat or sunlight. They’ll stay fresh and chewy for up to two weeks, making them an excellent treat to enjoy long after that initial batch.
Freezing
If you want to save them longer, you can freeze the individually wrapped caramels. Just pop them into a freezer-safe container or bag, and they’ll last for up to three months without losing their flavor or texture.
Reheating
Before enjoying frozen caramels, allow them to thaw to room temperature naturally. Avoid microwaving as this can alter the texture and make them overly sticky or hard. Softened naturally, they regain their perfect chewiness every time.
FAQs
What makes this Salted Caramels Recipe special compared to others?
The use of both granulated and brown sugar adds complexity to the flavor, while the slow cooking to the perfect temperature and finishing with flaky sea salt balances rich sweetness with just the right salty kick.
Can I use regular milk instead of evaporated milk?
Evaporated milk is preferred for its concentrated milk solids and creaminess, which greatly enhance texture and flavor. Using regular milk might result in a runnier caramel that won’t set as firmly.
How do I know when the caramel has reached the right temperature?
The best way is with a candy thermometer. When it hits between 240–243°F (115–117°C), you’ve reached the firm-ball stage, perfect for chewy caramels. This can take patience, so keep stirring and watch carefully!
Why does the recipe take up to an hour to cook?
Low and slow cooking allows the sugars to caramelize properly and develop deep flavor without burning. Rushing it risks a grainy texture or burnt taste, so trust the process for silky-smooth results.
Can I make this recipe vegan or dairy-free?
Traditional salted caramels rely heavily on dairy fats for texture and flavor, which makes substituting tricky. However, experimenting with coconut milk and vegan butter might work, but the texture and taste will be slightly different.
Final Thoughts
There’s something truly magical about homemade salted caramels that you just can’t get from store-bought treats. With this Salted Caramels Recipe, you’re not only making candy—you’re creating moments to savor, gift, and share with lots of love. Go ahead and give this recipe a try; I guarantee it’ll become your go-to for that perfect sweet and salty indulgence!
Print
Salted Caramels Recipe
- Prep Time: 10 minutes
- Cook Time: 50 minutes
- Total Time: 1 hour
- Yield: 50 servings
- Category: Dessert
- Method: Stovetop
- Cuisine: American
Description
Delicious homemade salted caramels featuring a smooth, creamy texture balanced with a perfect hint of sea salt. These indulgent treats are cooked slowly to the perfect temperature, then cooled and sprinkled with flaky sea salt for an irresistible finish. Perfect for gifting or satisfying your sweet tooth.
Ingredients
Caramel Ingredients
- 3/4 cup (150g) granulated sugar
- 3/4 cup (150g) light brown sugar, firmly packed
- 1 (12-ounce) can evaporated milk
- 1 1/2 cups (354ml) heavy cream
- 3/4 cup (255g) light corn syrup
- 1/2 cup (113g) unsalted butter
- 1 teaspoon fine sea salt
- 2 teaspoons vanilla extract
Topping
- Flaky sea salt, for topping
Instructions
- Prepare the pan: Line an 8×8-inch baking pan with parchment paper and lightly butter or spray it to prevent sticking. Set aside for later use.
- Combine ingredients: In a large heavy-bottomed saucepan, add granulated sugar, brown sugar, evaporated milk, heavy cream, corn syrup, butter, and fine sea salt.
- Heat mixture: Place the saucepan over medium heat and stir frequently as the butter melts and the mixture becomes smooth and well combined.
- Cook to temperature: Attach a candy thermometer to the side of the pan, ensuring it doesn’t touch the bottom. Stir constantly while cooking until the caramel reaches the firm ball stage temperature of 240–243°F (115–117°C). This process takes between 45 to 60 minutes, requiring patience and consistent stirring to prevent burning.
- Cool and set: Once the correct temperature is reached, remove the pan from heat and stir in the vanilla extract. Immediately pour the caramel mixture into the prepared baking pan and smooth out the top with a spatula. Let it sit for 10 minutes, then sprinkle evenly with flaky sea salt. Allow the caramel to cool completely at room temperature for several hours or overnight to set properly.
- Cut and wrap: After the caramel has fully set, use a sharp knife to cut it into desired shapes or bite-sized pieces. Wrap each piece individually in wax paper or cellophane wrappers to keep fresh and make them easy to share or gift.
Notes
- Slow and constant stirring is crucial to prevent caramel from burning.
- Use a heavy-bottomed pan to ensure even heat distribution.
- Make sure the candy thermometer does not touch the pan bottom to get an accurate temperature reading.
- Store caramels in an airtight container at room temperature for up to two weeks.
- If the caramel is too soft after cooling, refrigerate briefly before cutting.
- Flaky sea salt topping enhances the balance of sweet and salty flavors.