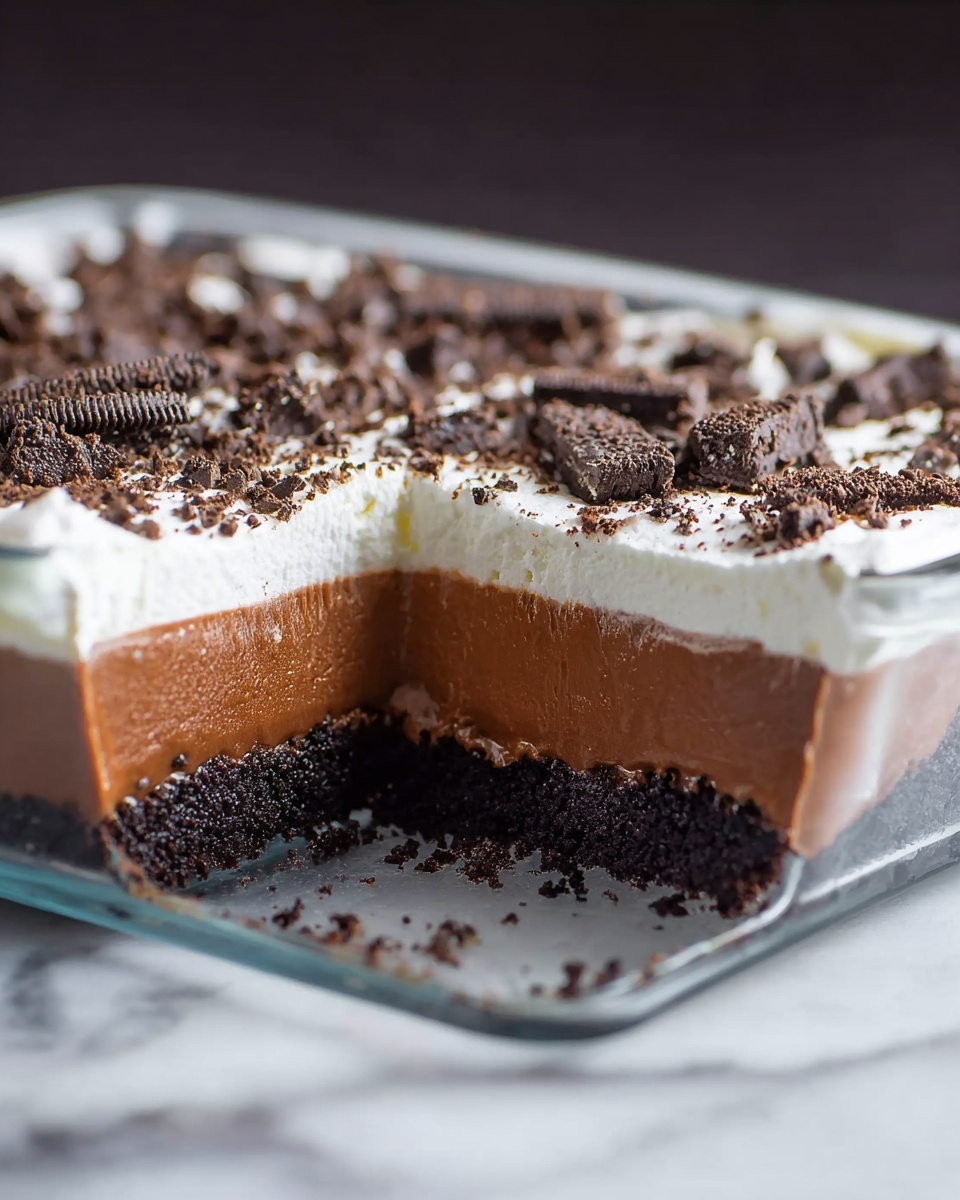
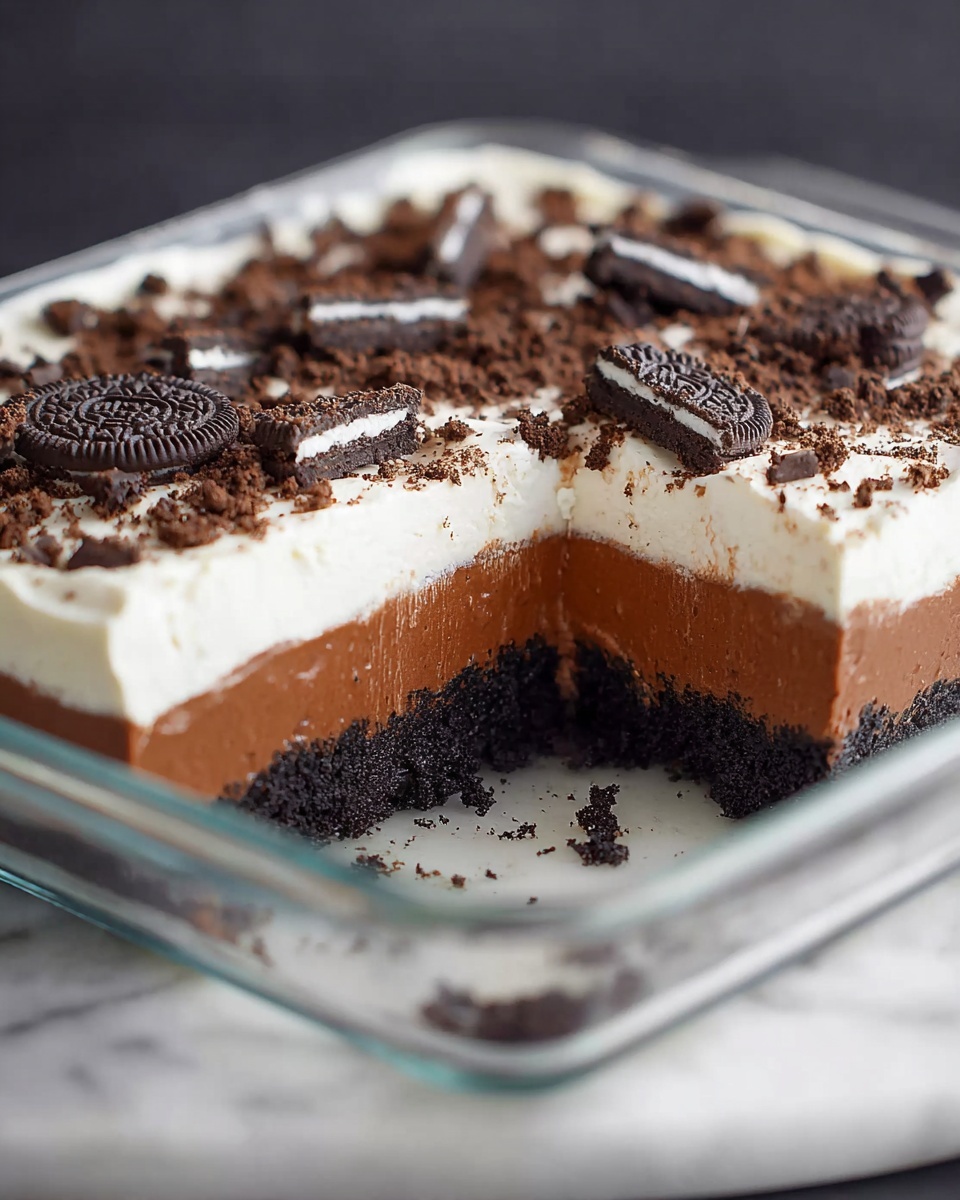
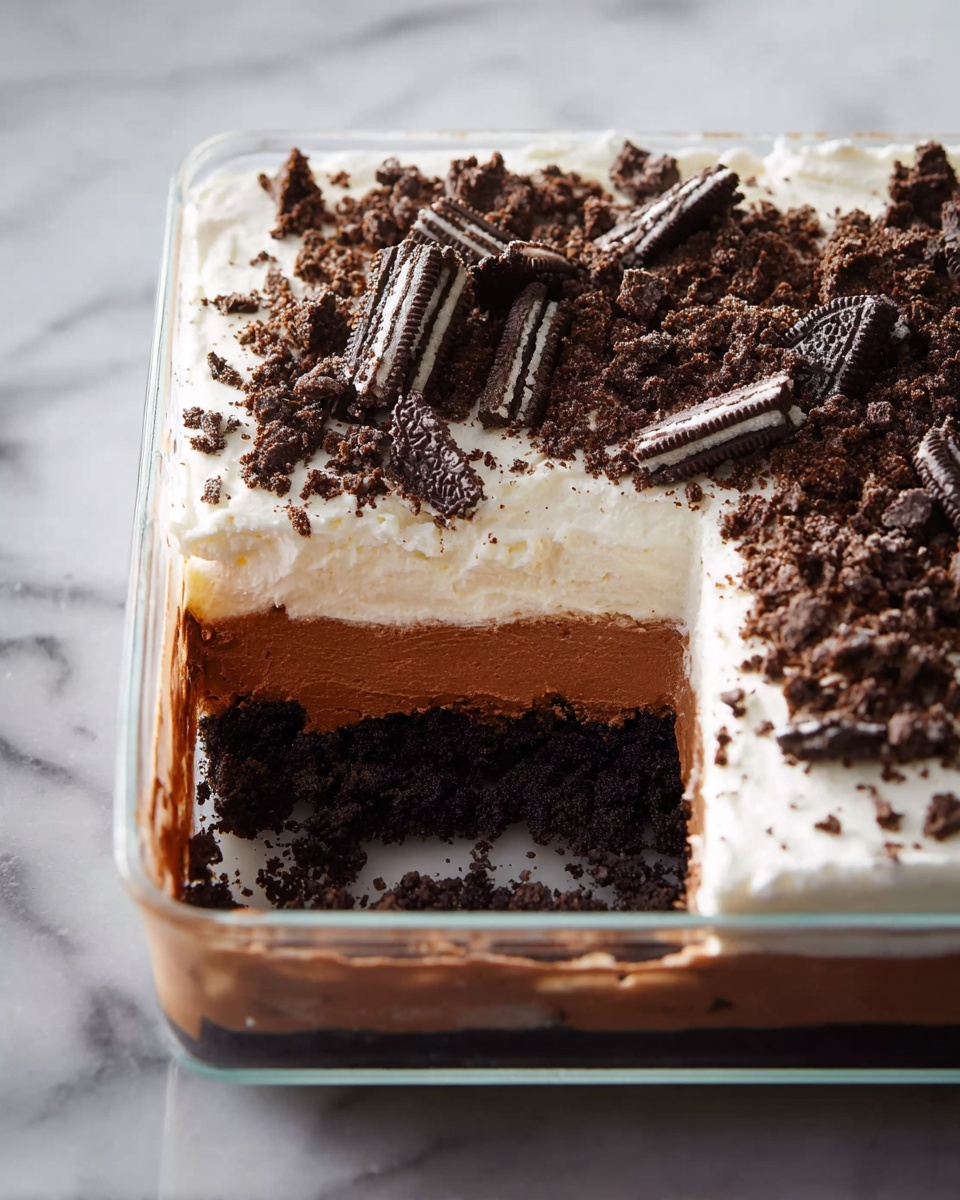
If you are craving a dessert that combines the classic crunch and rich flavor of Oreos with an irresistibly creamy texture, the No Bake Heavenly Oreo Dessert Recipe is your new best friend. This delightfully simple yet decadent treat brings together layers of crushed Oreos, luscious cream cheese filling, and silky chocolate pudding, all topped with a fluffy whipped topping. Perfect for any occasion, this dessert requires no oven time and will quickly become a beloved staple in your recipe collection. Let me take you through every step so you can make your own slice of heaven at home!
Ingredients You’ll Need
The ingredients for this dessert are wonderfully straightforward but each plays a key role in bringing the perfect balance of flavor, texture, and color. From the classic Oreo cookie base to the creamy layers and chocolatey richness, every component contributes to a harmonious blend that feels both comforting and indulgent.
- Oreo cookies (14.3 oz package): For the essential chocolatey crunch that forms the crust and a tasty topping.
- Unsalted butter (1/2 cup, melted): Helps bind the crushed Oreos together into a firm yet tender crust.
- Cream cheese (8 oz, softened): Adds richness and a tangy smoothness to the creamy layer.
- Powdered sugar (1 cup): Sweetens the cream cheese layer without graininess.
- Whipped topping (8 oz, thawed): Provides lightness and fluffiness that balances the denser layers.
- Instant chocolate pudding mix (two 3.9 oz packages): Brings a rich, velvety chocolate layer with minimal effort.
- Cold milk (3 cups): Essential for the pudding to reach that perfect, creamy consistency.
- Additional crushed Oreos or chocolate shavings (optional): For a beautiful, crunchy garnish.
How to Make No Bake Heavenly Oreo Dessert Recipe
Step 1: Prepare the Oreo Crust
Begin by crushing your Oreo cookies — either blitz them in a food processor or place them in a sturdy zip-top bag and crush with a rolling pin. Set aside about half a cup of these crumbs for the topping. Then, mix the majority of the crushed Oreos with melted butter until well combined; this mixture forms your flavorful crust. Press it firmly into the base of your 9×13-inch dish and chill for 10 minutes to set. This crust is the perfect sturdy base that still melts in your mouth.
Step 2: Make the Cream Cheese Layer
In a large bowl, beat together the softened cream cheese and powdered sugar until smooth, creamy, and fluffy — this gives your dessert a luscious texture. Gently fold in half of your whipped topping to lighten this layer even more. Spread this gorgeous cream cheese mixture evenly over the cooled Oreo crust for a tangy, velvety contrast to the chocolate base.
Step 3: Prepare the Chocolate Pudding Layer
Whisk together the instant chocolate pudding mixes with the cold milk. Stir until the pudding thickens, which usually takes about 2 minutes — it’s magical how fast this happens! Carefully spread this rich and silky chocolate layer over the cream cheese. The pudding adds a decadent chocolate punch that pairs perfectly with the tangy cream cheese.
Step 4: Add the Whipped Topping and Garnish
Top your dessert with the remaining whipped topping, smoothing it out into an even, cloud-like finish. Finally, sprinkle the reserved crushed Oreos or chocolate shavings over the top — this not only adds extra Oreo crunch but also makes your dessert look absolutely irresistible. Refrigerate the entire dish for at least 4 hours or ideally overnight, allowing the layers to set and flavors to meld together beautifully.
How to Serve No Bake Heavenly Oreo Dessert Recipe
Garnishes
For an eye-catching presentation, sprinkle extra crushed Oreos or chocolate shavings on top as a garnish. You can also add mini chocolate chips or dollops of whipped cream for added flair and texture. These little touches elevate the dessert and make it appear as special as it tastes.
Side Dishes
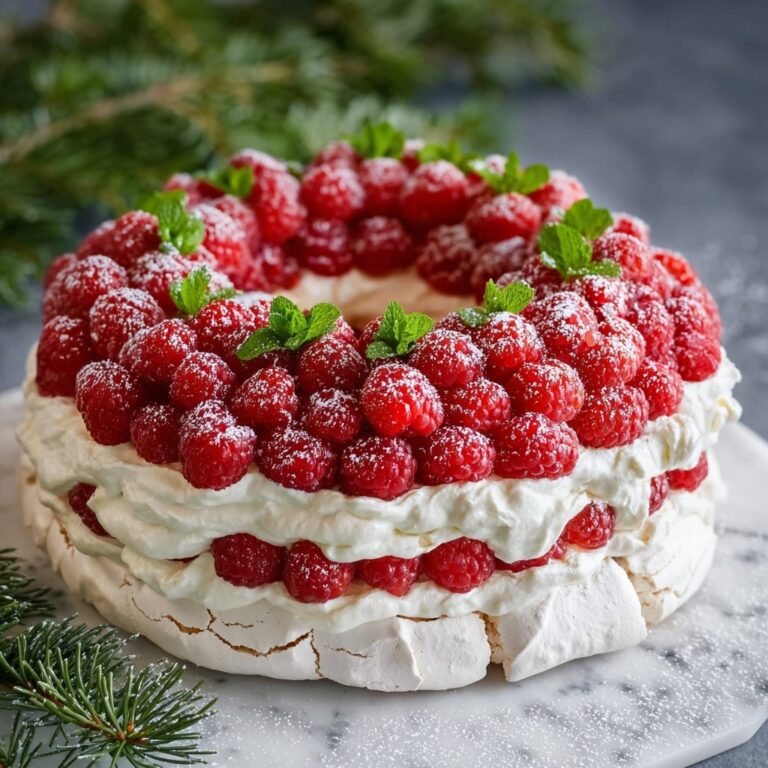
This dessert pairs wonderfully with fresh berries like raspberries or strawberries, whose tartness complements the sweetness of the Oreo layers. You may also serve it alongside a scoop of vanilla ice cream or a drizzle of caramel sauce for added indulgence and to impress your guests with variety.
Creative Ways to Present
Want to jazz things up for a party? Try serving the No Bake Heavenly Oreo Dessert Recipe in individual clear cups or mason jars to showcase its beautiful layered design. You can also cut it into smaller squares and serve on decorative platters with garnish options on the side so everyone customizes their own portion.
Make Ahead and Storage
Storing Leftovers
Any leftovers should be tightly covered and stored in the refrigerator. Because this dessert is chilled and includes dairy, it stays fresh for up to 3 days. Just remember to keep it well sealed to avoid absorbing other fridge odors and to maintain its creamy texture.
Freezing
If you want to store it longer, wrap the dessert securely with plastic wrap and aluminum foil before placing it in the freezer. It freezes well for up to 1 month. When you’re ready to enjoy it again, thaw it overnight in the refrigerator to preserve its consistency and taste.
Reheating
This dessert is best served cold, so reheating is not recommended. Simply take it out of the fridge a few minutes before serving if you want it slightly less chilled but avoid warming it to keep the texture perfect and the layers distinct.
FAQs
Can I use a different type of cookie instead of Oreos?
Absolutely! While classic Oreos provide that iconic flavor and texture, you can experiment with other chocolate sandwich cookies or even chocolate chip cookies for a different twist that still works beautifully.
Do I need to use instant pudding mix, or can I make pudding from scratch?
Instant pudding mix is what makes this recipe super quick and easy, but if you prefer, you can make homemade chocolate pudding from scratch. Just keep in mind that it may change the texture slightly and require cooling time before layering.
Can I make this dessert vegan or dairy-free?
With some smart swaps like vegan cream cheese, dairy-free whipped topping, and plant-based milk, you can absolutely adapt this dessert to be vegan or dairy-free. Just be sure to pick Oreo-like cookies that fit your dietary needs.
How long does it take to set in the refrigerator?
For the best texture and flavor, refrigerate the dessert for at least 4 hours. Overnight chilling really allows the layers to firm up nicely and blend all those delicious tastes.
Is this dessert suitable for kids?
Definitely! Kids adore the sweet creamy layers and chocolate flavor, plus no baking means it’s easy to get them involved in the preparation, too.
Final Thoughts
I truly hope you give this No Bake Heavenly Oreo Dessert Recipe a try because it’s one of those recipes that brings pure joy with minimal effort. Whether you’re making it for a cozy family night or a festive celebration, the layers of creamy, crunchy, and chocolaty goodness will leave everyone asking for seconds. Enjoy every bite of this delightful treat — it’s as heavenly as the name promises!
Print
No Bake Heavenly Oreo Dessert Recipe
- Prep Time: 20 minutes
- Cook Time: 0 minutes
- Total Time: 4 hours 20 minutes
- Yield: 12 servings
- Category: Dessert
- Method: No-Cook
- Cuisine: American
Description
This no-bake heavenly Oreo dessert features a rich and creamy layered treat combining Oreo cookie crust, a smooth cream cheese layer, instant chocolate pudding, and fluffy whipped topping. Perfect for an easy yet indulgent dessert that requires no oven time and is sure to impress your guests with its irresistible flavor and texture.
Ingredients
Crust
- 1 package (14.3 oz) Oreo cookies, crushed
- 1/2 cup unsalted butter, melted
Filling and Topping
- 1 package (8 oz) cream cheese, softened
- 1 cup powdered sugar
- 1 container (8 oz) whipped topping (like Cool Whip), thawed
- 2 packages (3.9 oz each) instant chocolate pudding mix
- 3 cups cold milk
- Additional crushed Oreos or chocolate shavings for topping (optional)
Instructions
- Crush Oreos: Crush the Oreo cookies using a food processor or place them in a zip-top bag and crush with a rolling pin until finely crushed. Reserve 1/2 cup of crushed Oreos for garnishing the dessert later.
- Make the Crust: In a medium bowl, combine the crushed Oreos (excluding the reserved portion) with the melted butter. Mix thoroughly to ensure the crumbs are evenly coated. Press this mixture firmly into the bottom of a 9×13-inch dish, creating a compact crust. Chill the crust in the refrigerator for 10 minutes to set.
- Prepare Cream Cheese Layer: In a large bowl, beat the softened cream cheese and powdered sugar together until smooth and fluffy. Gently fold in half of the whipped topping to lighten the mixture and add richness. Spread this creamy layer evenly over the chilled Oreo crust.
- Make Chocolate Pudding Layer: In a separate bowl, whisk together the instant chocolate pudding mixes and cold milk. Stir continuously until the mixture thickens, approximately 2 minutes. Spread the thickened pudding evenly over the cream cheese layer.
- Add Whipped Topping: Spread the remaining whipped topping over the pudding layer, smoothing the surface evenly to create a clean finish.
- Garnish: Sprinkle the reserved crushed Oreos or chocolate shavings generously over the top for an attractive and flavorful garnish.
- Chill and Set: Refrigerate the assembled dessert for at least 4 hours or overnight. This chilling time allows all the layers to set properly for clean slicing and enhances the flavors for an irresistible dessert experience.
Notes
- This dessert is best served chilled; make sure to refrigerate it long enough for layers to set firmly.
- Use full-fat cream cheese and whipped topping for the richest flavor and texture.
- If you prefer, substitute regular milk with a dairy-free alternative, but ensure it’s cold to help pudding set properly.
- To make a decorative top, consider adding chocolate shavings, crushed Oreos, or even a drizzle of chocolate syrup.
- For easier slicing, let the dessert sit at room temperature for 5-10 minutes before serving.
- Keep the dessert covered in the refrigerator to maintain freshness up to 2-3 days.


