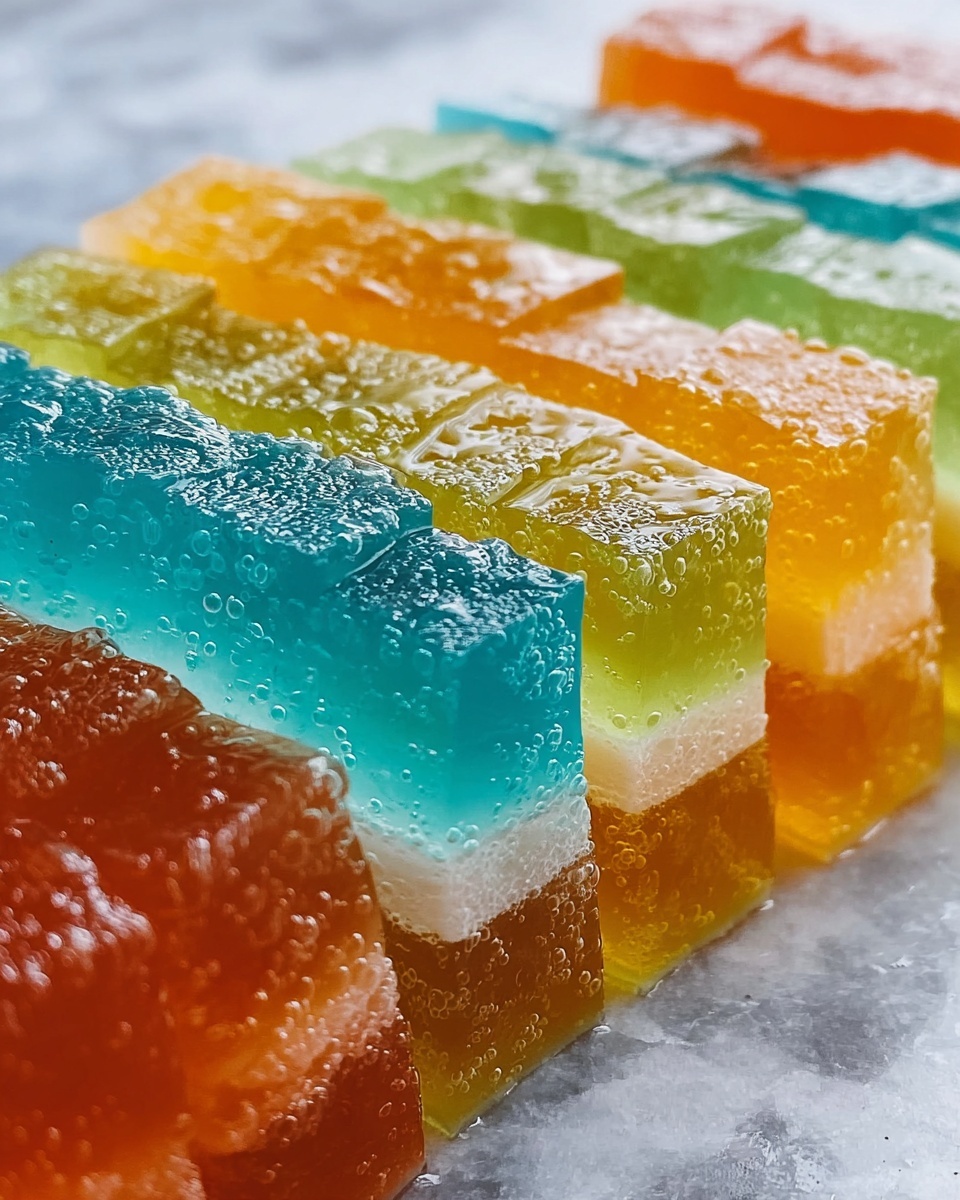
If you’ve ever been fascinated by those sparkling, sweet treats on a stick at fairs or candy shops, then you are in for a real delight with this Homemade Rock Candy Recipe. It’s a fun, mesmerizing process that transforms simple sugar and water into beautiful, glittering crystals you can proudly call your own. Whether you’re looking to impress guests, entertain kids on a rainy day, or simply revisit a sweet childhood memory, making your own rock candy is both rewarding and surprisingly easy. This Homemade Rock Candy Recipe breaks down the process step-by-step so you can create your very own dazzling treat right in your kitchen.
Ingredients You’ll Need
The magic behind this Homemade Rock Candy Recipe starts with just a few simple ingredients, each playing a vital role in making your crystals perfect. These essentials not only contribute to texture but also give you the option to customize the flavor and appearance of your candy.
- 3 cups granulated sugar: The star ingredient that crystallizes to form the candy’s structure and sweetness.
- 1 cup water: Helps dissolve the sugar and create the syrup base that forms crystals.
- 1 teaspoon flavoring (optional): Adds a personal touch—try vanilla, almond, or fruity extracts for subtle taste boosts.
- Food coloring (optional): Bring your rock candy to life with beautiful hues that make the crystals even more enticing.
- Wooden skewers or cotton strings: These act as the base for crystals to grow on, so make sure they are clean and dry.
- Clothes pins: Useful for securing your skewers in place and keeping them suspended properly in the jar.
How to Make Homemade Rock Candy Recipe
Step 1: Prepare the Sugar Syrup
Start by combining water and granulated sugar in a medium saucepan. Turn your stove to medium heat and stir slowly and constantly until every granule of sugar dissolves. Watch carefully as it heats up and eventually boils, creating a clear syrup. This step ensures you have the perfect base for the sugar crystals to form later on in the process.
Step 2: Continue Cooking the Syrup
Once the syrup boils, reduce the heat to low to keep a gentle simmer going. Stir for another 3 to 5 minutes, which helps ensure all sugar is fully dissolved, creating a saturated solution that’s key to crystal growth. Be cautious not to let it burn—keeping a watchful eye on this step is essential to great rock candy.
Step 3: Cool the Syrup Slightly
Remove the saucepan from heat and give the syrup a few minutes to cool down, about five minutes. This slight cooling helps prevent premature crystal formation and sets you up for adding color or flavor evenly.
Step 4: Add Color (Optional)
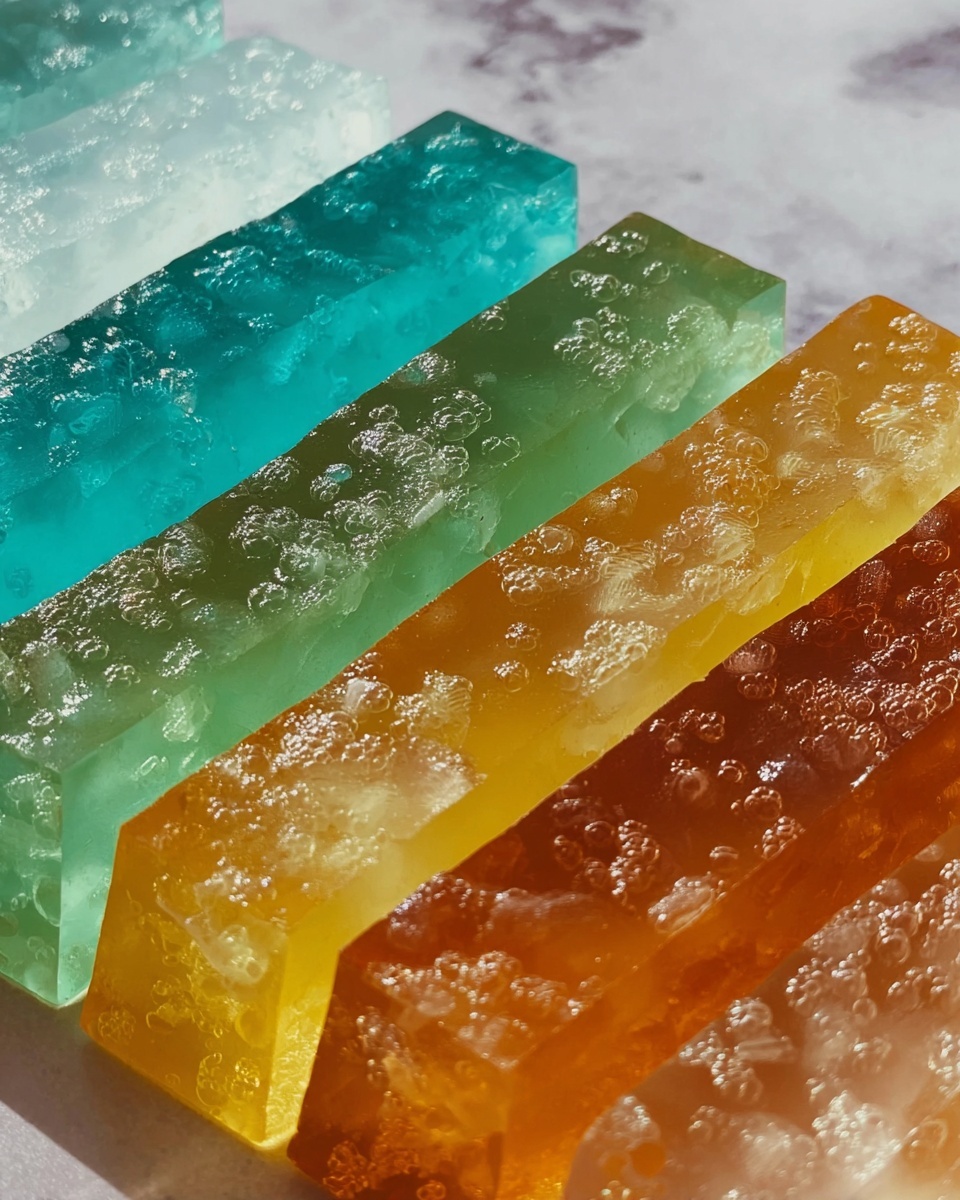
If you want to create vibrant, eye-catching rock candy, now is the moment to add food coloring. Just a few drops are enough to tint the syrup beautifully. Stir gently until the color is evenly spread, turning your simple syrup into a canvas ready for crystal art.
Step 5: Incorporate Flavor Extracts (Optional)
Flavoring your rock candy takes it to the next level. Whether it’s a splash of vanilla or an almond twist, stirring in your chosen extract now will infuse subtle tastes that complement the sugar’s natural sweetness perfectly.
Step 6: Transfer Syrup to Jars
Carefully pour your syrup into clean glass jars or glasses. Using jars that are tall and narrow helps the crystals grow uniformly. Make sure the container is deep enough so the skewer or string can hang freely without touching the sides or bottom—this prevents crystals from sticking unevenly.
Step 7: Insert Skewers or Strings
Dip your wooden skewer or cotton string into the syrup, coating it completely. Then, suspend it in the jar using a clothes pin to keep it centered. This setup encourages the syrup to crystallize evenly around the skewer or string, forming those signature sugar clusters that make rock candy so special.
Step 8: Watch Crystals Grow
Now comes the hardest part patience! Place the jar in a cool and quiet spot, undisturbed by bumps or warmth changes. Over the next 3 to 7 days, watch as the syrup transforms, growing beautiful sugar crystals along your suspended skewer or string. This slow crystallization is what makes the texture and sparkle so incredible.
Step 9: Finish and Dry Your Rock Candy
Once your crystals reach the size you desire, carefully remove the rock candy from the jar. Let the candy air dry completely before serving or storing to keep your creation crisp and ready for enjoyment.
How to Serve Homemade Rock Candy Recipe
Garnishes
Rock candy is a treat all on its own, but you can dress it up with fun garnishes. Try rolling the edges lightly in finely crushed nuts or colored sugar crystals for extra sparkle and texture that make your rock candy look even more festive and inviting.
Side Dishes
Because rock candy is sweet and crunchy, it pairs perfectly as a whimsical companion to hot tea or specialty coffee. Adding a stick of your homemade rock candy to a warm drink offers a slow melting sweetness that enhances the beverage experience beautifully.
Creative Ways to Present
Give your homemade rock candy recipe a special touch by presenting the sticks in vintage glass jars or gift bags adorned with ribbons. They also make charming party favors or unique decorations for dessert tables, instantly adding a pop of color and sparkle that guests will adore.
Make Ahead and Storage
Storing Leftovers
To keep your rock candy fresh and crunchy, store it in an airtight container at room temperature, away from moisture. Proper storage preserves the crystal’s texture and ensures you can enjoy your sweet creation days or even weeks later.
Freezing
Freezing isn’t recommended for rock candy, as the crystals can absorb moisture and become sticky or lose their delicate crunch. It’s better enjoyed fresh or properly stored in a sealed container.
Reheating
Since rock candy is a dry, crystallized treat, reheating isn’t applicable. If you want to soften it slightly, stirring it into a warm beverage is a great idea – that way you can enjoy the sweet flavor without losing the texture integrity.
FAQs
How long does it take to make homemade rock candy?
Typically, it takes between 3 to 7 days for the crystals to grow to a nice size. The exact time depends on your environment’s temperature and humidity, but patience definitely pays off with this homemade rock candy recipe.
Can I use different types of sugar?
Granulated sugar works best for making rock candy because of its fine, consistent crystals. Brown sugar or powdered sugar won’t crystallize in the same way and may affect the final texture.
What if my crystals don’t form?
If crystals aren’t forming, it might be because the syrup wasn’t saturated enough or the temperature was too warm. Ensure you’ve fully dissolved the sugar and place the jar in a cool, undisturbed spot. Also, make sure the skewer or string isn’t touching the jar’s sides to encourage proper crystal growth.
Can I reuse the syrup after removing the rock candy?
It’s best not to reuse the syrup since it becomes depleted of sugar after crystallization. Fresh syrup will give you better results if you want to make another batch.
How do I make colored rock candy?
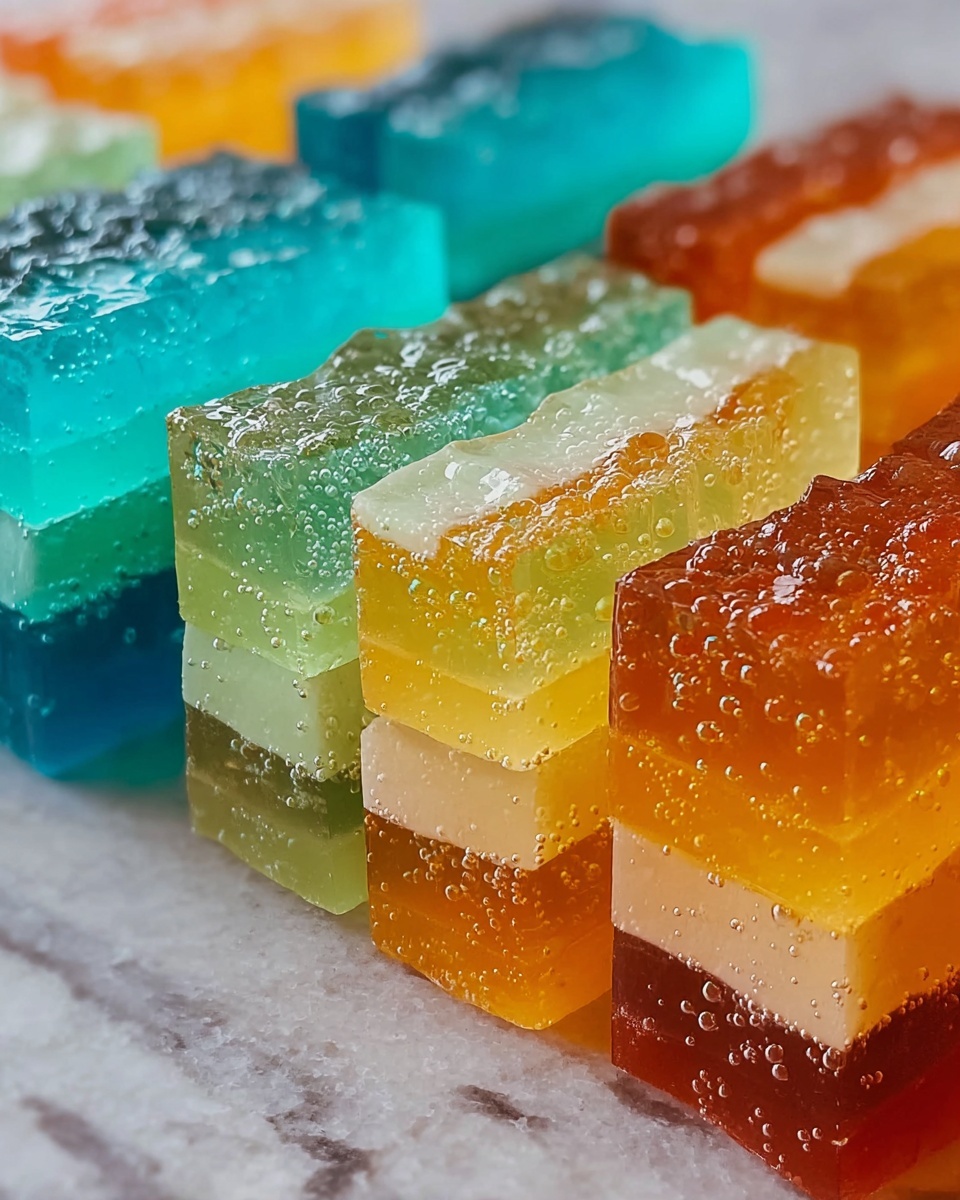
Simply add a few drops of food coloring to your sugar syrup after cooking and before pouring it into jars. Stir the color evenly, and the crystals will take on that color as they grow, adding visual fun to your Homemade Rock Candy Recipe.
Final Thoughts
There’s something truly magical about making candy from scratch, especially when it sparkles like a gem. I hope this Homemade Rock Candy Recipe inspires you to create your own dazzling confection that’s both a feast for the eyes and a delight for your sweet tooth. It’s a fantastic project to enjoy alone or with loved ones, and the crunchy, colorful results are absolutely worth the wait. So go ahead, dive in, and sweeten your day with some homemade rock candy!
Print
Homemade Rock Candy Recipe
- Prep Time: 10 minutes
- Cook Time: 10 minutes
- Total Time: 3-7 days (including crystal growing time)
- Yield: 1 jar of rock candy (size varies by jar)
- Category: Dessert
- Method: Stovetop
- Cuisine: American
Description
Homemade Rock Candy is a fun and easy sweet treat that involves growing sugar crystals on a stick or string. This recipe teaches you how to create your own colorful and flavored rock candy right at home using simple ingredients like sugar, water, and optional flavorings and food coloring. Perfect for a science-inspired candy project or a unique homemade gift.
Ingredients
Rock Candy Ingredients
- 3 cups granulated sugar
- 1 cup water
- 1 teaspoon flavoring (optional, such as vanilla, almond, or fruit extracts)
- Food coloring (optional, for colored crystals)
- Wooden skewers or cotton strings
- Clothes pins (to hold skewers in place)
Instructions
- Make Sugar Syrup: In a medium saucepan, combine the water and sugar. Heat over medium heat, stirring constantly until the sugar completely dissolves and the syrup comes to a boil.
- Simmer Syrup: Once the syrup starts boiling, reduce the heat to low and continue stirring for another 3-5 minutes to ensure all sugar is dissolved. Be careful not to let the syrup burn.
- Cool Syrup: Remove the saucepan from heat and allow the syrup to cool slightly for 5 minutes.
- Add Color: If you’d like to add color, drop a few drops of food coloring into the syrup. Stir until the color is evenly distributed.
- Add Flavor: If you’re adding flavoring, now is the time to mix in the extract of your choice.
- Prepare Jars: Pour the syrup into glass jars or glasses (a clean mason jar works well). Ensure the jar is deep enough for the skewer or string to hang freely without touching the sides.
- Insert Skewers: Dip your wooden skewer or cotton string into the syrup, ensuring it’s fully coated. Place the skewer or string in the jar, securing it in place with a clothes pin on the edge of the jar. The skewer should be suspended in the jar without touching the sides or bottom.
- Grow Crystals: Place the jar in a cool, undisturbed spot and allow the crystals to grow. This can take 3-7 days depending on the size of the crystals and the temperature of your environment. Be patient and watch as the sugar crystals slowly form along the skewer or string.
- Dry and Serve: Once the crystals have grown to your desired size, remove the rock candy from the jar and allow it to dry before serving or storing.
Notes
- Make sure the skewer or string does not touch the sides or bottom of the jar to allow crystals to form evenly.
- Use clean jars to avoid contamination and bumps on the growing crystals.
- Room temperature and humidity can affect crystal growth time.
- Experiment with different flavors and colors to create unique rock candy.
- For best results, avoid moving the jars once crystals start to form to prevent disruption.


