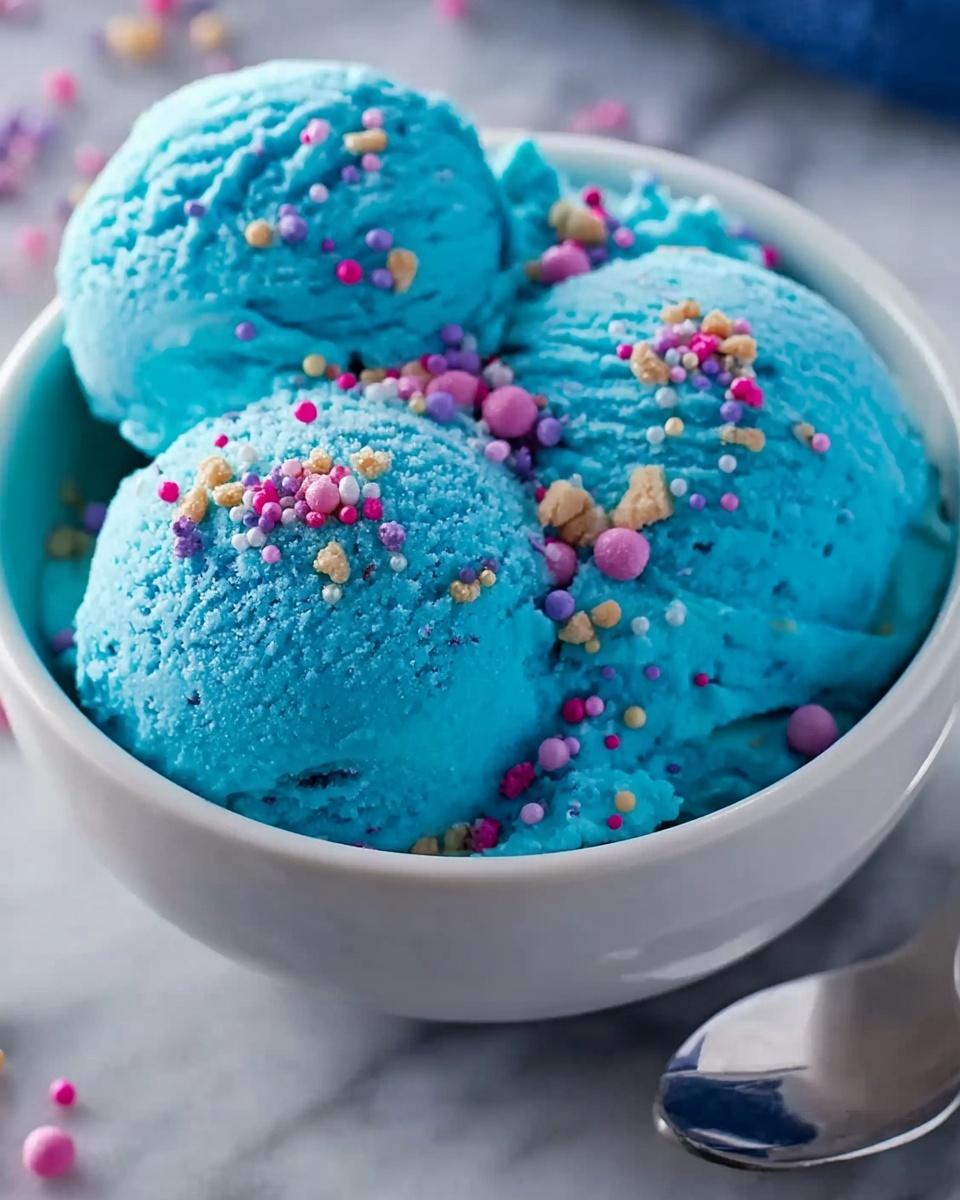
If you are looking for a fun, easy, and visually stunning treat that will delight everyone at your next family gathering, you have to try this Delicious No-Cook Blue Ice Cream Recipe for Family Fun Recipe. It’s creamy, sweet, and vibrantly blue, making it not only a feast for the taste buds but also for the eyes. The best part? There’s no need to turn on the stove or ice cream machine. With a handful of simple ingredients, you’ll whip up a smooth, luscious ice cream that feels like a special occasion but can be ready faster than you can say “dessert!”
Ingredients You’ll Need
Every ingredient here plays a crucial role in crafting the perfect texture and flavor for this ice cream. They’re simple staples, yet when combined, they create something extraordinary—creamy, rich, and perfectly sweet with that signature blue twist.
- 2 cups Half & Half: This provides a creamy base with the perfect fat content for ice cream without being too heavy.
- 1 cup Whipping Cream: Adds richness and a fluffy texture that’s essential for that melt-in-your-mouth quality.
- 3/4 cup Sugar: Sweetens gently—feel free to adjust or swap for honey or agave syrup to suit your preference.
- 1 tablespoon Pure Vanilla Extract: Infuses warm, aromatic notes that deepen the overall flavor beautifully.
- 1/4 teaspoon Salt: Just a pinch enhances and balances the sweetness perfectly.
- A few Blue Food Coloring drops: This creates the signature vibrant blue color—natural options like spirulina powder work wonderfully for a healthier approach.
How to Make Delicious No-Cook Blue Ice Cream Recipe for Family Fun Recipe
Step 1: Mix the Dairy Base
Start by pouring the half & half and whipping cream into a large bowl. Use a whisk to combine them gently but thoroughly. This blend sets the luscious creamy base that will carry all your flavors and give your ice cream that silky mouthfeel you love.
Step 2: Sweeten and Flavor
Add the sugar, pure vanilla extract, and salt to the cream mixture. Whisk until the sugar dissolves completely. This step is key for a smooth texture without any gritty spots, and the vanilla brings a warm depth to your ice cream that makes every bite comforting and indulgent.
Step 3: Add That Stunning Blue Color
Drop in your blue food coloring a few drops at a time, stirring until you reach that perfect shade of blue you love. If you’re going for a natural twist, try spirulina powder—just a pinch can give a gorgeous hue with added nutrients, making this ice cream even more fun for the family.
Step 4: Chill and Thicken
Pour the mixture into individual containers or a large freezer-safe dish. Cover tightly and place it in the freezer. Every 30 minutes, give it a good stir to break up ice crystals and keep the texture creamy since we’re not using an ice cream machine. After about 3-4 hours, your ice cream is ready to enjoy!
How to Serve Delicious No-Cook Blue Ice Cream Recipe for Family Fun Recipe
Garnishes
Decorate your ice cream with fresh berries or edible flowers for a pop of natural color and flavor contrast. Crushed cookies or colorful sprinkles are perfect for adding a playful crunch that kids will adore. Whipped cream drizzled with a little honey or syrup amps up the indulgence factor instantly!
Side Dishes
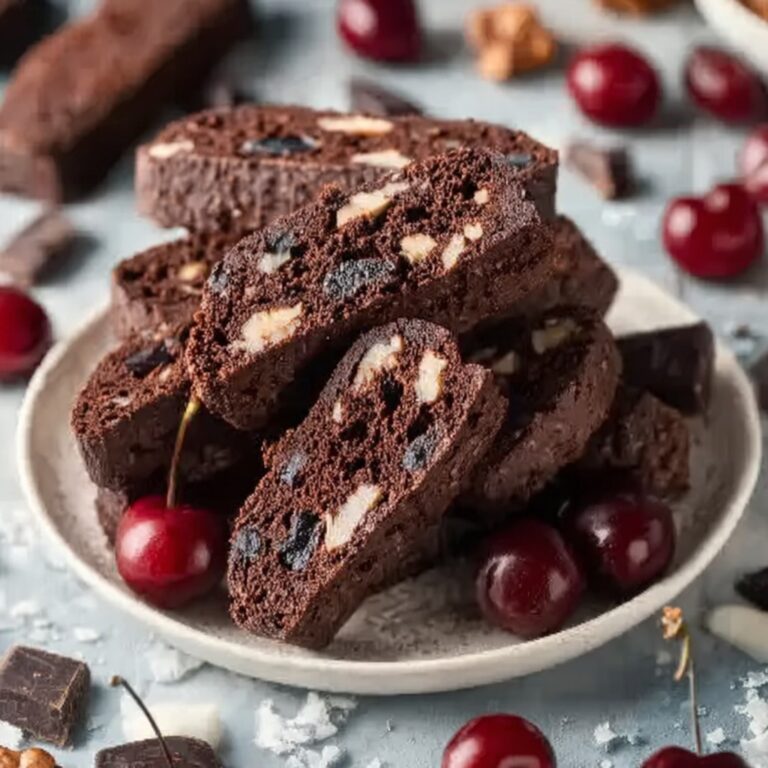
This blue ice cream pairs beautifully with light side treats like sliced fruit, buttery cookies, or simple pound cake. Serving it alongside a warm dessert like brownies creates a delightful hot-and-cold experience that’s always a crowd-pleaser.
Creative Ways to Present
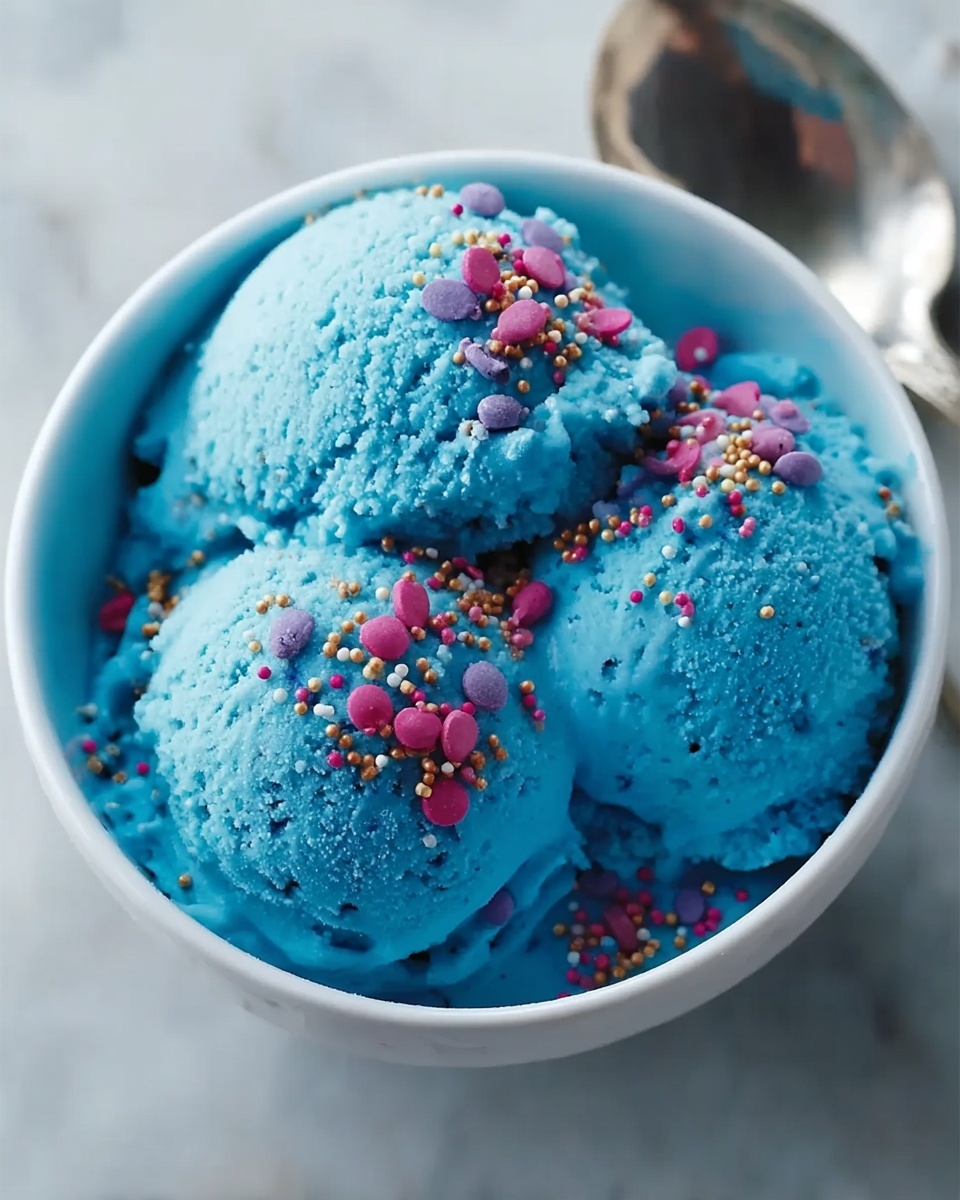
Use fun, clear cups so the vivid blue is on full display, or serve scoops on colorful waffle cones for a festive touch. For parties, transform the ice cream into sundaes by layering with nuts, sauces, or fresh fruit in fancy glasses to impress guests of all ages.
Make Ahead and Storage
Storing Leftovers
Store any leftover ice cream in an airtight container in the freezer to prevent it from absorbing other odors. Keeping it tightly sealed preserves its creamy texture and vibrant color for up to one week.
Freezing
This no-cook recipe freezes well, but for the smoothest texture, stir the ice cream every half hour during the first few hours of freezing. This limits ice crystal formation and keeps it scoopable and soft, just like homemade ice cream should be.
Reheating
Reheating isn’t necessary for ice cream, but if it becomes too hard, simply let it sit at room temperature for 5 to 10 minutes before serving. This brief pause allows it to soften enough for easy scooping without losing that creamy consistency.
FAQs
Can I use a different milk substitute in this recipe?
Absolutely! Whole milk can lighten the ice cream, and plant-based milks such as almond or oat milk work well too, especially when paired with a dairy-free cream alternative.
Is it possible to make this recipe sugar-free?
Yes! You can swap the sugar for natural sweeteners like stevia or erythritol, but keep an eye on the texture, as sugar also helps with smoothness in ice cream.
What natural alternatives are best for the blue coloring?
Spirulina powder is a fantastic natural blue colorant that adds nutrition along with vibrant color. Butterfly pea flower extract is another beautiful option if you prefer a floral note.
How long does this ice cream stay good in the freezer?
If stored properly in an airtight container, this ice cream maintains its quality for up to one week without sacrificing taste or texture.
Can kids help make this ice cream?
Definitely! This recipe is straightforward and safe for kids to join in on. Mixing and adding colors can be a delightful hands-on activity for family fun.
Final Thoughts
This Delicious No-Cook Blue Ice Cream Recipe for Family Fun Recipe is a bright, joyful addition to any family dessert lineup. It’s incredibly simple yet impressive, bringing smiles with every scoop. I hope you enjoy making and sharing this easy, colorful treat that’s sure to become a loved tradition at your table. Grab your ingredients, get mixing, and watch the magic (and smiles) happen!
Print
Delicious No-Cook Blue Ice Cream Recipe for Family Fun Recipe
- Prep Time: 10 minutes
- Cook Time: 0 minutes
- Total Time: 3 hours 10 minutes
- Yield: 4 servings (4 cups)
- Category: Dessert
- Method: No-Cook
- Cuisine: American
Description
This no-cook blue ice cream recipe offers a creamy, vibrant treat perfect for family fun. Quick and easy to prepare without the need for an ice cream maker, it combines half & half, whipping cream, sugar, and vanilla with a splash of blue food coloring for a delightful homemade dessert everyone will love.
Ingredients
Base Ingredients
- 2 cups Half & Half (Substitute with whole milk for a lighter version.)
- 1 cup Whipping Cream (Can replace with dairy-free cream for a non-dairy option.)
- 3/4 cup Sugar (Use less for lower sugar content or substitute with honey or agave syrup.)
- 1 tablespoon Pure Vanilla Extract (Imitation vanilla can be a cost-effective option.)
- 1/4 teaspoon Salt (A pinch is essential for balancing sweetness.)
- A few drops Blue Food Coloring (Consider natural options like spirulina powder for a healthier twist.)
Instructions
- Combine Ingredients: In a large mixing bowl, pour 2 cups of half & half and 1 cup of whipping cream. Add 3/4 cup sugar and 1 tablespoon of pure vanilla extract.
- Mix Thoroughly: Whisk all ingredients together until the sugar is completely dissolved and the mixture is smooth. This ensures a creamy texture in your ice cream.
- Add Salt and Color: Sprinkle in 1/4 teaspoon of salt to balance the sweetness, then add a few drops of blue food coloring. Stir well to achieve an even, vibrant blue color throughout the mixture.
- Chill the Mixture: Pour the mixture into a shallow container and place it in the freezer. Chill for about 30 minutes.
- Stir During Freezing: Every 30 minutes, remove the container from the freezer and vigorously stir the ice cream mixture with a fork or whisk. Repeat this process 3 to 4 times over 2 hours to break up ice crystals and create smooth, creamy texture.
- Freeze Until Set: After the final stirring, let the ice cream freeze undisturbed for another 2 to 3 hours until fully firm and scoopable.
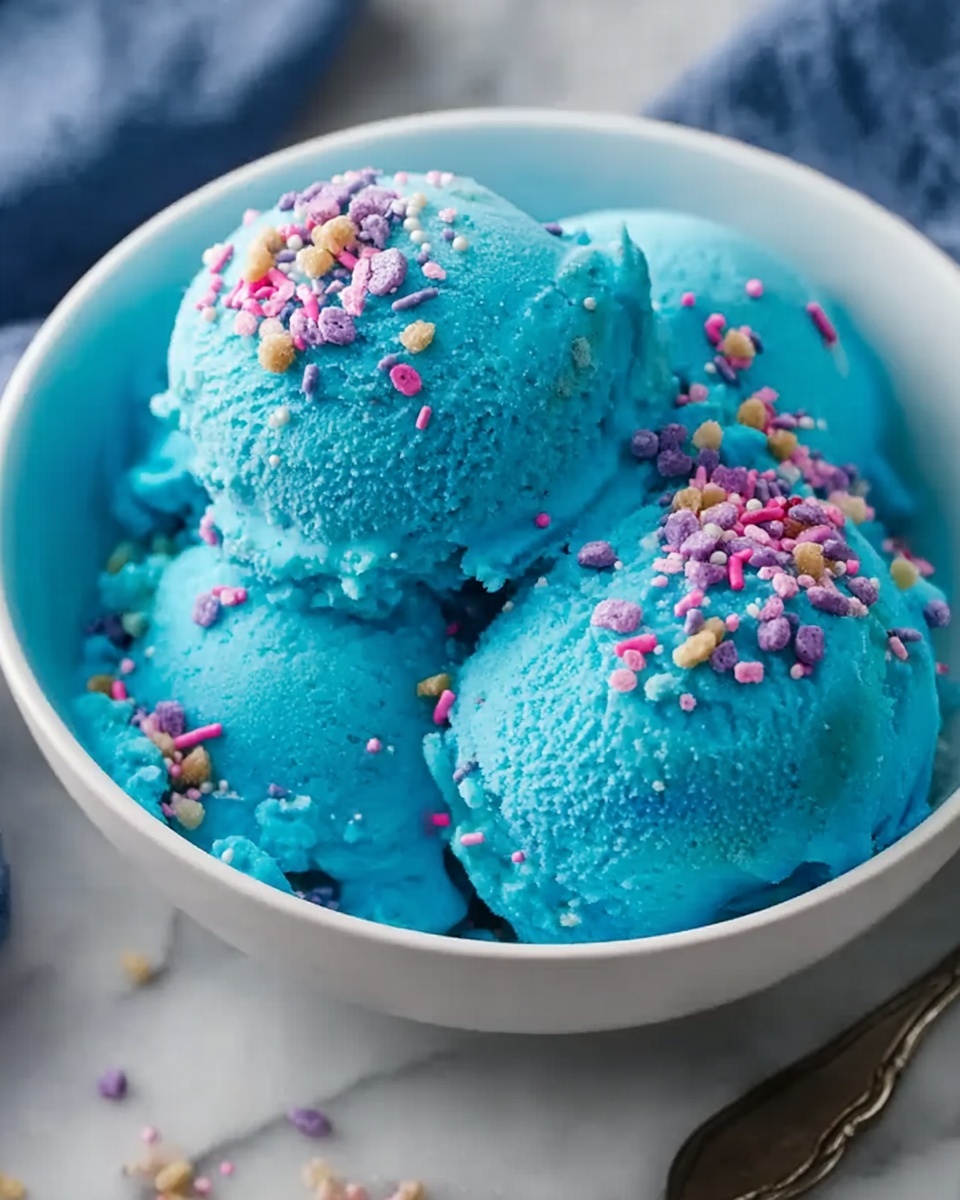
- Serve and Enjoy: Scoop into bowls or cones and serve your homemade blue ice cream for a fun, colorful dessert that the whole family will enjoy.
Notes
- For a dairy-free version, substitute whipping cream with non-dairy cream alternatives.
- Use natural food coloring options such as spirulina powder for a healthier, natural blue hue.
- Adjust sugar quantity to taste or substitute with natural sweeteners like honey or agave syrup.
- Stirring the ice cream mixture multiple times during freezing helps prevent large ice crystals and improves texture.
- This recipe does not require an ice cream maker, making it accessible for all home cooks.


