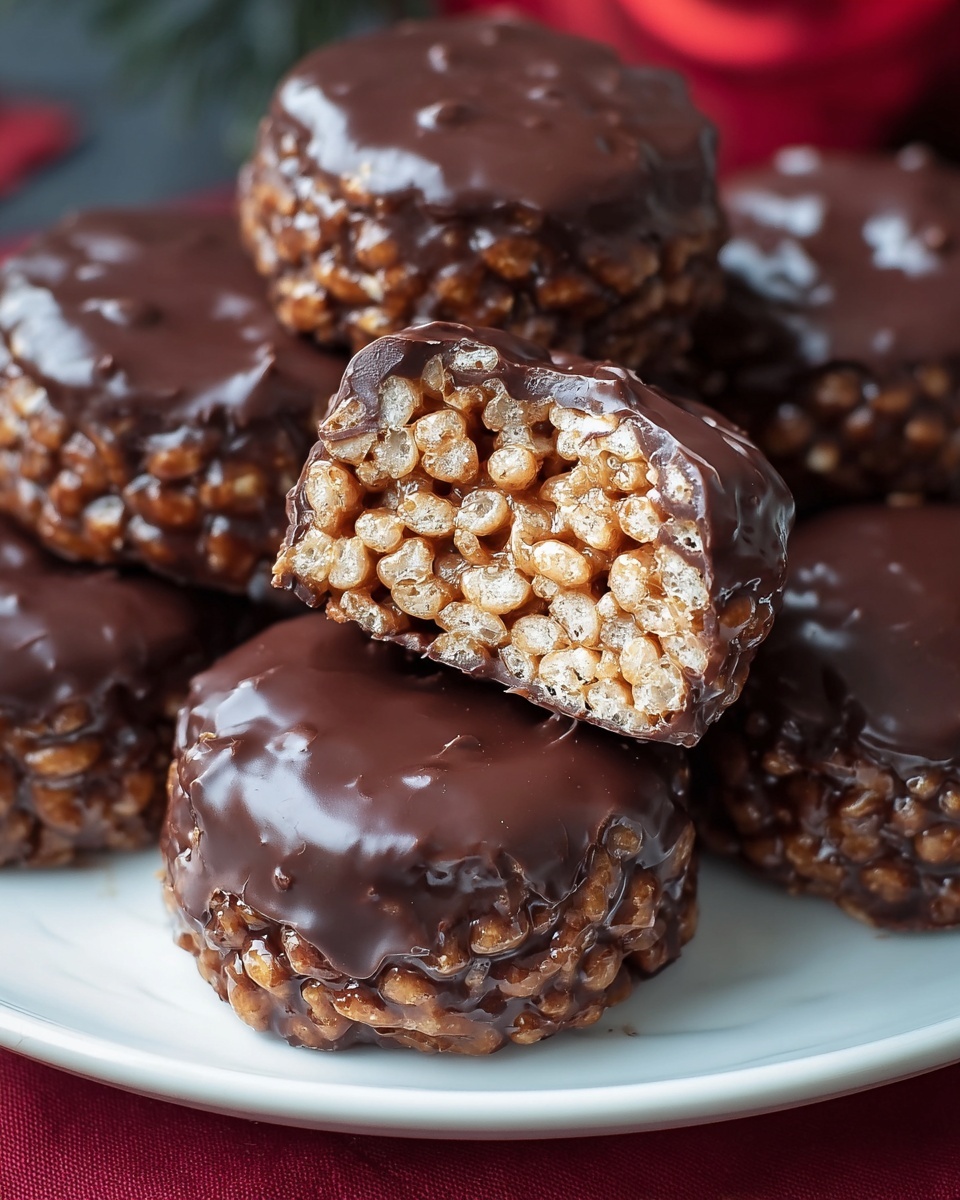
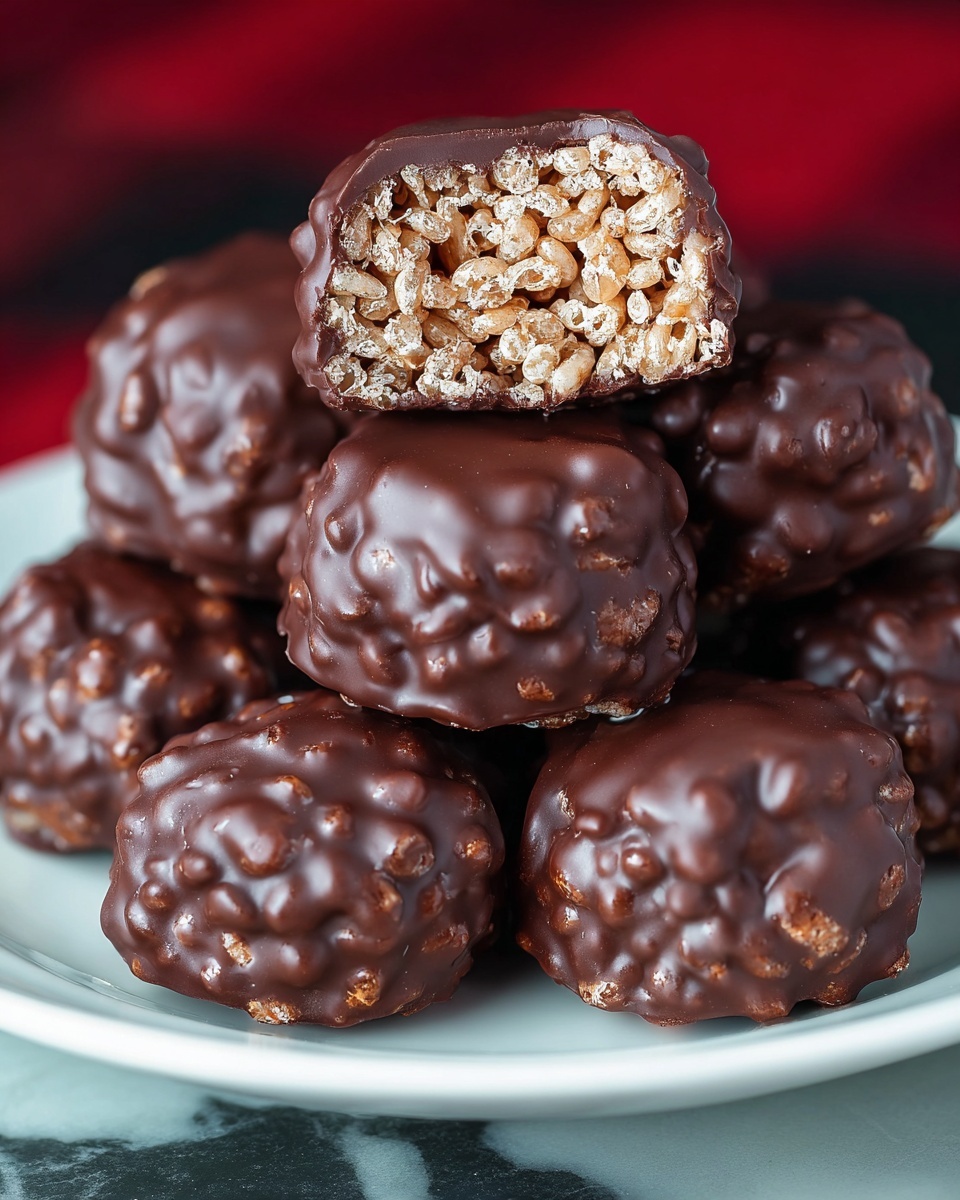
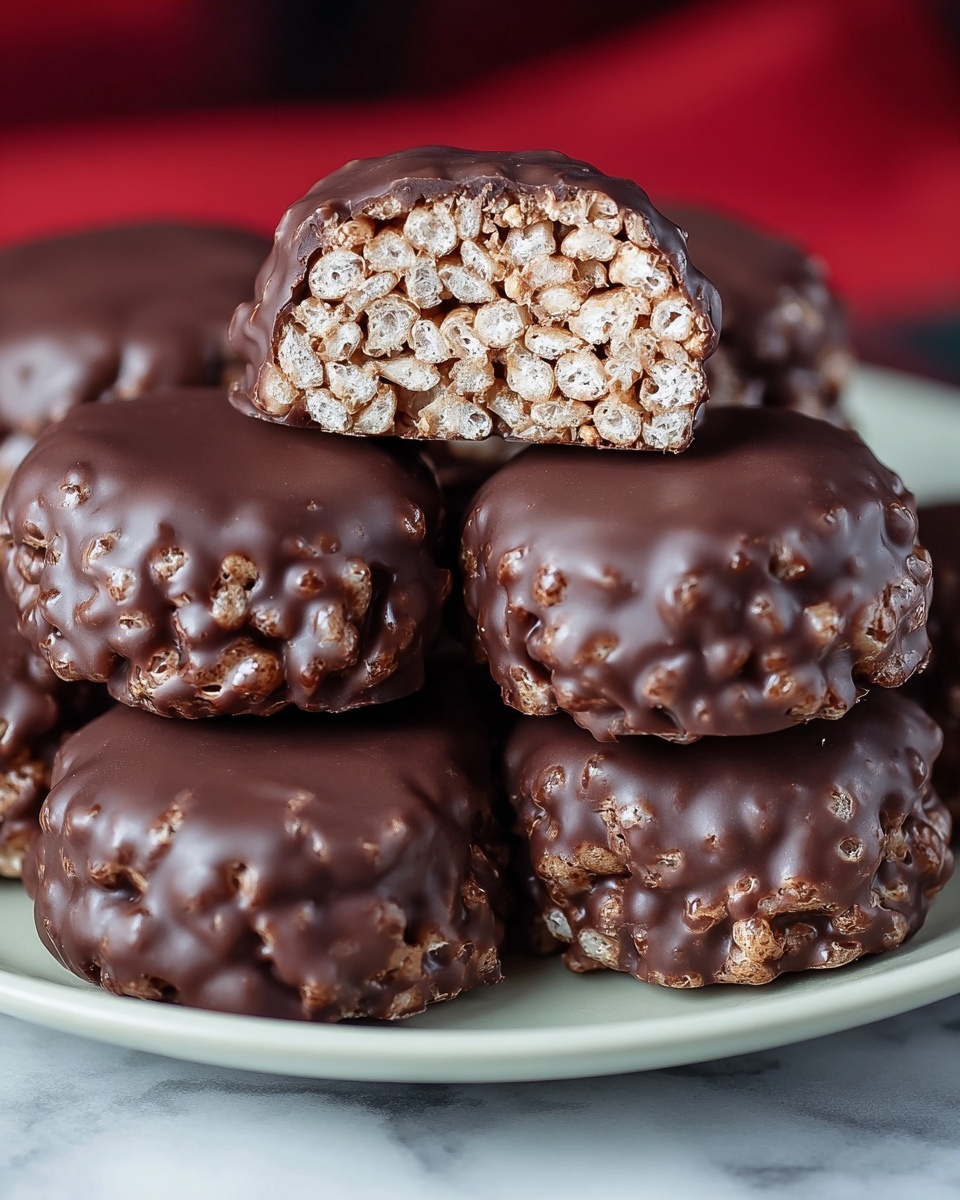
If you’re on the hunt for a scrumptious treat that’s both nostalgic and irresistibly chocolaty, this Chocolate Rice Krispie Balls Recipe is the perfect answer. Imagine the crunchy, airy snap of Rice Krispies cereal mixed with creamy peanut butter and enveloped in a luscious chocolate coating. It’s a delightful little bite that’s easy to make yet feels so special—perfect for a quick snack, party favor, or an indulgent dessert. Once you try this recipe, I promise you’ll want to make it again and again to share with friends and family.
Ingredients You’ll Need
Each ingredient in this Chocolate Rice Krispie Balls Recipe has a simple, crucial role that brings together taste, texture, and that perfect chocolate-tinged look. From the creamy peanut butter that binds everything to the chocolate chips that create a beautiful shell, these ingredients are all-stars in their own right.
- Peanut butter: Provides creaminess and a rich, nutty flavor that complements the chocolate wonderfully.
- Soft butter: Adds extra moisture and smoothness, making the mixture easier to shape.
- Vanilla extract: Enhances the overall flavor with a sweet, aromatic touch.
- Rice Krispies cereal: The star crunch that offers lightness and a satisfying snap in every bite.
- Powdered sugar: Sweetens the mixture delicately while helping binding.
- Chocolate chips: Melted to create a glossy, rich coating that seals in all that goodness.
- Coconut oil (optional): Ensures the melted chocolate stays smooth and easy to dip.
How to Make Chocolate Rice Krispie Balls Recipe
Step 1: Prepare the Peanut Butter Mixture
Start by combining the peanut butter, soft butter, vanilla extract, and powdered sugar in a medium bowl. Stir these ingredients together until the mixture is smooth and velvety. This base is the heart of your blissful bites, offering a creamy texture and subtle sweetness that makes every bite melt in your mouth.
Step 2: Fold in the Rice Krispies Cereal
Gently fold the Rice Krispies into the peanut butter mixture to keep their signature crunch intact. Be careful not to overmix; you want each bite to be full of light, crispy texture that contrasts beautifully with the smooth coating.
Step 3: Shape Into Balls
Using a tablespoon or cookie scoop, take portions of the mixture and roll them into neat balls. Place each ball onto a baking sheet lined with parchment paper. It’s best to keep them uniform in size for even chilling and dipping.
Step 4: Chill Until Firm
Pop your tray of balls into the refrigerator and chill for about 30 minutes. This step is crucial—it helps the balls set up so they maintain their shape when you dip them into the chocolate.
Step 5: Melt the Chocolate Coating
While the balls are chilling, melt the chocolate chips together with the coconut oil (if using) in a microwave-safe bowl. Heat in 20-second intervals, stirring in between until the chocolate is smooth and glossy. This luscious coating will add a perfect snap and richness to your treats.
Step 6: Dip the Balls in Chocolate
Once the rice krispie balls are firm and chilled, dip each one into the melted chocolate, making sure to cover it fully. You can use a fork to help submerge the balls and let any excess chocolate drip off before placing them back on the parchment-lined sheet.
Step 7: Final Chill to Set
Return the chocolate-coated balls to the refrigerator for another 15 to 20 minutes so the chocolate can harden nicely. Once set, they’re ready to enjoy—crunchy, creamy, chocolaty perfection in every bite.
How to Serve Chocolate Rice Krispie Balls Recipe
Garnishes
Want to add some fun flair? Sprinkle a bit of crushed nuts, shredded coconut, or colorful sprinkles right after dipping before the chocolate sets. These garnishes not only jazz up their look but add extra texture and flavor dimensions, making each bite unique and playful.
Side Dishes
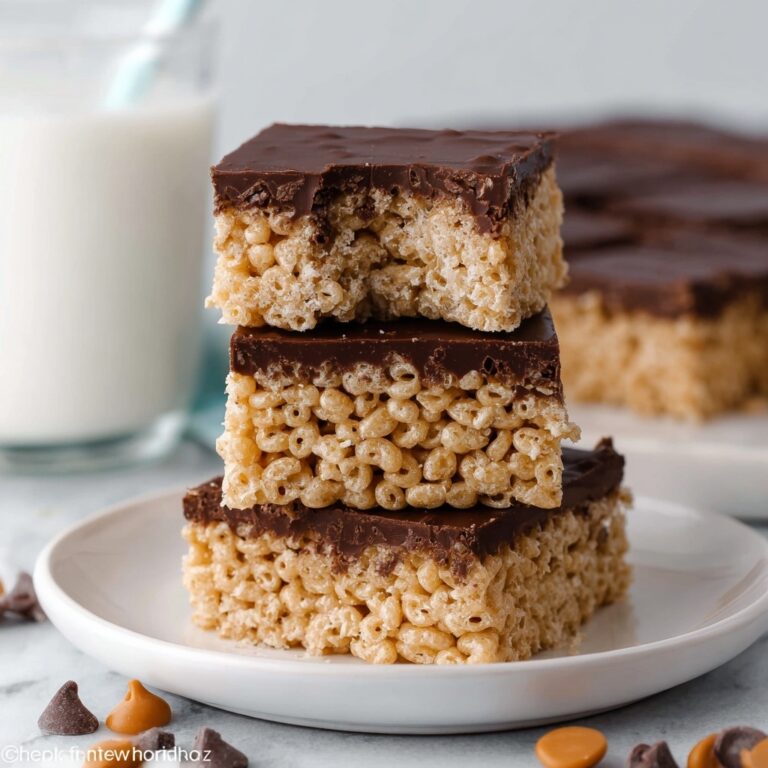
Chocolate Rice Krispie Balls go wonderfully alongside a cold glass of milk or a cup of coffee or tea. Their sweetness and crunch balance perfectly with the creaminess of a warm drink or the freshness of fruit slices, making for a well-rounded treat experience.
Creative Ways to Present
Put together a festive dessert platter by mixing these chocolate balls with other small treats like mini cookies, fresh berries, or colorful macarons. You could also seriously impress by serving them in individual mini cupcake liners or on pretty cocktail skewers for an eye-catching party favor.
Make Ahead and Storage
Storing Leftovers
If you have any leftovers (and it’s hard not to!), store the Chocolate Rice Krispie Balls in an airtight container in the refrigerator. They will stay fresh and maintain their texture for up to one week—perfect for a grab-and-go snack anytime.
Freezing
These balls freeze beautifully. Lay them out on a parchment-lined tray to freeze individually first, then transfer to a freezer-safe container or bag. They can last up to three months in the freezer, so you have ready-made treats whenever a chocolate craving strikes.
Reheating
Because these are no-bake treats coated in chocolate, reheating is usually not necessary. If the chocolate gets too firm, simply leave them at room temperature for 10 to 15 minutes to soften slightly before indulging.
FAQs
Can I use almond butter instead of peanut butter?
Absolutely! Almond butter will give the recipe a different but equally delicious nutty flavor. Just be sure to use the same consistency—smooth and creamy—for the best results.
What if I don’t have coconut oil for the chocolate coating?
It’s not a dealbreaker. Coconut oil just helps melt the chocolate smoothly and gives it a nicer shine, but you can melt chocolate chips on their own. Just be careful not to overheat or the chocolate can seize.
Can I make these gluten-free?
Yes, Rice Krispies cereal is generally gluten-free, but always check your specific brand to be sure. This recipe is naturally gluten-free if you use certified gluten-free cereal.
How do I get the chocolate coating to be smooth and evenly coated?
Make sure your balls are well chilled before dipping, and dip them quickly but fully. Use a fork to lift them and tap it gently against the bowl edge to remove excess chocolate. Work in small batches for best control.
Are there variations to the Chocolate Rice Krispie Balls Recipe?
Definitely! You can add mini marshmallows, chopped nuts inside, or even drizzle white chocolate on top for a decorative twist. It’s all about making it your own and having fun with flavors and textures.
Final Thoughts
This Chocolate Rice Krispie Balls Recipe has quickly become a cherished favorite in my kitchen because it’s so simple, fast, and utterly delicious. Every bite is a delightful contrast of creamy, crunchy, and chocolaty goodness that’s sure to bring a smile to anyone’s face. Give it a try soon—you’ll thank yourself for having such an easy yet impressive treat up your sleeve!
Print
Chocolate Rice Krispie Balls Recipe
- Prep Time: 1 hour 10 minutes
- Cook Time: 0 minutes
- Total Time: 1 hour 10 minutes
- Yield: 12 balls
- Category: Dessert
- Method: No-Cook
- Cuisine: American
Description
Delicious no-bake Chocolate Rice Krispie Balls made with creamy peanut butter, crisp Rice Krispies cereal, and coated in a smooth layer of melted chocolate. These sweet treats are perfect for snacking or parties, offering a delightful combination of crunchy and creamy textures with a rich chocolate finish.
Ingredients
Base Mixture
- 1/2 cup peanut butter
- 3 tablespoons soft butter
- 1 teaspoon vanilla extract
- 1/2 cup powdered sugar
- 1 cup Rice Krispies cereal
Chocolate Coating
- 1/2 cup chocolate chips
- 1 teaspoon coconut oil (optional, for smoother coating)
Instructions
- Prepare the Base Mixture: In a medium bowl, combine peanut butter, soft butter, vanilla extract, and powdered sugar. Mix thoroughly until the mixture is smooth and well blended.
- Fold in Cereal: Gently fold the Rice Krispies cereal into the peanut butter mixture, taking care not to crush the cereal to maintain its crisp texture.
- Form the Balls: Scoop tablespoon-sized portions of the mixture and roll them into balls using your hands. Place each ball on a parchment-lined baking sheet for easy handling.
- Chill the Balls: Refrigerate the formed balls for 30 minutes to allow them to firm up for easier chocolate dipping later.
- Melt the Chocolate: In a microwave-safe bowl, melt the chocolate chips along with the optional coconut oil in 20-second intervals, stirring after each interval until the chocolate is silky smooth.
- Dip and Coat: Take each chilled ball and dip it into the melted chocolate, ensuring it is evenly coated. Carefully place the coated balls back onto the parchment-lined sheet.
- Final Chill: Refrigerate the chocolate-coated balls for another 15 to 20 minutes until the chocolate hardens and sets. Serve chilled and enjoy your sweet, crunchy treats!
Notes
- Use smooth peanut butter for the creamiest texture.
- Optionally add coconut oil to the melted chocolate for a shinier and smoother coating.
- Store the bars in an airtight container in the refrigerator to keep them firm.
- You can substitute peanut butter with almond or sunflower seed butter for variation.
- For a nut-free version, use seed butters and check the cereal ingredients accordingly.

