“`html
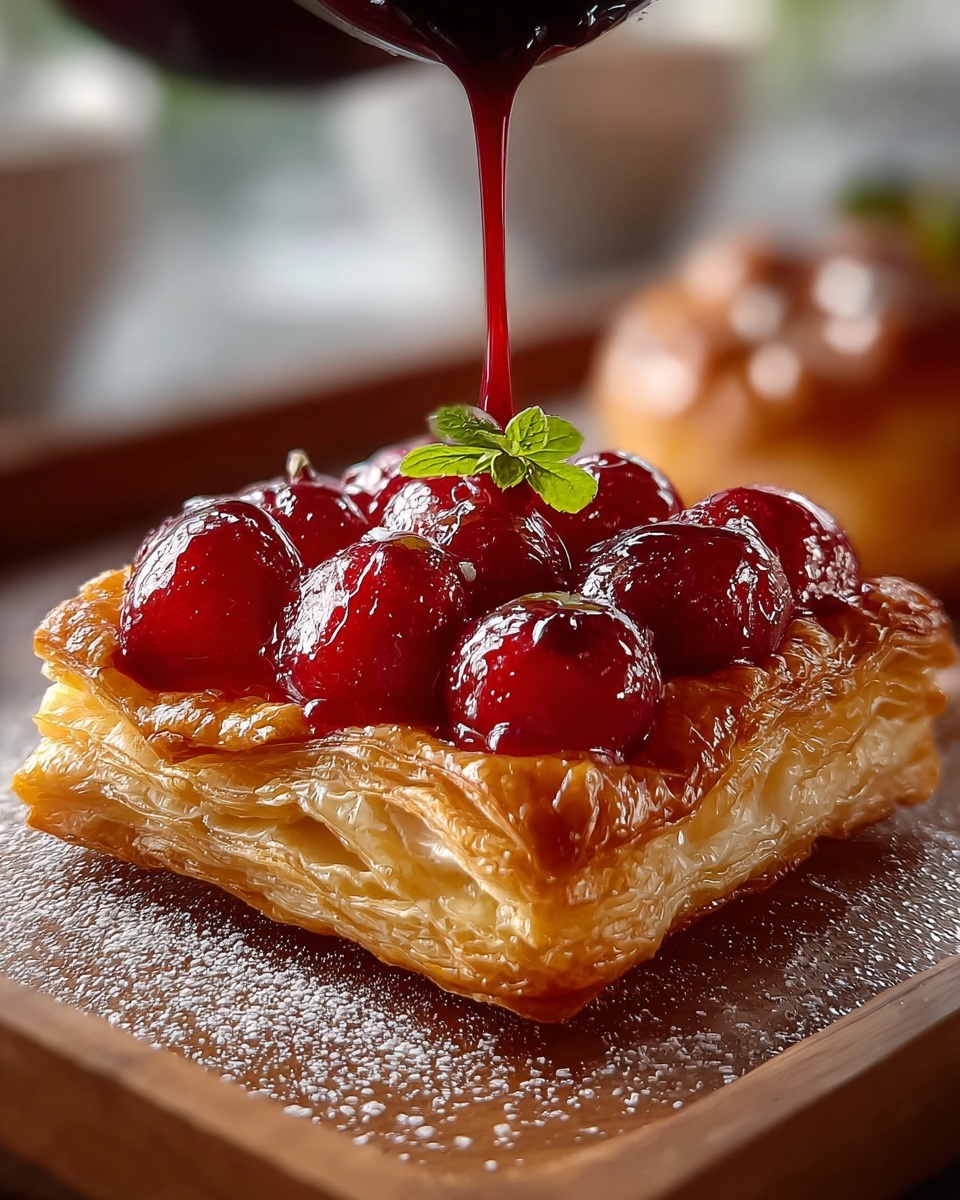
If you’re searching for a dessert that feels both indulgent and effortlessly charming, this Cherry Cheese Pastry Pie Recipe is an absolute treasure. Imagine flaky, golden puff pastry cradling a luscious, creamy cheese filling kissed with vanilla, all topped with vibrant, juicy cherries that burst with sweetness. It’s the perfect balance of tart and creamy, light yet satisfying — a show-stopper that’s surprisingly simple to whip up for any occasion, from casual family get-togethers to impressive holiday spreads.
Ingredients You’ll Need
The beauty of this recipe lies in its simplicity: each ingredient plays a vital role in creating a harmony of flavors and textures that will delight your palate. From the buttery puff pastry to the smooth cream cheese and bright cherries, these essentials come together to make magic happen.
- Puff pastry sheet: The flaky, golden base that provides a buttery crunch every time.
- Cream cheese (8 oz, softened): Adds that irresistibly creamy texture and subtle tang to the filling.
- Sugar (1/4 cup): Sweetens the cheese mixture just enough to balance the tart cherries.
- Egg yolk (1): Helps create a smooth, rich cheese filling and adds a lovely richness.
- Vanilla extract (1 tsp): Infuses the filling with warm, inviting aroma and flavor.
- Pitted cherries (1 cup): The star fruit that brings juicy sweetness and a pop of color; fresh or jarred both work.
- Cornstarch (1 tbsp, if fresh cherries): Keeps fresh cherry juices from turning the filling too runny.
- Egg, beaten (for egg wash): Brushed on the edges to create that golden, glossy finish.
How to Make Cherry Cheese Pastry Pie Recipe
Step 1: Prepare Your Oven and Baking Sheet
Start by preheating your oven to 375°F (190°C) and lining a baking sheet with parchment paper. This sets the stage for baking your pie perfectly without any sticking or mess, ensuring an effortless cleanup later.
Step 2: Shape Your Pastry Base
Unfold your puff pastry sheet onto the baking sheet, then use a sharp knife to score a 1-inch border around the edges. This scoring helps create a charming rim that will rise and hold in your filling, giving your pie that delightful rustic look.
Step 3: Whip Up the Cream Cheese Filling
In a mixing bowl, beat together the softened cream cheese, sugar, egg yolk, and vanilla extract until silky smooth. This creamy filling will be the luscious heart of your Cherry Cheese Pastry Pie Recipe.
Step 4: Assemble the Filling and Cherries
Spread the cheese mixture evenly inside the scored border. If you’re using fresh cherries, toss them gently in cornstarch first to keep extra juice from leaking out during baking. Then, artfully arrange the cherries over the cheese spread, creating a beautiful contrast of red and white.
Step 5: Crimp the Edges and Add Egg Wash
Carefully fold and crimp the edges of your pastry to seal in the filling, forming a rustic edge that’s both elegant and homemade. Brush the edges with the beaten egg wash to ensure a golden, shiny finish once baked.
Step 6: Bake Until Golden and Bubbling
Place your pie in the oven and bake for 25 to 30 minutes. You’ll know it’s ready when the pastry is puffed to a beautiful golden brown and the cheese filling has set, teasing you with its inviting aroma.
Step 7: Cool and Slice
Once baked, let your Cherry Cheese Pastry Pie Recipe cool slightly on a wire rack. This resting time helps the filling firm up a bit, making it easier to slice and even more enjoyable to eat.
How to Serve Cherry Cheese Pastry Pie Recipe
Garnishes
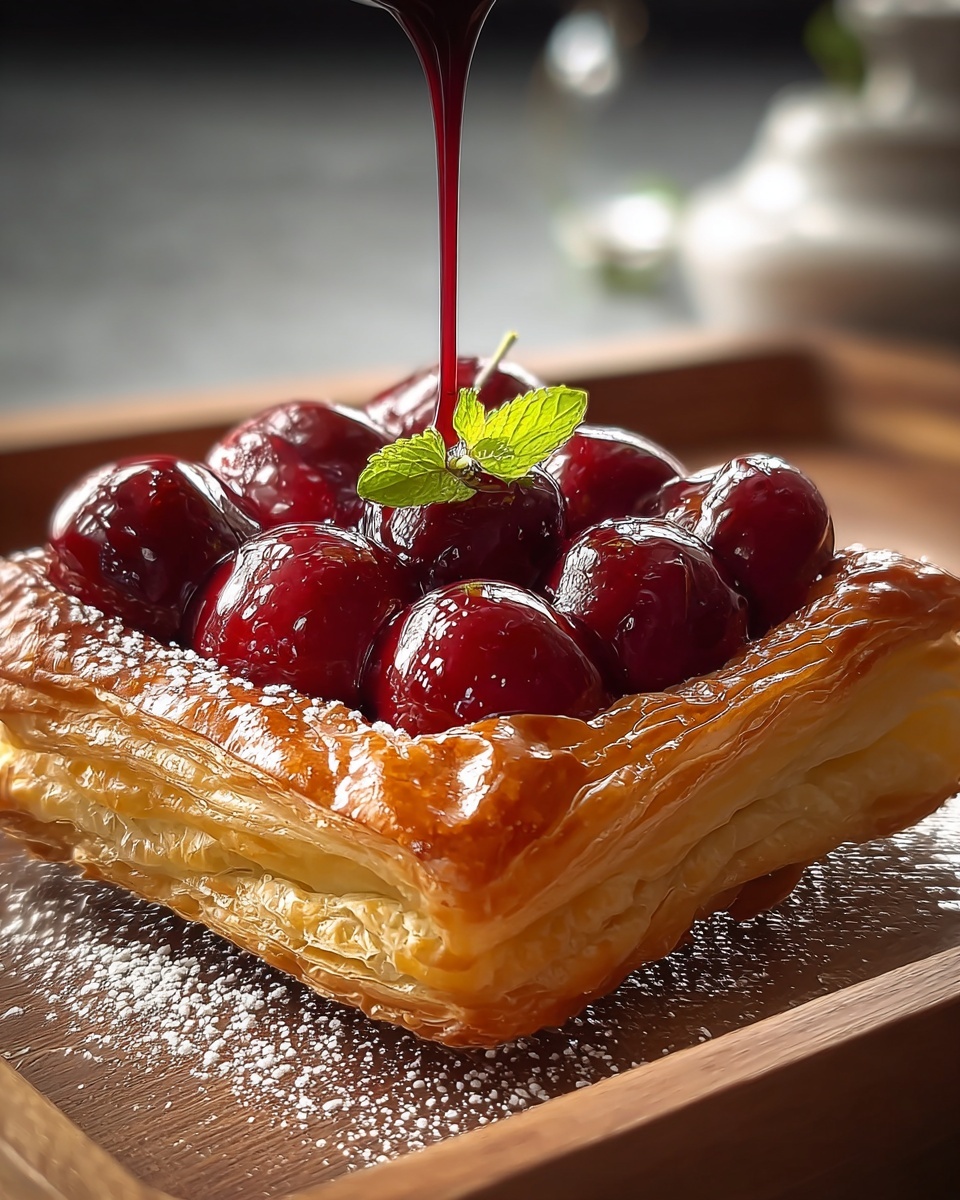
A dusting of powdered sugar adds an elegant touch that’s visually stunning and adds a whisper of extra sweetness. Fresh mint leaves or a dollop of whipped cream make for refreshing contrasts that perfectly complement the rich cheese and cherries.
Side Dishes
This pastry pie shines as a dessert but pairing it with a scoop of vanilla ice cream or a light fruit salad can elevate the experience. For brunch, it pairs wonderfully with fresh brewed coffee or a sparkling mimosa for a festive finish.
Creative Ways to Present
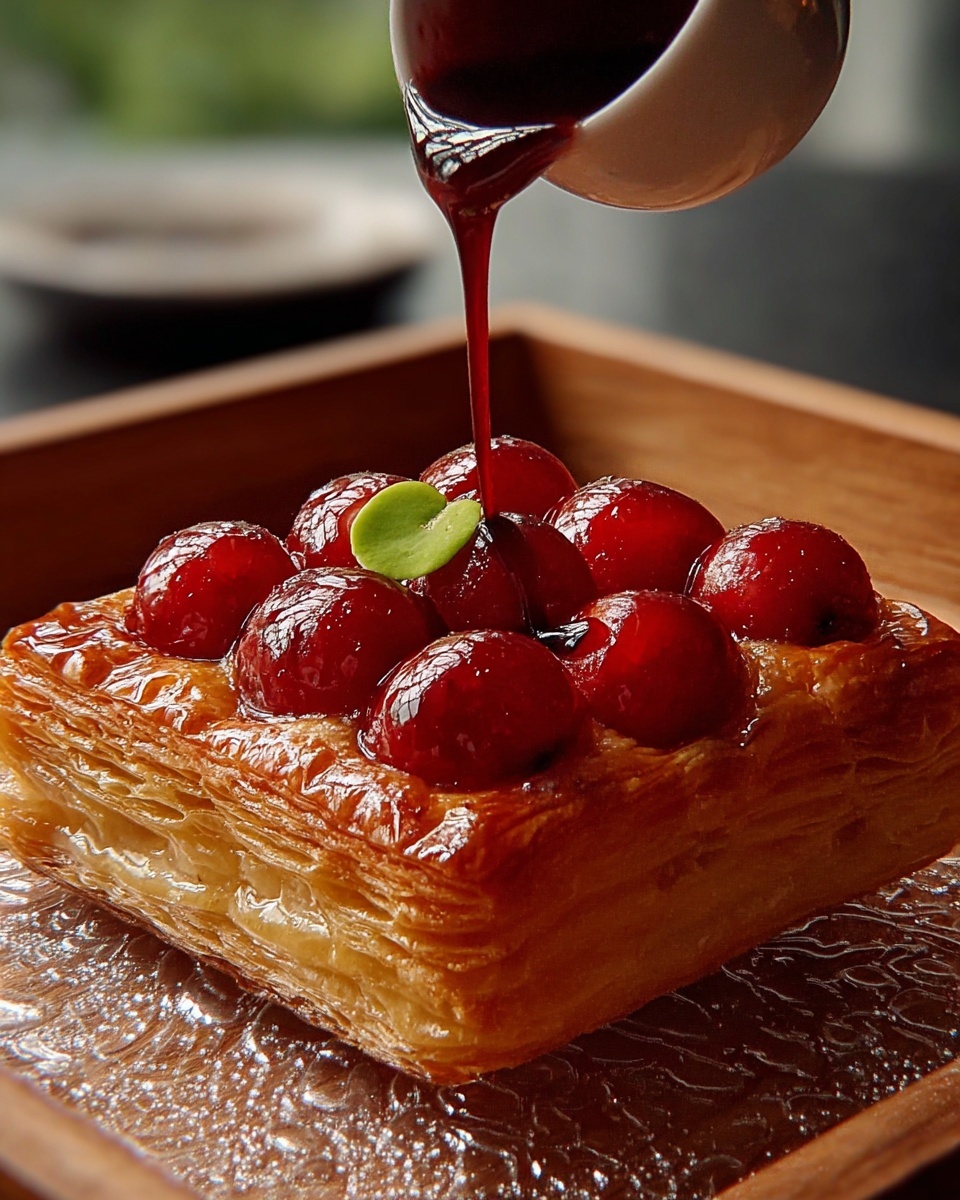
Serve individual portions on pretty dessert plates with a drizzle of cherry sauce or a sprinkle of toasted almonds for crunch. For a crowd, place the whole pie on a rustic wooden board surrounded by fresh cherries and sprigs of herbs for an inviting centerpiece.
Make Ahead and Storage
Storing Leftovers
Keep any leftovers covered in the refrigerator, wrapped in plastic wrap or stored in an airtight container. The cherry cheese pie will stay fresh for up to 3 days, allowing you to enjoy its wonderful flavors even after the first serving.
Freezing
If you want to save some for later, wrap the unbaked pie tightly in plastic wrap and aluminum foil, then freeze for up to a month. When ready to bake, thaw overnight in the fridge before proceeding with baking instructions.
Reheating
To restore that perfectly crisp pastry and warm filling, reheat slices in a 350°F (175°C) oven for about 10 minutes. Avoid the microwave if possible to maintain the pie’s flaky texture and fresh taste.
FAQs
Can I use frozen cherries for this recipe?
Yes! Frozen cherries work beautifully as long as you thaw and drain them well to prevent excess moisture from making the pastry soggy. Toss them with cornstarch just like fresh cherries to avoid a runny filling.
What substitution can I use if I don’t have puff pastry?
You can use homemade pie dough or even phyllo dough as an alternative, though each will change the texture slightly. Puff pastry’s light layers are key to achieving that flaky crunch in this pie.
Is this Cherry Cheese Pastry Pie Recipe suitable for vegans?
This recipe requires cream cheese, eggs, and puff pastry which typically contains butter. For a vegan version, you can try using plant-based cream cheese, egg substitutes, and vegan puff pastry, though the texture and flavor will be somewhat different.
How tart or sweet should the cherries be?
A mix of tart and sweet cherries works best to create a balanced flavor. If your cherries are very tart, consider adding a bit more sugar to the cheese mixture or sprinkling a bit of sugar on the cherries before baking.
Can I make mini versions of this pie?
Absolutely! Using smaller squares of puff pastry, you can create individual Cherry Cheese Pastry Pies perfect for parties or an elegant dessert platter. Just watch baking time closely, as mini pies tend to bake faster.
Final Thoughts
There’s something incredibly satisfying about baking a Cherry Cheese Pastry Pie Recipe that brings together simple ingredients for an impressive result. It’s a wonderful way to celebrate cherries and cream cheese in a handheld treat that’s perfect for any season. I can’t wait for you to try this recipe — bake it, share it, and watch it disappear with smiles all around!
“`
Print
Cherry Cheese Pastry Pie Recipe
- Prep Time: 15 minutes
- Cook Time: 30 minutes
- Total Time: 45 minutes
- Yield: 6 servings
- Category: Dessert
- Method: Baking
- Cuisine: American
Description
Delight in this Cherry Cheese Pastry Pie featuring a crisp puff pastry crust layered with a smooth, sweet cream cheese filling and topped with juicy cherries. Perfect as a dessert or a fruity breakfast treat, this rustic pie combines creamy, tangy, and fruity flavors with an inviting golden crust.
Ingredients
Pastry
- 1 sheet puff pastry
Filling
- 8 oz cream cheese, softened
- 1/4 cup sugar
- 1 egg yolk
- 1 tsp vanilla extract
- 1 cup pitted cherries (fresh or jarred)
- 1 tbsp cornstarch (if using fresh cherries)
Topping
- 1 egg, beaten (for egg wash)
Instructions
- Preheat Oven: Preheat your oven to 375°F (190°C). Line a baking sheet with parchment paper to prevent sticking.
- Prepare Pastry: Unfold the puff pastry sheet on the lined baking sheet and score a 1-inch border all around the edges without cutting through, to help form a crust.
- Make Filling: In a bowl, beat together the softened cream cheese, sugar, egg yolk, and vanilla extract until the mixture is smooth and creamy.
- Assemble Pie: Spread the cream cheese mixture evenly within the scored border on the pastry. If using fresh cherries, toss them with cornstarch to thicken juices, then evenly arrange the cherries on top of the cream cheese filling.
- Form Edges: Fold and crimp the edges of the puff pastry over the filling to create a rustic, raised border. Brush the edges and exposed pastry with the beaten egg wash to give a beautiful golden finish during baking.
- Bake: Place the baking sheet in the preheated oven and bake for 25 to 30 minutes until the pastry is puffed up, golden brown, and the filling is set.
- Cool and Serve: Allow the pie to cool slightly on a wire rack so the filling firms up before slicing and serving.
Notes
- Use jarred cherries to save time, but fresh cherries tossed with cornstarch create a better texture for the filling.
- Ensure the cream cheese is softened for smoother mixing and a creamier filling.
- The scored border helps prevent the filling from leaking and provides a rustic look.
- Egg wash on pastry edges gives a shiny, golden crust.
- Let the pie cool a bit before slicing to avoid runny filling.
- Serve warm or at room temperature, optionally with a dusting of powdered sugar or a dollop of whipped cream.


