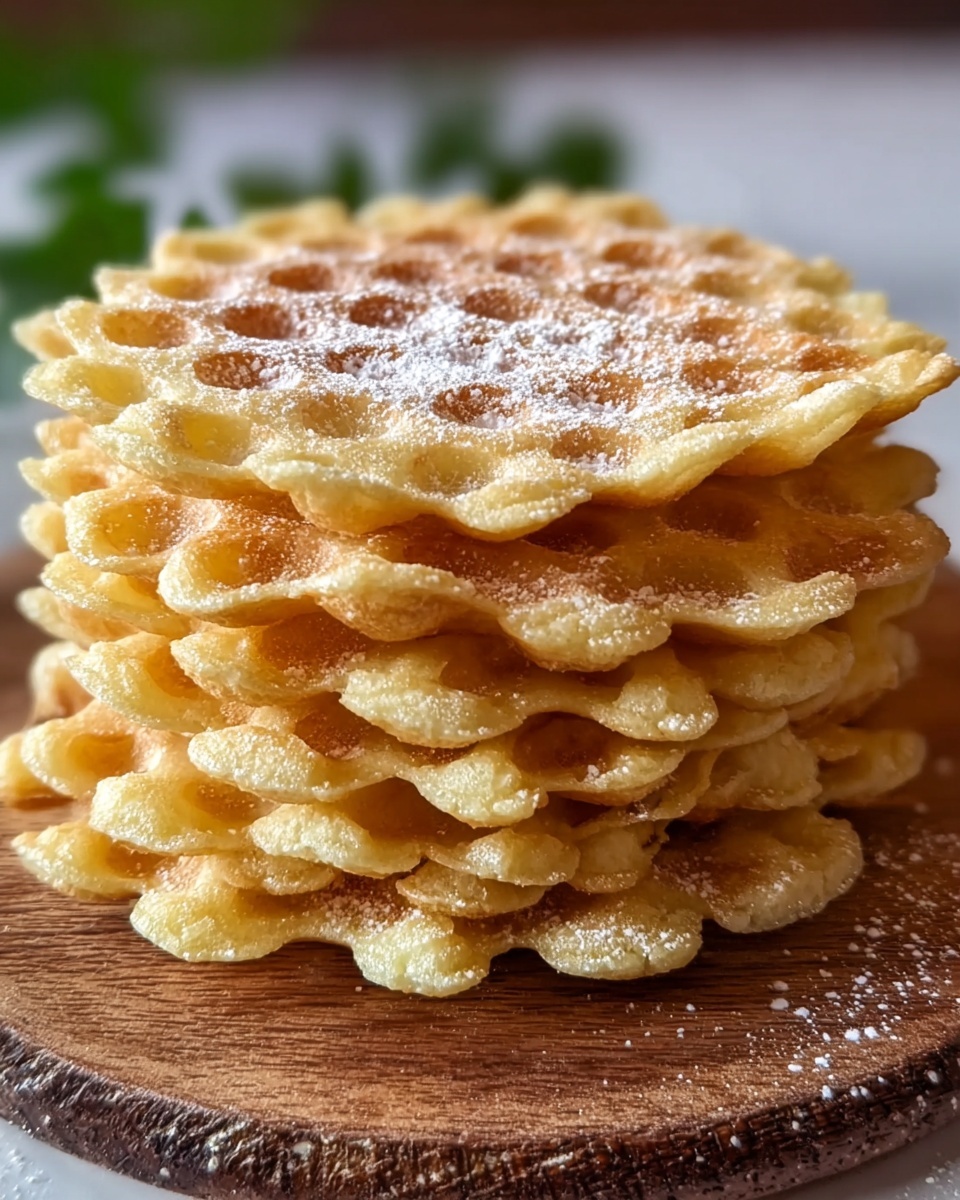
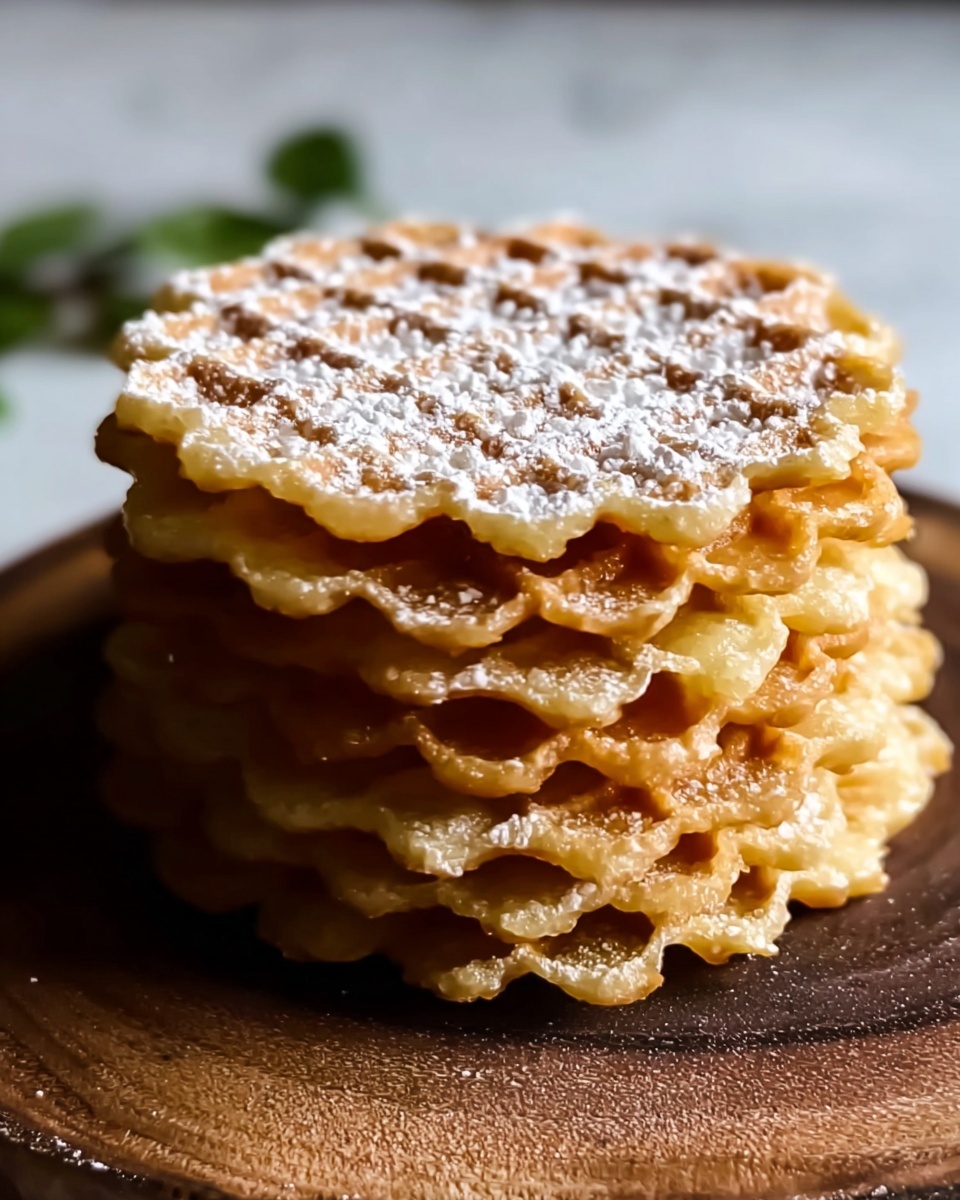
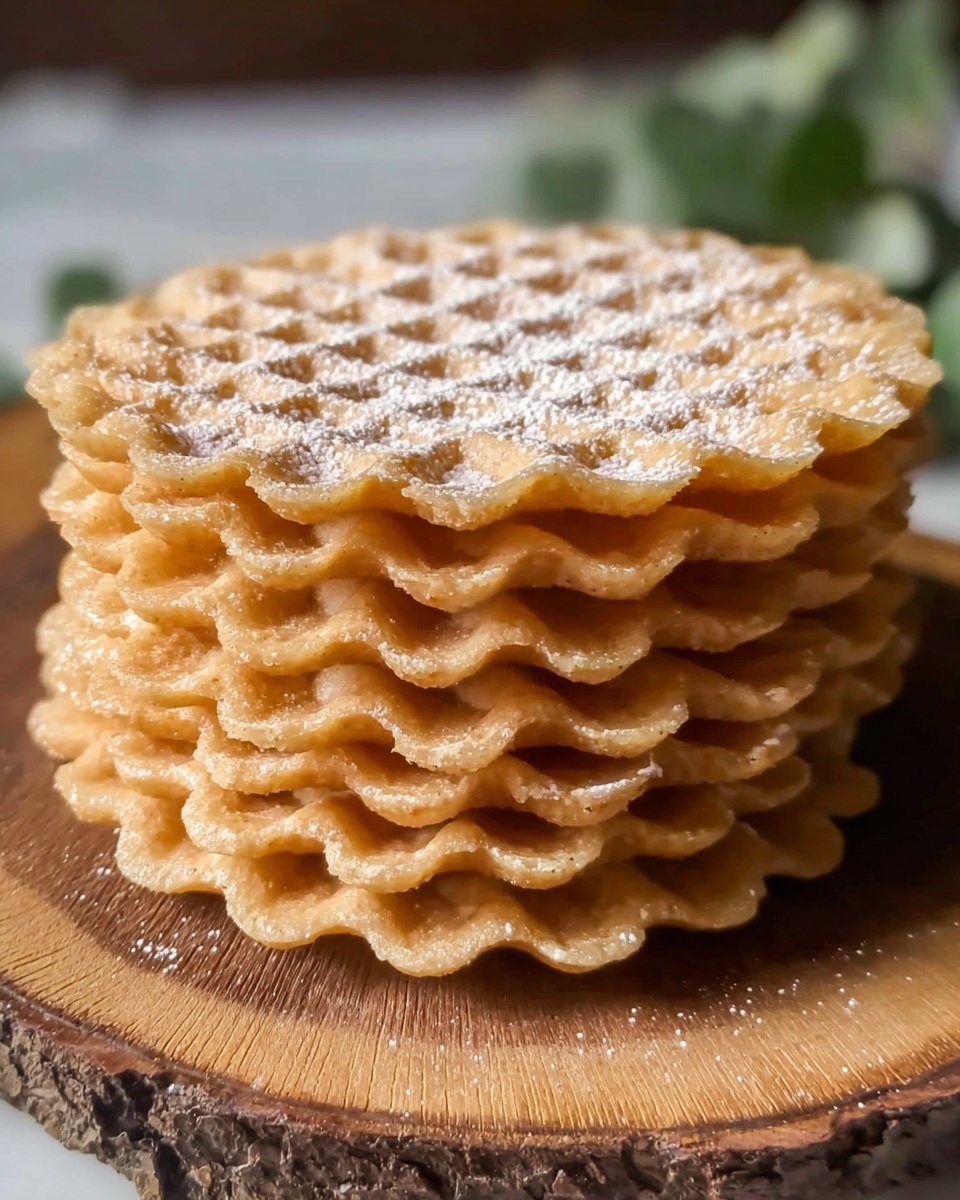
If you’ve ever tasted a delicate, crisp, and lightly sweet Italian cookie that melts in your mouth with every bite, then you’re about to fall in love with this Classic Pizzelle Recipe. These traditional waffles-like cookies are not only beautiful with their intricate snowflake patterns but also incredibly versatile. Their subtle vanilla and anise flavor creates a nostalgic, comforting treat perfect for any occasion, whether as a simple snack or an elegant dessert accompaniment. I’m absolutely thrilled to share with you my favorite way to bring these delightful pizzelle to life in your kitchen.
Ingredients You’ll Need
The beauty of this Classic Pizzelle Recipe lies in its simplicity. Each ingredient plays a crucial role in achieving that perfectly crisp texture, delicate sweetness, and subtle aroma that makes pizzelle unforgettable.
- 3 large Eggs: They provide structure and help to create a light, airy batter.
- 3/4 cup Granulated Sugar: Sweetens the cookies while helping with browning and texture.
- 1/2 cup Unsalted Butter, melted: Adds richness and helps achieve that crisp, tender finish.
- 1 teaspoon Vanilla Extract: Lends a warm, inviting fragrance and flavor.
- 1 teaspoon Anise Extract: Infuses the cookies with a traditional licorice-like note; almond extract works beautifully as an alternative.
- 1 3/4 cups All-Purpose Flour: The base that balances the batter and gives the pizzelle their classic form.
- 1 1/2 teaspoons Baking Powder: Provides a slight lift for lightness without compromising crispness.
- Pinch of Salt: Elevates all the flavors, making every bite balanced and satisfying.
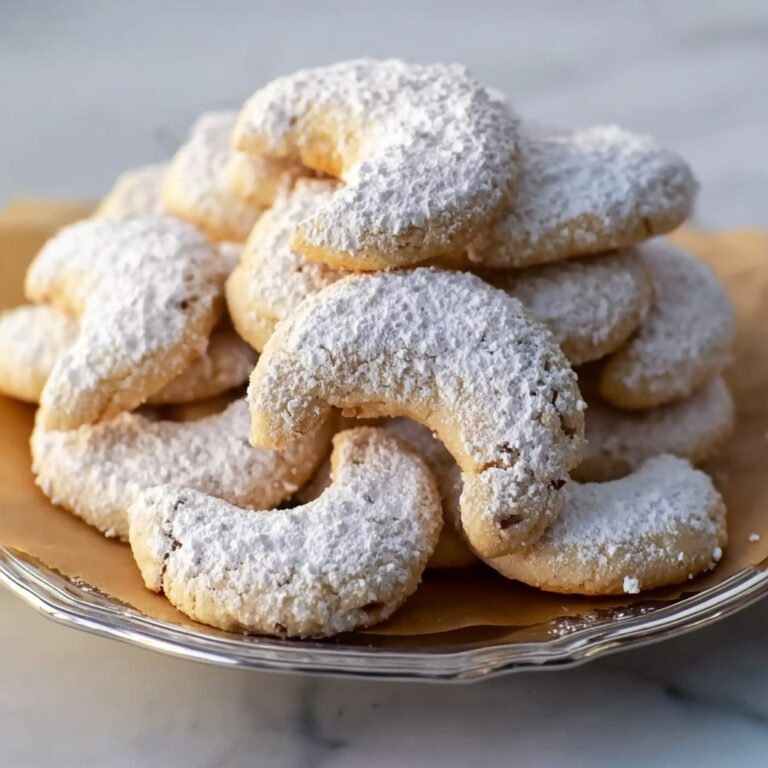
- Powdered Sugar, for dusting (optional): Adds a pretty, sweet finishing touch perfect for presentation.
How to Make Classic Pizzelle Recipe
Step 1: Preheat Your Pizzelle Iron
Begin by preheating your pizzelle iron so it’s ready to go when your batter is mixed. If you don’t own a pizzelle iron, a waffle maker can be a handy substitute—though the traditional design gives those iconic snowflake patterns that make pizzelle so charming.
Step 2: Whisk Together the Wet Ingredients
In a medium bowl, vigorously whisk the eggs and granulated sugar until the mixture becomes light and frothy. This step is key because it incorporates air that creates the cookie’s light texture. Next, add the melted butter, vanilla extract, and your choice of either anise or almond extract. Stir everything until beautifully combined and fragrant.
Step 3: Combine the Dry Ingredients
In a separate bowl, sift together the all-purpose flour, baking powder, and salt. This ensures that the leavening agent is evenly distributed throughout the flour, preventing any unwanted lumps. Gradually pour the dry ingredients into the wet mixture, folding gently until you have a smooth, cohesive batter that’s ready to bake.
Step 4: Cook Your Pizzelle
Lightly grease your pizzelle iron with either cooking spray or melted butter to prevent sticking. Drop about one tablespoon of batter onto the center of the hot iron, adjusting the amount depending on your iron’s size. Close the lid and cook for roughly 30 seconds to 1 minute, or until the pizzelle turn a lovely golden brown. The smell at this point is utterly irresistible!
Step 5: Cool and Crisp
Carefully lift the pizzelle off the iron and place them on a wire rack to cool. This step allows the cookies to crisp up perfectly — they start soft but become satisfyingly crunchy as they cool down. If you like, sprinkle them with a light dusting of powdered sugar to add a charming touch.
Step 6: Enjoy or Fill
Once your pizzelle are completely cooled, enjoy their crisp, delicate flavor right away. Or get creative and use them as a base for sweet treats by adding whipped cream, mascarpone, or even chocolate. I promise this Classic Pizzelle Recipe lends itself to so many delicious possibilities!
How to Serve Classic Pizzelle Recipe
Garnishes
A simple sprinkle of powdered sugar immediately enhances the pizzelle’s beauty and adds just a whisper of additional sweetness. You can also dust with cocoa powder or drizzle melted chocolate for a more decadent finish.
Side Dishes
Pizzelle pair wonderfully with hot beverages like coffee, espresso, or tea, making them a perfect accompaniment to afternoon gatherings or morning indulgence. They’re also fantastic alongside fresh berries or a scoop of ice cream for a light dessert.
Creative Ways to Present
These intricate cookies are fantastic on their own, but why stop there? Try rolling them into cones while still warm to use as edible cups for mousse or gelato. You can even sandwich two pizzelle with Nutella, ricotta, or your favorite jam to create irresistible cookie sandwiches.
Make Ahead and Storage
Storing Leftovers
Because pizzelle are best enjoyed crisp, store any leftovers in an airtight container at room temperature. This helps maintain their texture for several days. Avoid sealing them while still warm to prevent moisture buildup and sogginess.
Freezing
You can freeze pizzelle by layering them between sheets of parchment paper in a tightly sealed container or freezer bag. When you’re ready, thaw them at room temperature for a few minutes, and they’ll be ready to enjoy once again.
Reheating
If your stored pizzelle lose their crispness, a quick reheat in a preheated oven at 300°F for about 5 minutes will revive their crunch beautifully. Just keep an eye on them to avoid over-browning!
FAQs
Can I make pizzelle without an anise extract?
Absolutely! If you’re not a fan of anise, almond extract is a fantastic alternative that offers a lovely nutty aroma, or you can simply omit it for a purer vanilla taste.
What if I don’t have a pizzelle iron?
While a pizzelle iron is ideal for authentic shapes and patterns, a waffle maker can work in a pinch. The texture won’t be exactly the same, but you’ll still enjoy tasty, crisp cookies.
How do I prevent pizzelle from sticking to the iron?
Lightly greasing the iron before each batch with cooking spray or melted butter is key to easy removal. Also, avoid overfilling the iron to prevent batter from leaking and sticking.
Can pizzelle be made gluten-free?
With some experimentation, yes! Substitute the all-purpose flour with a gluten-free blend suitable for baking, but keep in mind the texture and crispness might vary slightly.
How long do pizzelle stay fresh?
Stored properly in an airtight container at room temperature, pizzelle stay crisp and delicious for up to a week. Beyond that, they may lose their crunch.
Final Thoughts
This Classic Pizzelle Recipe is truly a treasure to have in your baking repertoire. With its simple ingredients and straightforward steps, you can create something both traditional and wonderfully versatile that never fails to impress. I encourage you to give this recipe a try, share it with family and friends, and let these crisp, fragrant cookies bring a little Italian magic into your home.
Print
Classic Pizzelle Recipe
- Prep Time: 15 minutes
- Cook Time: 15 minutes
- Total Time: 30 minutes
- Yield: 20-24 pizzelle
- Category: Dessert
- Method: Baking
- Cuisine: Italian
Description
Classic Pizzelle are traditional Italian waffle cookies known for their delicate, crisp texture and subtle anise flavor. These thin, beautifully patterned cookies are made from a simple batter of eggs, sugar, butter, and flour, flavored with vanilla and anise or almond extract. Perfect for festive occasions or everyday treats, pizzelle can be enjoyed plain or filled with delicious creams or chocolate.
Ingredients
Wet Ingredients
- 3 large Eggs
- 3/4 cup Granulated Sugar
- 1/2 cup Unsalted Butter, melted
- 1 teaspoon Vanilla Extract
- 1 teaspoon Anise Extract (or almond extract for a different flavor)
Dry Ingredients
- 1 3/4 cups All-Purpose Flour
- 1 1/2 teaspoons Baking Powder
- Pinch of Salt
Optional
- Powdered Sugar, for dusting
Instructions
- Preheat the Pizzelle Iron: Preheat your pizzelle iron following the manufacturer’s instructions. If unavailable, a waffle maker may be used as a substitute.
- Prepare Wet Ingredients: In a medium bowl, whisk the eggs and granulated sugar until the mixture becomes light and frothy. Add the melted butter, vanilla extract, and anise or almond extract and mix thoroughly.
- Combine Dry Ingredients: In a separate bowl, sift together the all-purpose flour, baking powder, and salt to ensure an even texture.
- Mix Batter: Gradually add the dry ingredients into the wet ingredients, stirring gently until a smooth batter forms without lumps.
- Grease the Iron: Lightly grease the pizzelle iron with cooking spray or brush with melted butter to prevent sticking.
- Cook Pizzelle: Spoon about 1 tablespoon of batter (adjust based on your iron size) onto the center of the iron. Close the lid and cook for 30 seconds to 1 minute, or until the pizzelle turn golden brown and crisp.
- Cool Cookies: Carefully remove the pizzelle from the iron and place them on a wire rack to cool, allowing them to crisp up fully.
- Serve: Optionally dust the cooled pizzelle with powdered sugar. Enjoy them plain or filled with creams like whipped cream, mascarpone, or chocolate spreads.
Notes
- For different flavors, substitute anise extract with almond extract.
- Cooking time may vary based on the pizzelle iron model; monitor closely to avoid burning.
- Use a wire rack to cool the pizzelle so they remain crisp rather than soggy.
- Store pizzelle in an airtight container to maintain freshness.
- Pizzelle can be shaped into cones or tubes while still warm for decorative presentations.


