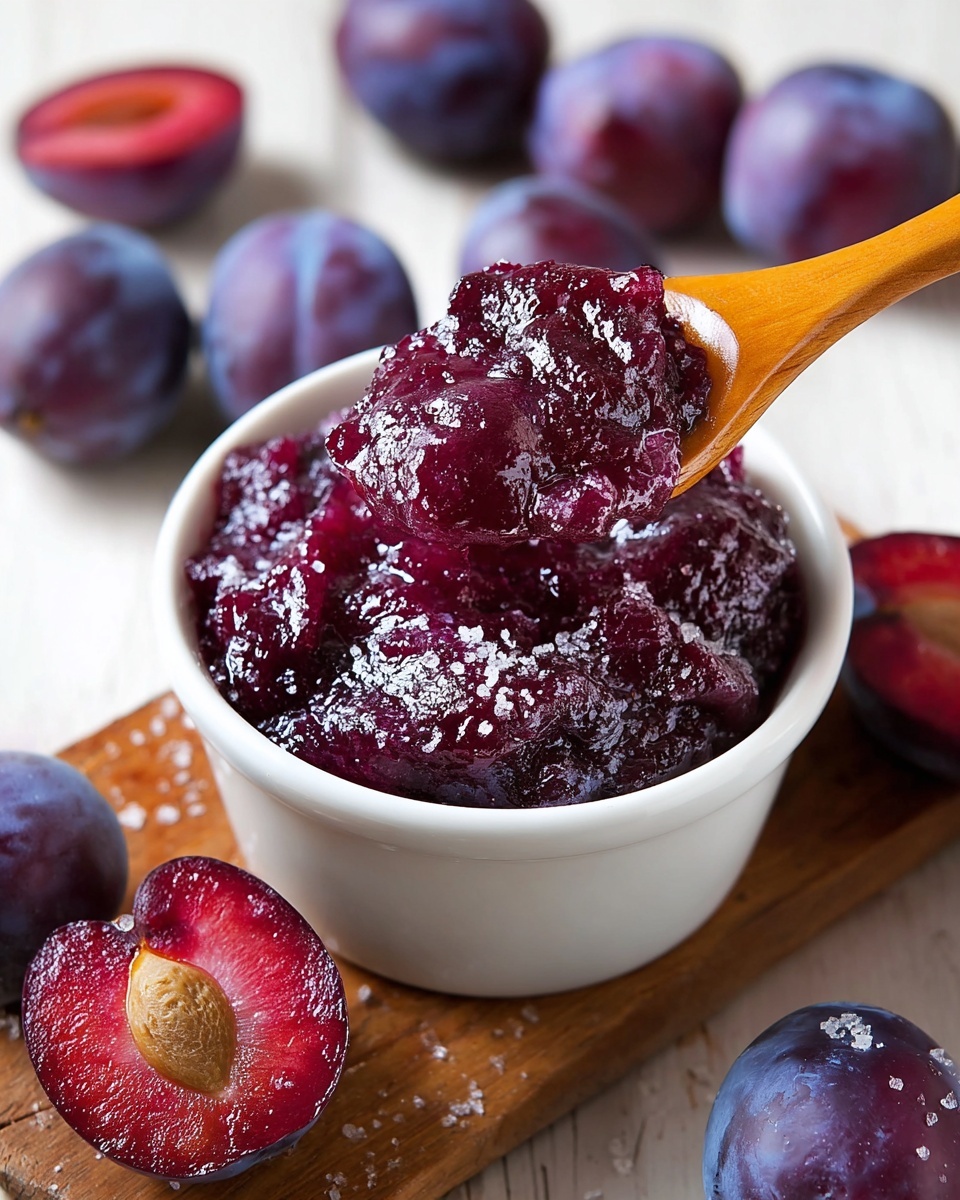
If you’ve ever wished for a homemade spread bursting with fresh, fruity flavor to brighten your mornings or sweeten your afternoons, look no further than this Easy Plum Jam Recipe. It’s a delightful way to capture the juicy sweetness and subtle tartness of ripe plums in a jar, perfect for spreading on toast or swirling into yogurt. The beauty of this recipe lies in its simplicity and the lovely balance of flavors that come together effortlessly, making it one of those kitchen treasures you’ll return to again and again.
Ingredients You’ll Need
Creating this Easy Plum Jam Recipe starts with a handful of straightforward ingredients that work beautifully together to achieve the perfect taste, texture, and color. Each item plays its part in crafting that luscious, spoonable jam you’ll love.
- Fresh plums: About 2 pounds, pitted and chopped to bring natural juiciness and vibrant color.
- Granulated sugar: 1 1/2 cups, to balance the tartness and help achieve the right jam consistency.
- Lemon juice: 1 tablespoon, adds brightness and helps preserve the fruit’s fresh flavor.
- Ground cinnamon (optional): Just 1/4 teaspoon for a warm, subtle spice that deepens the jam’s flavor complexity.
How to Make Easy Plum Jam Recipe
Step 1: Prepare the Plums
The first step is to wash your beautiful plums thoroughly, then carefully pit and chop them into small, even pieces. This ensures every bite carries a smooth texture and that the fruit cooks down nicely without any surprises.
Step 2: Combine Ingredients
Next, toss your chopped plums into a large saucepan with the sugar and lemon juice. Once mixed well, let this mixture sit for about 15 minutes. This resting period allows the sugar to start drawing out the plum juices, creating a flavorful base for your jam.
Step 3: Cook the Jam
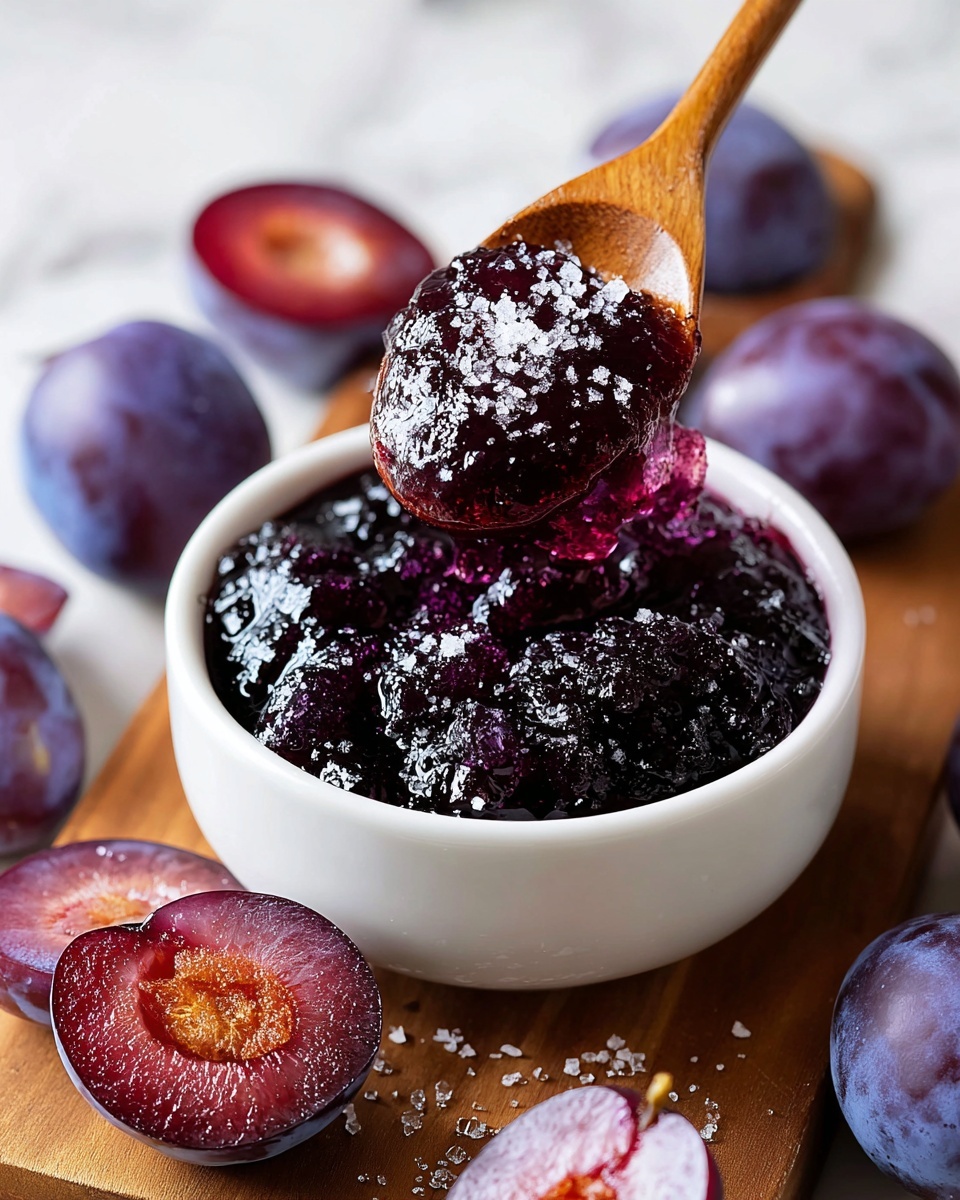
Turn the heat to medium and bring your plum mixture to a gentle boil, stirring often to prevent sticking. Then, reduce the heat and let it simmer for 25 to 30 minutes, stirring occasionally. If you prefer a smoother texture, this is the time to mash with a potato masher or use a hand blender with care.
Step 4: Test Consistency
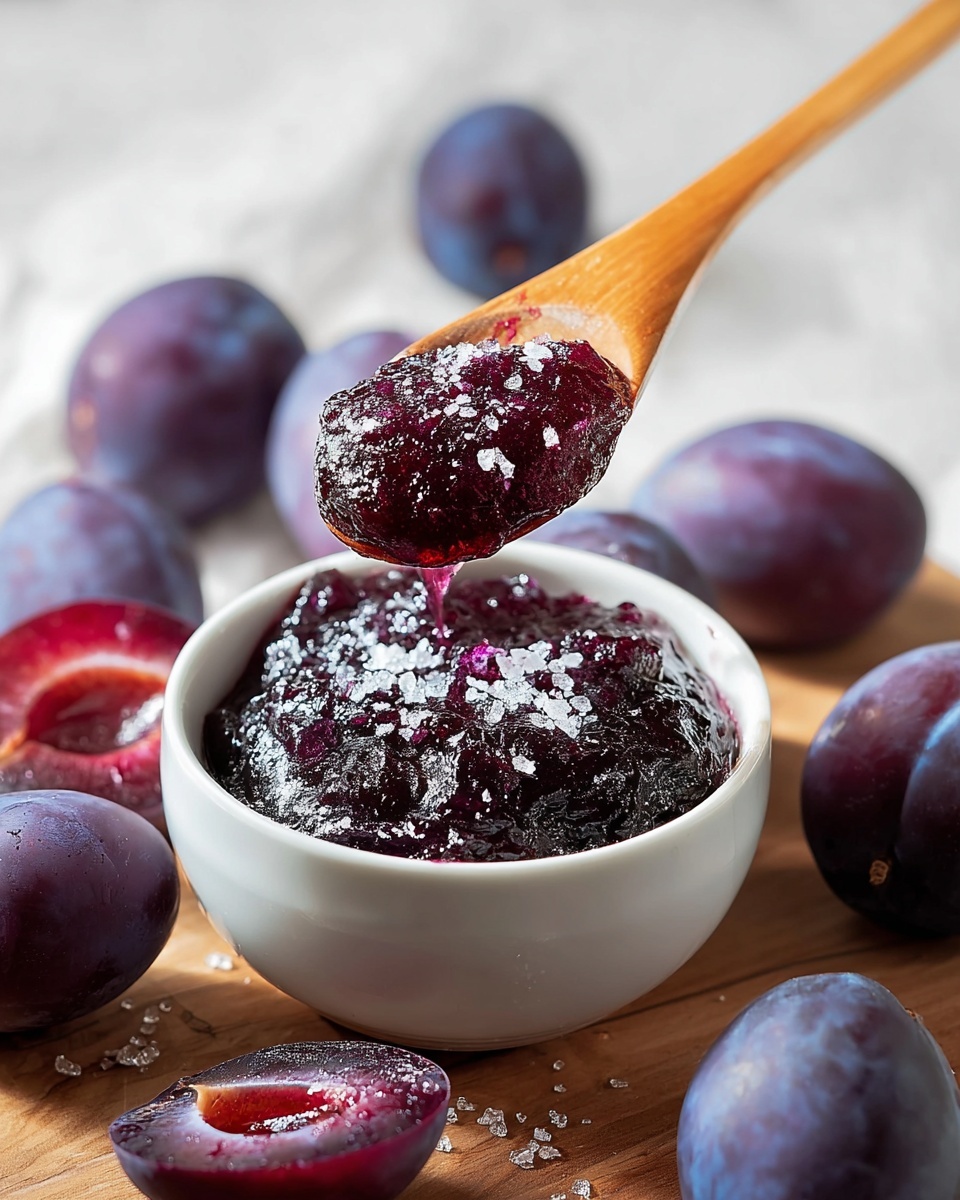
To check if your jam is ready, perform the wrinkle test: spoon a bit of jam onto a chilled plate and let it cool for a minute. Push the edge with your finger — if it wrinkles and holds form, your jam is perfectly set. If not, cook it a little longer and test again.
Step 5: Cool and Store
Once your jam reaches the ideal consistency, remove it from the heat. Let it cool slightly before transferring it into sterilized jars. Seal the jars tightly, allow them to come to room temperature, then refrigerate to enjoy later or gift to a special someone.
How to Serve Easy Plum Jam Recipe
Garnishes
Adding fresh herbs like a sprig of mint or a thin slice of lemon zest on top of your plum jam can elevate its appearance and offer a fresh aroma that delights the senses before the first bite.
Side Dishes
This jam pairs wonderfully with buttery toast or flaky croissants for breakfast, and it’s a knockout alongside creamy cheeses such as brie or ricotta on a charcuterie board. It also shines as a sweet touch on plain yogurt or oatmeal.
Creative Ways to Present
For a fun twist, try swirling the jam into vanilla ice cream or folding it into pancake or waffle batter for a fruity surprise in every bite. Layer it in parfait glasses with granola and fresh fruit for a simple yet impressive dessert.
Make Ahead and Storage
Storing Leftovers
Once opened, store your Easy Plum Jam Recipe in the refrigerator where it will remain fresh for up to three weeks. Make sure to always use a clean spoon to keep it tasting its best.
Freezing
If you want to keep your jam longer, it freezes beautifully. Transfer portions to airtight containers or freezer-safe bags, leaving some space for expansion. Frozen plum jam can last up to six months without losing flavor or texture.
Reheating
To enjoy your jam warm, gently heat it in a small saucepan over low heat, stirring occasionally until it reaches the desired temperature. Avoid boiling, which can alter the texture and flavor.
FAQs
Can I use frozen plums for this Easy Plum Jam Recipe?
Absolutely! Frozen plums work well, especially when fresh ones aren’t in season. Just thaw them completely, drain any excess liquid, and proceed with the recipe as usual.
How long does homemade plum jam last?
When stored properly in sterilized jars and refrigerated, homemade plum jam can last about three weeks after opening. Unopened and sealed jars can keep for several months in the fridge or freezer.
Is it necessary to sterilize jars for storing jam?
Yes, sterilizing jars helps prevent spoilage by killing any bacteria or yeast that could cause your jam to spoil prematurely, ensuring your jam stays safe and delicious longer.
Can I reduce the sugar in this Easy Plum Jam Recipe?
While sugar is important for texture and preservation, you can reduce it slightly if you prefer a less sweet jam. Keep in mind it may affect the consistency and shelf life, so adjust gradually.
What should I do if my jam is too runny?
If your jam didn’t thicken enough, simply return it to the stove and simmer it longer, stirring frequently. The extra cooking time helps evaporate excess liquid and concentrates the flavors.
Final Thoughts
This Easy Plum Jam Recipe is a pure joy to make and even more satisfying to taste. It’s a wonderful way to celebrate the sweet, tangy magic of plums anytime you want, and I hope it becomes a delightful staple in your kitchen. Once you try it, you’ll see just how simple and rewarding homemade jam can be!
Print
Easy Plum Jam Recipe
- Prep Time: 15 minutes
- Cook Time: 30 minutes
- Total Time: 45 minutes
- Yield: 3 servings (approximately 1.5 cups of jam)
- Category: Condiment
- Method: Stovetop
- Cuisine: American
Description
This Easy Plum Jam recipe offers a simple and delicious way to preserve fresh plums into a sweet, spreadable treat. Made with just a few ingredients and a straightforward stovetop cooking method, this homemade plum jam is perfect for sweetening your breakfast or adding flavor to desserts. The optional cinnamon adds a warm spiced note, making it a versatile and delightful homemade preserve.
Ingredients
Plums
- 2 pounds fresh plums, pitted and chopped
Sugar and Seasoning
- 1 1/2 cups granulated sugar
- 1 tablespoon lemon juice
- 1/4 teaspoon ground cinnamon (optional)
Instructions
- Prepare the Plums: Wash the fresh plums thoroughly, pit them to remove the stones, and chop the fruit into small pieces, readying them for cooking.
- Combine Ingredients: In a large saucepan, mix the chopped plums, granulated sugar, and lemon juice. Allow the mixture to sit for about 15 minutes so the sugar can start to draw out the natural juices from the plums.
- Cook the Jam: Place the saucepan over medium heat and bring the mixture to a boil while stirring frequently to prevent sticking. After boiling, reduce the heat to a simmer and continue cooking for 25 to 30 minutes, stirring occasionally to avoid burning. For a smoother consistency, mash the fruit with a spoon or blend it briefly if desired.
- Test Consistency: To check if the jam has set, spoon a small amount onto a chilled plate and let it cool for a minute. If the jam wrinkles when pushed with a finger, it has reached the desired consistency. If not, continue cooking for a few more minutes and repeat the test.
- Cool and Store: Remove the saucepan from the heat and let the jam cool slightly. Transfer the jam into sterilized jars, seal them tightly, and allow to cool completely at room temperature before refrigerating to preserve freshness.
Notes
- You can adjust the sugar amount to taste depending on the sweetness of the plums.
- Adding cinnamon is optional but adds a nice warm flavor.
- For a chunkier jam, mash the plums less; for a smoother jam, blend them thoroughly.
- Ensure jars are properly sterilized to extend shelf life and safety.
- Use the wrinkle test to make sure the jam sets well.


