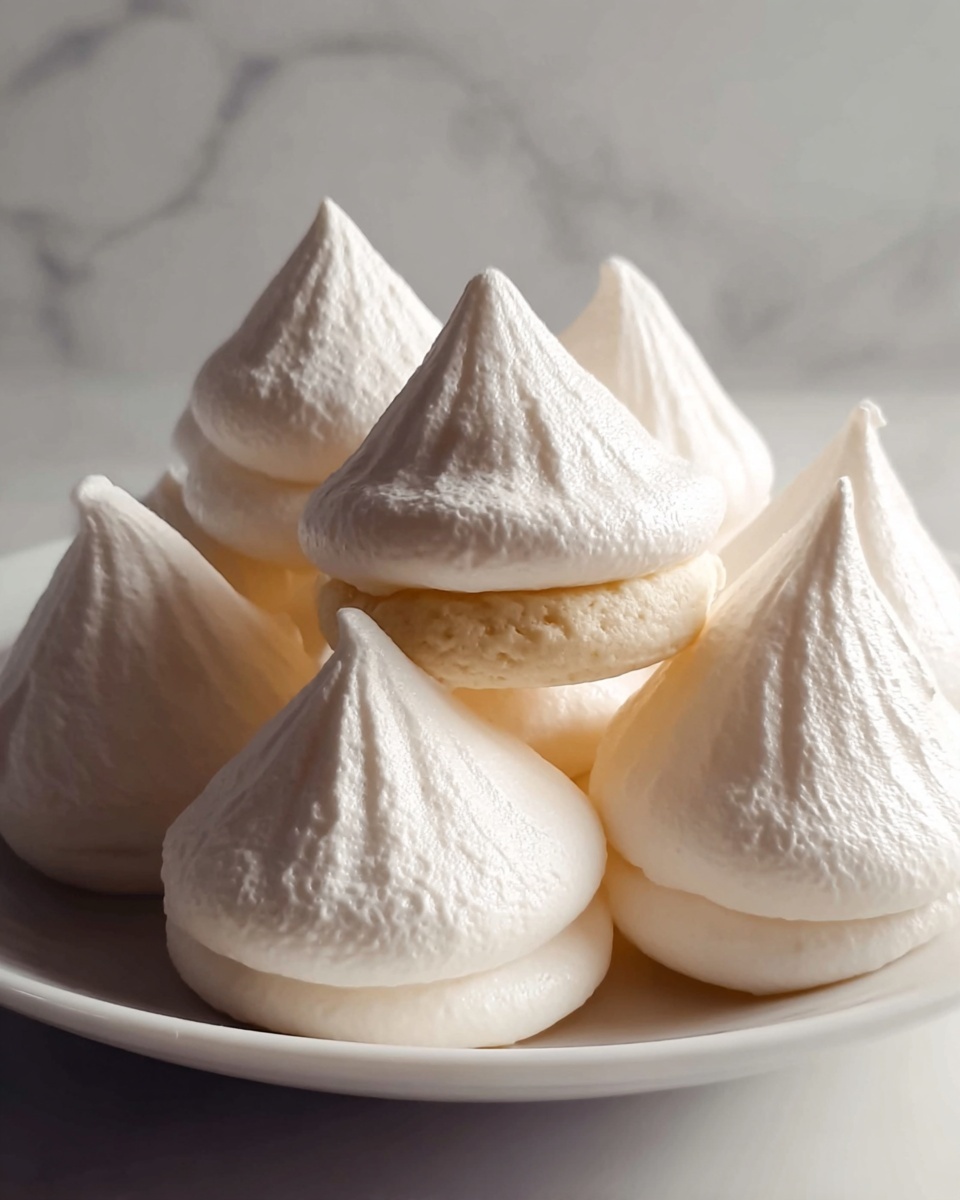
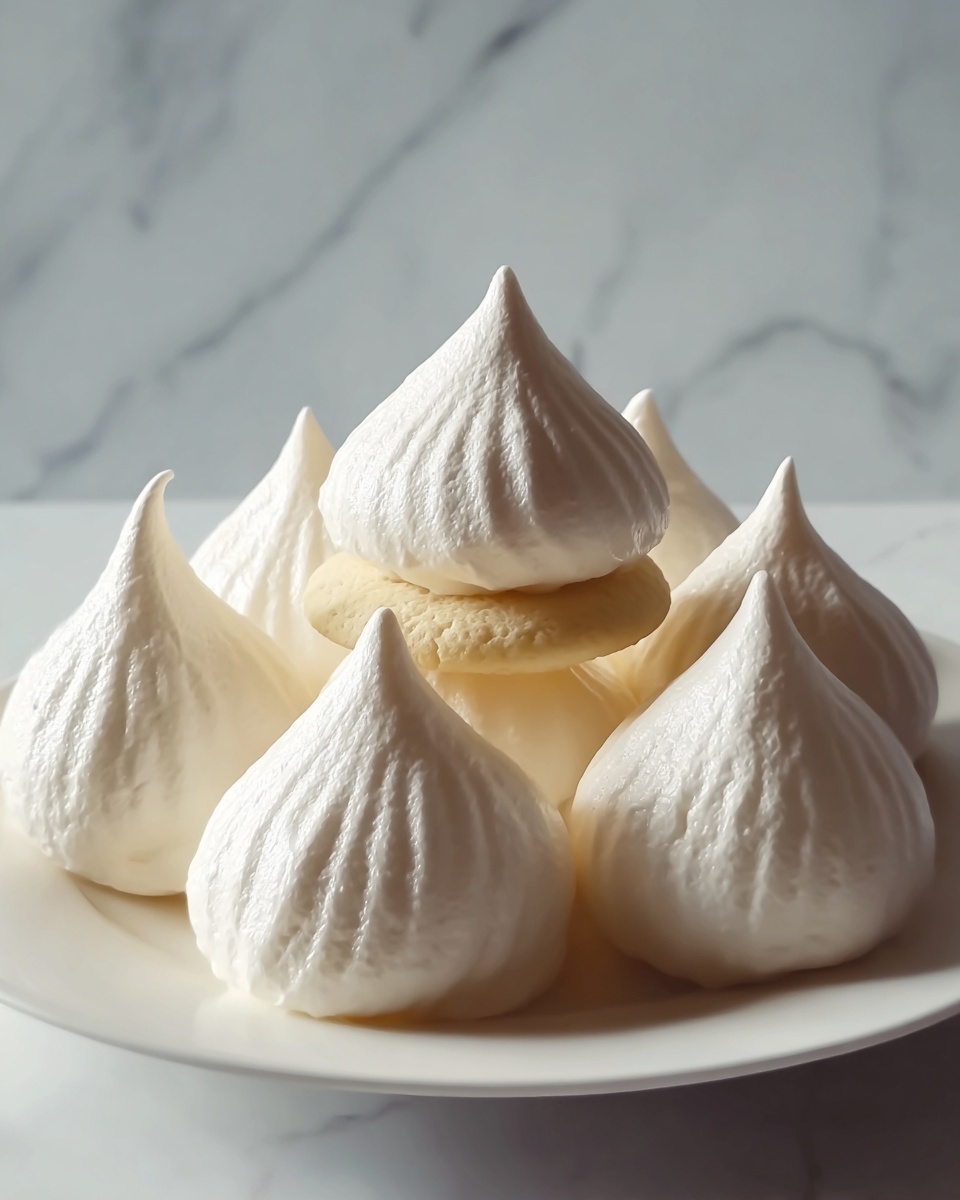
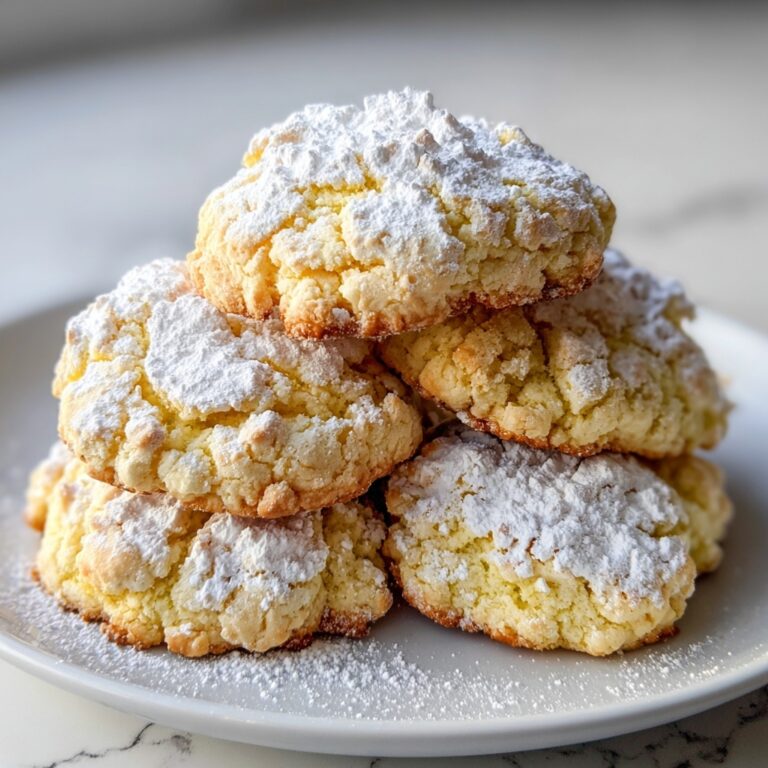
If you’ve ever thought meringues were off-limits without egg whites, prepare to have your mind joyfully changed with this Vegan Meringues Recipe. This delightful treat captures all the light, airy sweetness you’d expect from traditional meringues but uses aquafaba—the magical liquid from chickpeas—to whip up a fluffy, glossy, and crisp delight that will amaze everyone, vegan or not. With just a handful of simple ingredients and a little patience, you’ll create cookie-like clouds that melt in your mouth, perfect for snacking, decorating desserts, or gifting to loved ones.
Ingredients You’ll Need
These ingredients might be few, but each plays a starring role in creating the perfect vegan meringues. The simplicity here lets the textures and subtle flavors shine through, making every bite a crispy, sweet delight.
- Aquafaba: This is the secret star—the liquid from canned chickpeas that whips up just like egg whites, providing structure and volume.
- Cream of Tartar: A little acid that stabilizes the aquafaba foam, ensuring your meringues hold their shape and stay fluffy.
- Granulated Sugar: Gradually added to sweeten the mixture and help create that shiny, crisp exterior.
- Vanilla Extract: Adds a warm, inviting flavor that transforms these meringues into a cozy treat.
How to Make Vegan Meringues Recipe
Step 1: Preheat the Oven
Start by preheating your oven to a low 200°F (93°C). Line one or two large baking sheets with parchment paper—this ensures your meringues won’t stick and makes cleanup a breeze. Patience here is key because these cookies bake slowly to develop that perfect crisp texture.
Step 2: Prepare the Meringue Base
Pour the aquafaba and cream of tartar into a large bowl. Use a hand mixer or stand mixer with the whisk attachment to beat on high speed for about 5 minutes. You’ll see the mixture lighten and form soft peaks—that’s your sign that the liquid is starting to transform into fluffy clouds.
Step 3: Incorporate the Sugar
Slowly add the granulated sugar, just a few tablespoons at a time, while continuing to beat the mixture. This slow addition helps the sugar dissolve fully, avoiding any gritty texture in your final product. Once all the sugar is added, mix in the vanilla extract. Keep whipping for another 5 minutes or until you get stiff peaks and the mixture turns thick and glossy, like shiny white frosting.
Step 4: Shape the Meringues
Transfer your meringue mixture into a piping bag fitted with a large star tip—or use a ziplock bag with a snipped corner if you don’t have fancy tools. Pipe small circles or delicate “kisses” onto your prepared baking sheets, leaving about an inch between each. This spacing helps air circulate evenly during baking, resulting in a uniform crispness.
Step 5: Bake to Perfection
Bake the meringues for 1 1/2 to 2 hours. Check them around the 90-minute mark by carefully cooling one for a minute and breaking it open to see if it’s dry through. If it’s still gooey in the middle, pop them back in until fully crisp. The oven’s low temperature means slow drying, which is essential for that signature meringue texture—crispy on the outside and completely dry inside.
Step 6: Cool and Store
Once baked perfectly, let the meringues cool completely on the baking sheets. This step allows them to firm up fully and prevents cracking. Store cooled meringues in an airtight container for 4 to 5 days to keep their crispness. Although fresh is always best, the texture holds beautifully, making them a great make-ahead treat.
How to Serve Vegan Meringues Recipe

Garnishes
Keep it simple or jazzy—sprinkle your meringues with finely chopped nuts, a light dusting of cocoa powder, or edible flower petals for visual and flavor flair. A drizzle of dairy-free chocolate sauce or a few fresh berries on the side can transform these bites into a mini dessert masterpiece.
Side Dishes
Serve these vegan meringues alongside a bowl of fresh fruit salad, a scoop of vegan ice cream, or a dollop of coconut whipped cream. Their light sweetness perfectly complements richer, creamier textures, adding a delightful contrast and a touch of elegance to any dessert platter.
Creative Ways to Present
Stack meringues with layers of fruit and coconut cream in clear glasses to create pretty vegan parfaits. Or arrange them as toppers to vegan cupcakes and cakes for added crunch and an eye-catching look. These meringues are as versatile as they are tasty, offering endless creative opportunities.
Make Ahead and Storage
Storing Leftovers
After cooling, keep any leftover vegan meringues in an airtight container at room temperature. Avoid moisture and humidity as much as possible—they love to stay crisp and dry. Stored properly, they maintain their delightful texture for up to 5 days.
Freezing
You can freeze these vegan meringues by placing them in a freezer-safe container separated by parchment paper to avoid sticking. They freeze well for up to 1 month. When you’re ready to enjoy, thaw them at room temperature inside the container to avoid condensation forming on the crisp surface.
Reheating
Unlike some baked goods, rewarming meringues isn’t recommended because heat and moisture can cause them to soften and lose their signature crunch. It’s best to enjoy them fresh or at room temperature, ensuring every bite is delightfully crisp.
FAQs
What is aquafaba and why is it used in Vegan Meringues Recipe?
Aquafaba is the liquid you find in canned chickpeas. It whips up like egg whites, making it an excellent vegan substitute that creates the airy, fluffy texture essential for meringues.
Can I use fresh chickpea water instead of canned for this recipe?
Yes, but the aquafaba from canned chickpeas tends to be more consistent in texture and easier to work with. If you use fresh cooking water, make sure it’s unsalted and cooled for best results.
What causes meringues to be sticky or chewy inside?
Insufficient baking time or oven temperature that is too high can leave the centers gooey. Slow baking at low heat dries out the meringues perfectly, creating that crisp crunch throughout.
Are there flavor variations I can try with this Vegan Meringues Recipe?
Absolutely! You can swap vanilla extract for almond or lemon extracts, fold in finely grated citrus zest, or sprinkle in cocoa powder for a chocolaty twist. The sky’s the limit for customizing your favorite flavors.
Can I make vegan meringues without cream of tartar?
You can omit it, but cream of tartar stabilizes the whipped aquafaba and helps the meringues keep their shape and volume. If you don’t have it, try substituting with a small amount of lemon juice or white vinegar.
Final Thoughts
There’s something truly magical about turning simple pantry staples into a batch of light, crisp vegan meringues that brighten up any snack time or celebration. This Vegan Meringues Recipe is more than just a dessert—it’s a chance to surprise your taste buds, impress guests, and enjoy a treat that’s comfortably plant-based without compromising on indulgence. Give it a whirl; I promise it’ll become a cherished staple in your kitchen!
Print
Vegan Meringues Recipe
- Prep Time: 10 minutes
- Cook Time: 2 hours
- Total Time: 2 hours 10 minutes
- Yield: 40 servings
- Category: Dessert
- Method: Baking
- Cuisine: Vegan
- Diet: Vegan
Description
These Vegan Meringues are a light, airy, and delightful treat made entirely without eggs using aquafaba, the liquid from canned chickpeas. Perfect for those seeking a vegan dessert option, these meringues are crisp on the outside and melt-in-your-mouth on the inside, flavored delicately with vanilla extract. They are simple to make, bake low and slow, and can be enjoyed fresh or stored for several days.
Ingredients
Vegan Meringue
- 1/2 cup aquafaba (liquid from a can of chickpeas)
- 1/4 teaspoon cream of tartar
- 3/4 cup granulated sugar
- 1 teaspoon vanilla extract
Instructions
- Preheat the Oven: Preheat your oven to 200°F (93°C) and line one or two large baking sheets with parchment paper to prepare for the meringues.
- Prepare the Meringue Base: In a large bowl, combine the aquafaba and cream of tartar. Using a hand mixer or stand mixer with a whisk attachment, beat on high speed for about 5 minutes until soft peaks form, giving your meringue base the light structure needed.
- Incorporate the Sugar: Gradually add the granulated sugar a few tablespoons at a time while continuing to beat the mixture. Add the vanilla extract and beat for about 5 more minutes until stiff peaks form and the mixture becomes thick and glossy.
- Shape the Meringues: Transfer the meringue mixture into a piping bag fitted with a large star tip or a ziplock bag with the corner snipped off. Pipe the mixture into small circles or “kisses” onto the prepared parchment-lined baking sheets, leaving about an inch of space between each meringue.
- Bake: Place the trays in the preheated oven and bake for 1 1/2 to 2 hours. Test doneness by removing a meringue and letting it cool for a minute; it should be crisp throughout and no longer gooey inside. Continue baking if needed.
- Cool and Store: Remove the meringues from the oven and allow them to cool completely on the baking sheets. Once cooled, store in an airtight container for up to 4-5 days to maintain freshness and crispness.
Notes
- Ensure your mixing bowl and whisk are clean and free from oil to achieve the best meringue volume.
- Adding sugar slowly helps the meringue achieve stability and a glossy finish.
- Bake at a low temperature to dry out the meringues instead of browning them.
- Aquafaba from canned chickpeas works best; homemade aquafaba can vary in consistency.
- Store meringues in an airtight container away from moisture to prevent sogginess.


