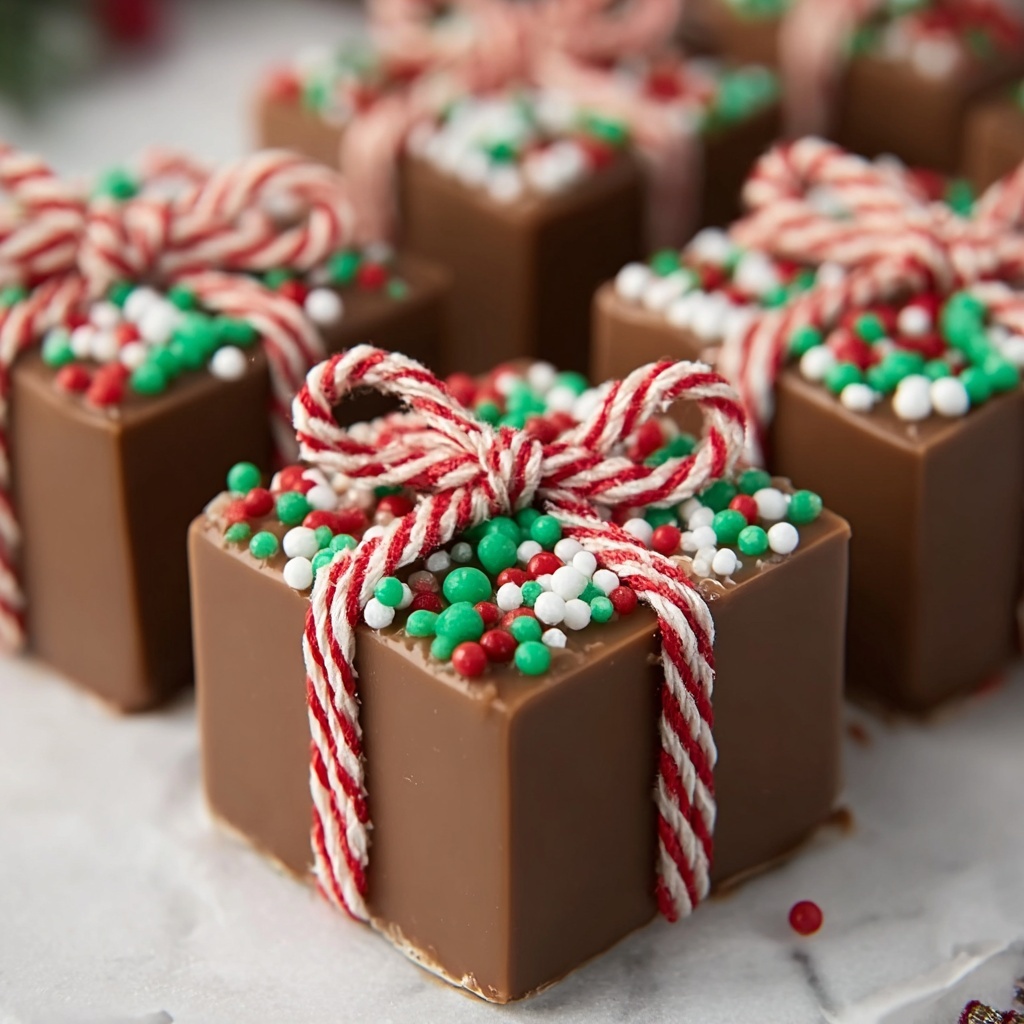
If you are looking for a festive treat that’s irresistibly creamy, delightfully sweet, and packed with holiday spirit, look no further than this Christmas Fudge Recipe. It effortlessly blends rich semi-sweet chocolate with buttery smoothness and festive pops of red and green sprinkles, creating a classic holiday confection that’s as joyful to make as it is to eat. Perfect for sharing or gifting, this fudge brings warmth to any celebration with every bite.
Ingredients You’ll Need
Getting started on this Christmas Fudge Recipe is a breeze, especially with a handful of simple but essential ingredients that perfectly balance flavor, texture, and that festive look.
- 3 cups semi-sweet chocolate chips: Choose good-quality chips to ensure a rich chocolate flavor and smooth finish.
- 1 can (14 ounces) sweetened condensed milk: This adds creamy sweetness and helps create fudge’s signature dense texture.
- 4 tablespoons unsalted butter: Adds luscious richness and smooth melting action.
- 1 teaspoon vanilla extract: Boosts the chocolate’s depth and adds warm aromatic notes.
- 1/4 teaspoon salt: Balances sweetness and enhances all the other flavors.
- 1/2 cup red and green holiday sprinkles: Brings festive color and a fun crunch that screams holiday cheer.
- 1/2 cup chopped walnuts or pecans (optional): For a delightful nutty crunch that pairs beautifully with the creamy fudge.
How to Make Christmas Fudge Recipe
Step 1: Prepare Your Pan
Start by lining an 8×8-inch baking pan with parchment paper, making sure to leave an overhang on the sides. This little step is a game-changer because it lets you lift out the fudge easily once it’s set, making slicing a breeze without any mess or fuss.
Step 2: Melt the Chocolate Mixture
In a medium saucepan over low heat, combine the semi-sweet chocolate chips, sweetened condensed milk, and butter. Stir continuously, patiently melding these ingredients until the mixture turns silky smooth and velvety. The low, gentle heat is essential here to avoid scorching and to achieve that perfect fudgy consistency.
Step 3: Flavor It Up
Remove the saucepan from heat and stir in the vanilla extract along with the salt. This is where the fudge’s flavor truly comes alive — the vanilla adds warmth, while the salt subtly balances the sweetness, creating a perfectly harmonious taste.
Step 4: Add Nuts if Desired
If you’re a fan of nutty textures, fold in the chopped walnuts or pecans now. They add a lovely crunch contrast to the creamy chocolate base and give the fudge a little extra festive flair.
Step 5: Spread and Decorate
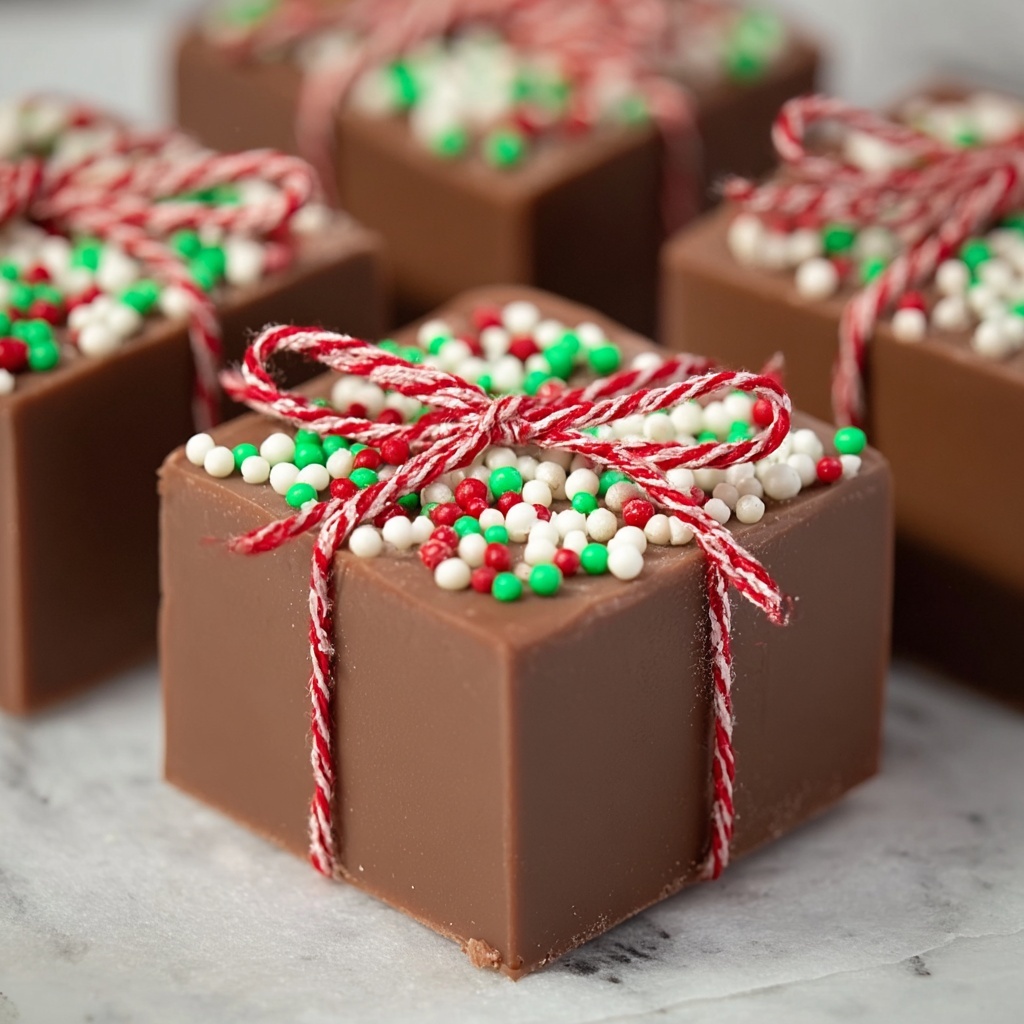
Pour the luscious mixture into the prepared pan and smooth it out evenly with a spatula. Before it sets, generously sprinkle the red and green holiday sprinkles on top, gently pressing them into the surface. These festive sprinkles don’t just look wonderful; they also add a delightful texture that lights up the whole dessert.
Step 6: Chill and Set
Transfer the pan to the refrigerator and let the fudge chill for at least 2 hours. This waiting time is crucial, allowing the fudge to firm up so it can be cut into perfect squares without crumbling.
Step 7: Slice and Serve
Once fully set, lift the fudge out of the pan using the parchment overhang and cut into 1-inch squares with a sharp knife. For the cleanest cuts, warm your knife under hot water, dry it, and slice confidently — this little trick keeps the fudge looking neat and inviting.
How to Serve Christmas Fudge Recipe

Garnishes
While the sprinkles already add cheerful color, you can take presentation up a notch by dusting a little powdered sugar over the fudge or adding a few whole nuts on top of each square. A sprinkle of edible glitter also creates a magical sparkle perfect for the holidays.
Side Dishes
Christmas fudge pairs wonderfully with warm beverages like a rich cup of hot cocoa, bold coffee, or spiced holiday tea. Serving these alongside can turn your fudge into part of a festive dessert board, tempting family and friends to indulge in multiple treats.
Creative Ways to Present
Put your Christmas Fudge Recipe in charming holiday-themed boxes or clear jars tied with ribbon for heartfelt gifts. Alternatively, arrange the fudge squares on a tiered dessert stand or wooden platter decorated with pine sprigs and cinnamon sticks for a beautiful centerpiece that invites guests to nibble and enjoy.
Make Ahead and Storage
Storing Leftovers
Store any leftover fudge in an airtight container in the refrigerator to keep it fresh and firm. Properly stored, it will stay delicious for up to 2 weeks, making it a perfect make-ahead option for holiday parties or last-minute gifts.
Freezing
You can freeze fudge if you want to keep it longer. Wrap individual squares tightly in plastic wrap and place them in a freezer-safe bag or container. When ready to enjoy, thaw in the refrigerator overnight to maintain texture and flavor.
Reheating
Fudge is best enjoyed chilled or at room temperature, so reheating is generally not necessary. However, if you prefer softer fudge, let it sit at room temperature for about 15 minutes before serving to take the chill off and soften the texture slightly.
FAQs
Can I use milk chocolate instead of semi-sweet chocolate chips?
Absolutely! Using milk chocolate will result in a sweeter and creamier fudge. Just be mindful of the overall sweetness and adjust the amount of sprinkles or nuts accordingly if desired.
How do I prevent the fudge from becoming grainy?
Stir continuously over low heat and avoid overheating the mixture. Using good-quality chocolate and a gentle heat ensures the chocolate melts smoothly and the fudge finishes creamy, not grainy.
Are there any nut-free variations?
Yes, simply omit the walnuts or pecans if you prefer a nut-free fudge. The texture will still be delightfully creamy and smooth, perfect for those with nut allergies or preferences.
Can I add other flavors to this Christmas Fudge Recipe?
Definitely! Try adding a teaspoon of peppermint extract for a minty twist or swirl in some caramel or peanut butter to customize your fudge and surprise your palate.
What is the best way to cut fudge into neat squares?
Use a sharp knife warmed under hot water and dried before each cut. This method prevents sticking and helps achieve clean, professional-looking fudge squares.
Final Thoughts
This Christmas Fudge Recipe is truly a joyous way to celebrate the season with friends and family. Its simple ingredients and straightforward steps deliver a show-stopping treat every time. Whether you’re gifted it, make it for a holiday party, or enjoy it curled up by the fire, this fudge will add that extra sparkle to your festive moments. Go ahead, give it a try—you’ll soon wonder how the holidays ever felt complete without it.
Print
Christmas Fudge Recipe
- Prep Time: 10 minutes
- Cook Time: 5 minutes
- Total Time: 2 hours 15 minutes
- Yield: 25 squares
- Category: Dessert
- Method: Stovetop
- Cuisine: American
- Diet: Vegetarian
Description
This Christmas Fudge recipe is a rich, creamy, and festive treat that’s perfect for the holiday season. Made with semi-sweet chocolate chips, sweetened condensed milk, and buttery goodness, it’s topped with colorful holiday sprinkles and optional nuts for added texture and flavor. Easy to prepare on the stovetop and requires no baking, this fudge is a delightful and crowd-pleasing dessert for any festive gathering.
Ingredients
Fudge Base
- 3 cups semi-sweet chocolate chips
- 1 can (14 ounces) sweetened condensed milk
- 4 tablespoons unsalted butter
- 1 teaspoon vanilla extract
- 1/4 teaspoon salt
Toppings
- 1/2 cup red and green holiday sprinkles
- 1/2 cup chopped walnuts or pecans (optional)
Instructions
- Prepare the Pan: Line an 8×8-inch baking pan with parchment paper, leaving an overhang to help lift the fudge out easily once set.
- Melt Ingredients: In a medium saucepan over low heat, combine the semi-sweet chocolate chips, sweetened condensed milk, and unsalted butter. Stir continuously to prevent burning, until the mixture is melted completely and smooth.
- Add Flavorings: Remove the saucepan from heat. Stir in the vanilla extract and salt to enhance the flavor profile of the fudge base.
- Mix in Nuts (Optional): Fold in the chopped walnuts or pecans if using, ensuring they are evenly distributed throughout the chocolate mixture.
- Pour and Spread: Immediately pour the fudge mixture into the prepared pan. Use a spatula to spread it evenly to the edges for uniform thickness.
- Add Sprinkles: Quickly top the surface with the red and green holiday sprinkles. Gently press them into the fudge so they adhere as it sets.
- Chill and Set: Place the pan in the refrigerator for at least 2 hours or until the fudge is firm and fully set.
- Cut into Squares: Once set, lift the fudge out of the pan using the parchment paper overhang. For cleaner cuts, use a sharp knife warmed under hot water and wiped dry before slicing into approximately 25 squares.
Notes
- Use high-quality semi-sweet chocolate chips for the best flavor and smooth texture.
- Store the fudge in an airtight container in the refrigerator to maintain freshness for up to 2 weeks.
- For cleaner, neater cuts, warm a sharp knife under hot water, dry it thoroughly, and slice the fudge to prevent sticking.


