
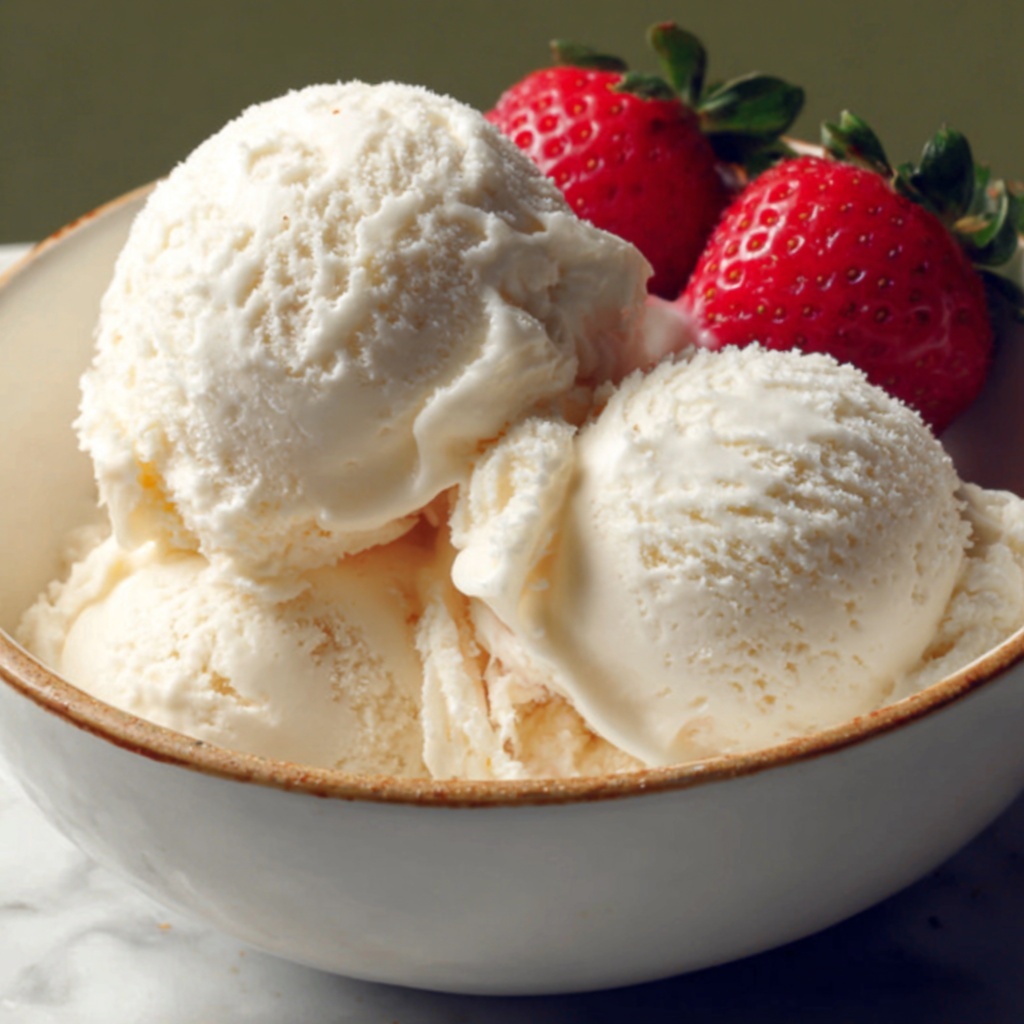
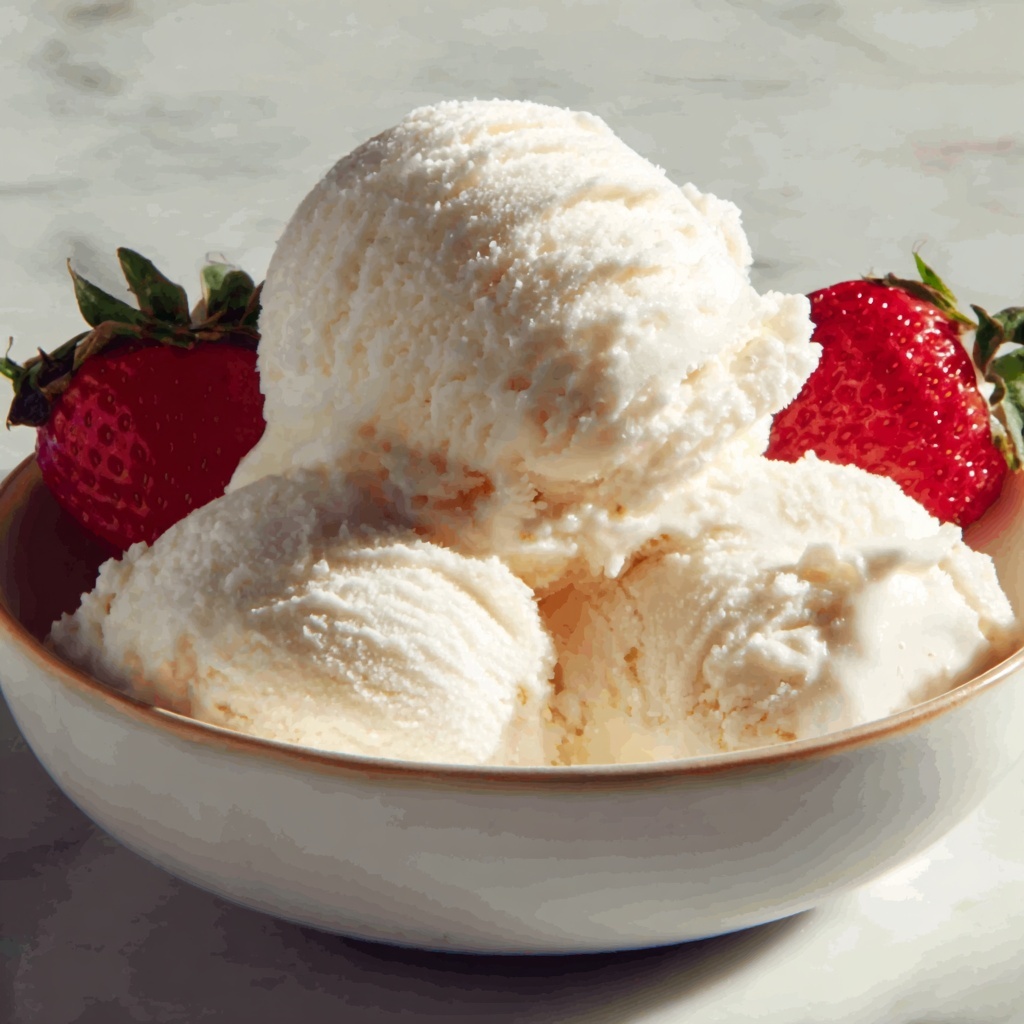
If you’ve ever dreamed of mastering a dessert that’s as delightful as it is accessible, you’re about to Create Pure Happiness With This Easy Homemade Ice Cream Recipe. This classic treat is that comforting scoop of joy you can craft right in your kitchen without fuss or fancy equipment. Creamy, smooth, and perfectly sweetened, this homemade ice cream will quickly become your go-to recipe to impress family, friends, or simply to spoil yourself. From the first velvety bite to the last cold spoonful, this recipe delivers pure happiness in every scoop.
Ingredients You’ll Need
The beauty of this recipe is in its simplicity. Each ingredient plays a key role, contributing to a creamy texture, balanced sweetness, or that inviting vanilla aroma that defines classic ice cream. Keeping it simple ensures you highlight the creamy richness without overwhelming the palate.
- 2 cups heavy cream: This is the star that brings luscious creaminess and a rich mouthfeel to your ice cream.
- 1 cup whole milk: Balances the cream’s richness and keeps the texture smooth and scoopable.
- 3/4 cup granulated sugar: Sweetens the mixture while helping to soften ice crystals for a perfect consistency.
- 1 tablespoon pure vanilla extract: Adds that classic, comforting vanilla flavor that defines this dessert.
- Pinch of salt: Enhances all the flavors and balances the sweetness beautifully.
- Optional add-ins (1/2 cup): Chocolate chips, crushed cookies, or fruit mix-ins add fun textures and bursts of flavor.
How to Make Create Pure Happiness With This Easy Homemade Ice Cream Recipe
Step 1: Combine the Base Ingredients
Start by whisking together the sugar, whole milk, and a pinch of salt in a mixing bowl. This step is crucial as it ensures the sugar dissolves completely, which helps create a smooth final ice cream texture without any gritty bits.
Step 2: Add Cream and Vanilla
Next, stir in the heavy cream and pure vanilla extract. The heavy cream is what gives your ice cream that rich mouthfeel, while the vanilla brings warmth and depth to the flavor.
Step 3: Chill the Mixture
Cover your bowl and refrigerate the mixture for at least 2 hours. Chilling is key—it not only helps blend the flavors but also prepares the mixture for better freezing results.
Step 4: Churn or Freeze
If you have an ice cream maker, this is where you follow the manufacturer’s instructions to churn the mixture until it reaches a soft-serve texture. No ice cream maker? No problem! Just pour the mixture into a freezer-safe container and prepare for the manual stirring step.
Step 5: Stir While Freezing
For those without machines, stirring every 30 minutes during the first 2-3 hours is critical to break up ice crystals. This hands-on step ensures your ice cream remains creamy rather than icy.
Step 6: Add Your Favorite Mix-Ins
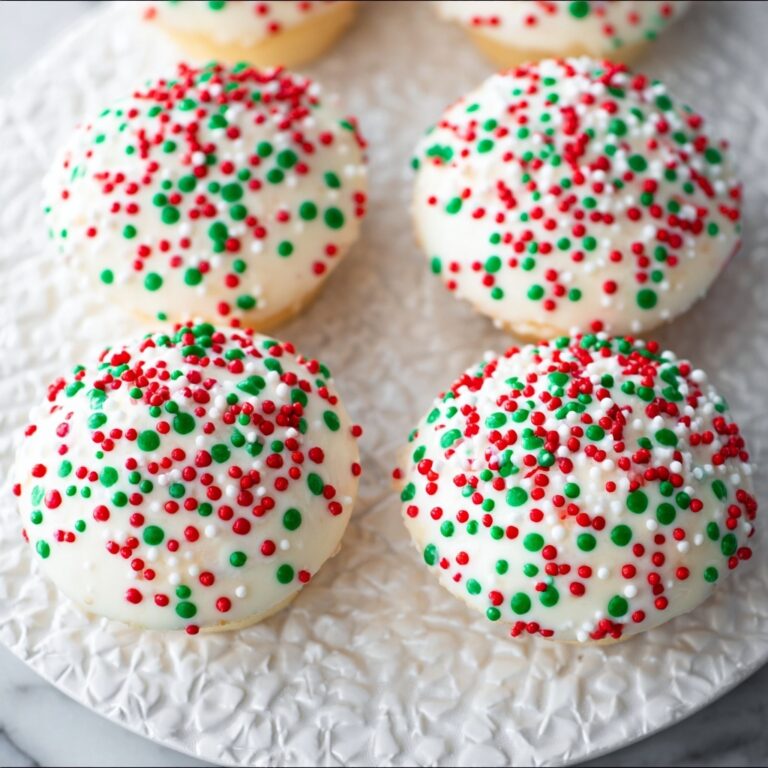
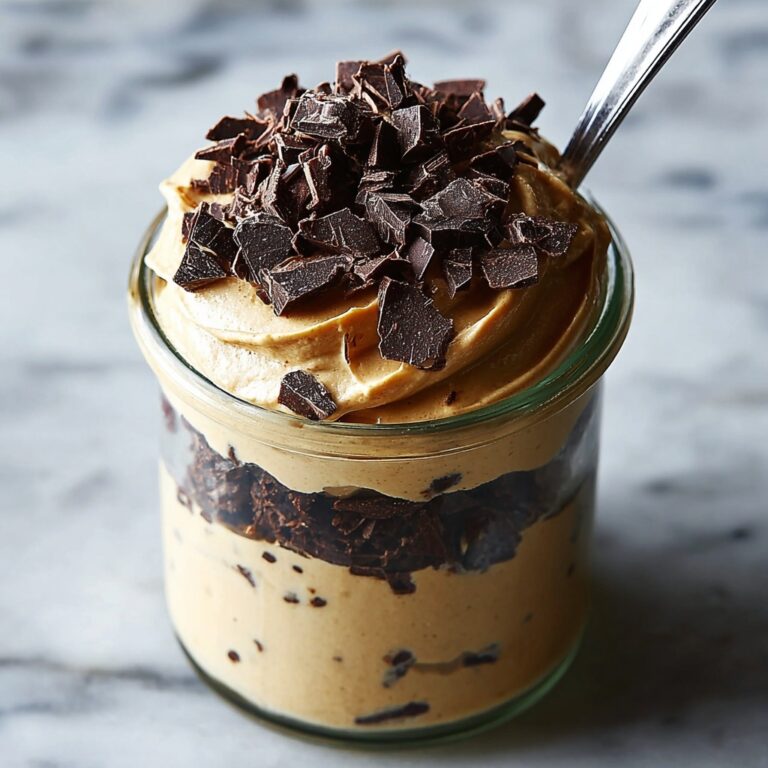
Once the mixture reaches that lovely soft-serve stage, fold in any optional chocolate chips, crushed cookies, or fruit mix-ins. This little touch personalizes your ice cream and adds exciting bursts of texture.
Step 7: Freeze until Firm
Pop the container back into the freezer for 2-3 more hours. This final freeze will set your ice cream firmly, ready for scooping.
Step 8: Serve with Love
Before serving, let your homemade ice cream sit at room temperature for 5-10 minutes. This little patience step softens the ice cream just enough for the perfect scoop—and trust me, it’s worth the wait.
How to Serve Create Pure Happiness With This Easy Homemade Ice Cream Recipe
Garnishes
Think beyond a spoon! Fresh berries, a drizzle of hot fudge, or a sprinkle of toasted nuts can elevate your ice cream experience. These simple garnishes add color, texture, and a delightful contrast that complements the creamy base wonderfully.
Side Dishes
This ice cream pairs beautifully with warm desserts like apple pie, brownies, or a simple slice of pound cake. The combination of warm and cold creates a luxurious balance that’s sure to impress anyone lucky enough to enjoy it.
Creative Ways to Present
Why not serve your homemade ice cream in waffle cones or elegant glass parfait dishes? Add layers of fruit compote or cookie crumbs for a sophisticated touch. The presentation can turn this simple recipe into a show-stopping centerpiece at any gathering.
Make Ahead and Storage
Storing Leftovers
Keep your leftover ice cream in an airtight container to preserve freshness and prevent freezer burn. Press a piece of plastic wrap directly on the surface before sealing to minimize ice crystal formation and keep every spoonful as creamy as the first.
Freezing
For best texture, freeze the ice cream at 0°F (-18°C) or lower. Avoid fluctuating freezer temperatures, which can cause ice crystals to develop and affect smoothness. Properly stored homemade ice cream will stay delicious for up to 2 weeks.
Reheating
While reheating ice cream isn’t really necessary, letting it sit out for a few minutes before scooping softens the texture perfectly. Avoid microwaving as it melts unevenly and loses that signature creamy bite.
FAQs
Can I make this ice cream without an ice cream maker?
Absolutely! This recipe is designed with flexibility in mind. By stirring the mixture every 30 minutes while freezing, you can mimic the churning process and enjoy creamy, homemade ice cream without special equipment.
What mix-ins work best with this recipe?
Chocolate chips, cookie crumbs, fresh fruit, or nuts are all fantastic options. Add your mix-ins once the ice cream reaches a soft-serve consistency to keep their texture intact and flavors vibrant.
How long does it take to make this ice cream?
The total process takes about 4 hours, including chilling and freezing times. Most of that is hands-off, so you can easily fit it into your day without stress.
Can I substitute the dairy ingredients for non-dairy options?
You can experiment with coconut milk or almond milk, but keep in mind that the texture and richness will differ from the traditional recipe. Heavy cream especially contributes to the creamy mouthfeel that makes this ice cream pure happiness.
Why is it important to let the ice cream sit before scooping?
Allowing it to sit at room temperature for 5-10 minutes softens the ice cream just enough to make scooping smooth and easy. It enhances the eating experience by balancing creamy texture with that perfect cold chill.
Create Pure Happiness With This Easy Homemade Ice Cream Recipe
Now that you have this wonderful recipe, you’re all set to bring a special kind of joy to yourself and those you care about. Create Pure Happiness With This Easy Homemade Ice Cream Recipe anytime you crave something sweet, smooth, and utterly satisfying. Homemade ice cream is more than a dessert—it’s a celebration of simple ingredients transformed into magic. So grab your mixing bowl, gather your loved ones, and enjoy every joyful scoop of your delicious creation!
Print
Create Pure Happiness With This Easy Homemade Ice Cream Recipe
- Prep Time: 15 minutes
- Cook Time: 0 minutes
- Total Time: 4 hours 15 minutes
- Yield: 6 servings
- Category: Dessert
- Method: Freezing
- Cuisine: American
Description
This easy homemade ice cream recipe brings pure happiness to your dessert table with its creamy texture and customizable mix-ins. Using simple ingredients like heavy cream, whole milk, and vanilla extract, you can create a delicious frozen treat either with an ice cream maker or by manually freezing and stirring the mixture for a smooth consistency. Perfect for six servings, it allows you to add your favorite chocolate chips, cookies, or fruit for a personalized touch.
Ingredients
Base Ingredients
- 2 cups heavy cream
- 1 cup whole milk
- 3/4 cup granulated sugar
- 1 tablespoon pure vanilla extract
- Pinch of salt
Optional Add-ins
- 1/2 cup chocolate chips, crushed cookies, or fruit mix-ins
Instructions
- Combine Sugar, Milk, and Salt: In a mixing bowl, whisk together the granulated sugar, whole milk, and a pinch of salt until the sugar has completely dissolved, ensuring a smooth base without graininess.
- Add Cream and Vanilla: Stir in the heavy cream and pure vanilla extract to enrich the mixture and infuse it with classic vanilla flavor.
- Chill the Mixture: Cover the bowl and refrigerate for at least 2 hours to thoroughly chill the base, which helps achieve creamy texture when frozen.
- Churn or Prepare for Freezing: If using an ice cream maker, pour the chilled mixture into it and churn according to the manufacturer’s instructions to aerate and freeze evenly. If you don’t have a machine, transfer the mixture into a freezer-safe container for manual freezing.
- Stir during Freezing (if no ice cream maker): Freeze the mixture and stir it every 30 minutes over 2 to 3 hours to break up ice crystals and maintain a creamy consistency.
- Incorporate Add-ins: When the ice cream reaches a soft-serve texture, fold in optional mix-ins like chocolate chips, crushed cookies, or fruit to add texture and flavor.
- Freeze Until Firm: Place the ice cream back into the freezer for an additional 2 to 3 hours until it firms up fully.
- Serve: Before serving, let the ice cream sit at room temperature for 5 to 10 minutes to soften slightly for easier scooping and enhanced creaminess.
Notes
- For best results, use whole milk and heavy cream for a rich and creamy texture.
- Refrigerating the mixture before freezing improves texture and flavor blending.
- If you do not have an ice cream maker, frequent stirring during freezing helps prevent ice crystals from forming.
- Experiment with different add-ins like berries, nuts, or candies to customize your ice cream.
- Allowing the ice cream to soften slightly before scooping improves texture and serving ease.


