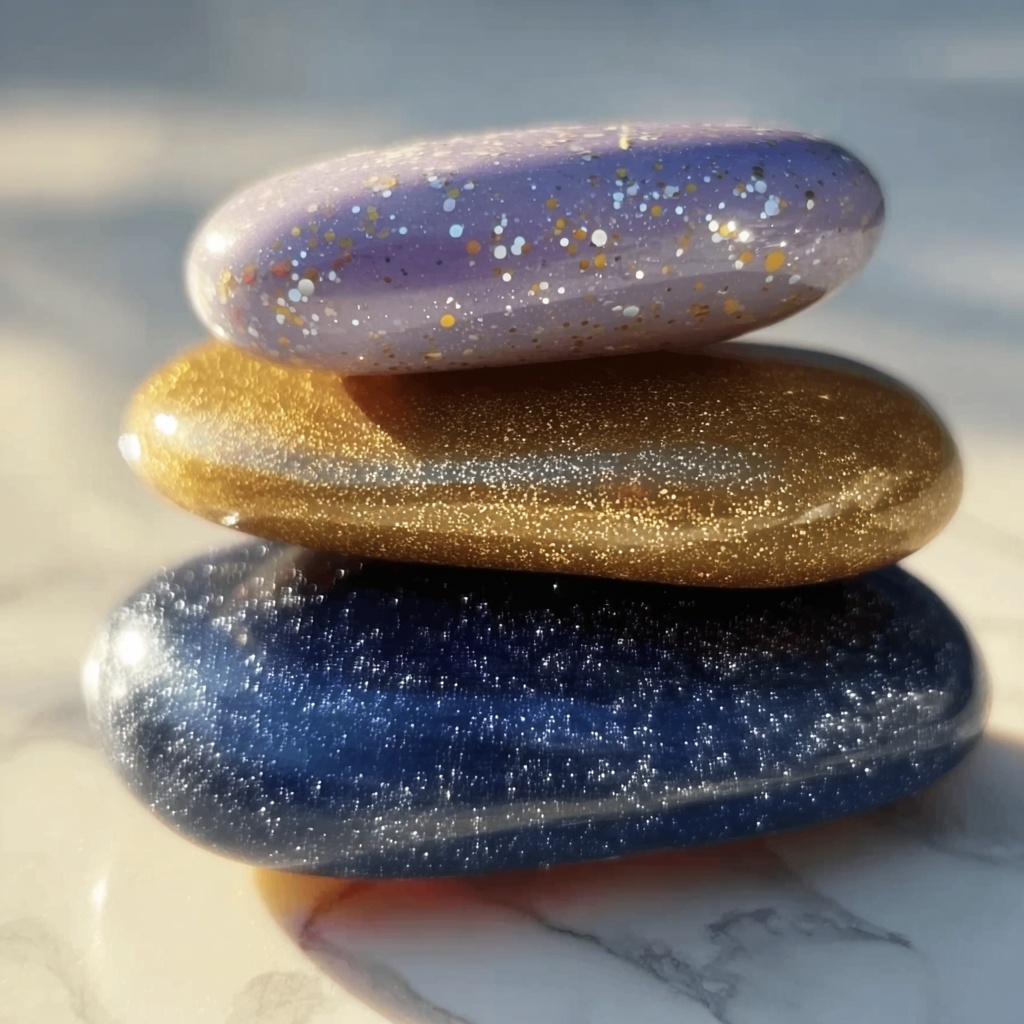
There’s something truly magical about the simple act of crafting your own little calming gems, and that’s exactly what you get with the DIY Worry Stones: Craft Your Own Calming Gems Recipe. These charming handmade stones are not only soothing to touch but also a fun and creative way to bring a moment of calm into your day. Perfect for gifting, personal use, or a mindful crafting session, this recipe gives you complete freedom to choose colors and add a little sparkle, so your worry stones are as unique as you are. Let’s dive in and create some beautifully tactile treasures that will become your new favorite stress-relief companions.
Ingredients You’ll Need
The beauty of this recipe is how uncomplicated and accessible the ingredients are. Each component plays a crucial role in making your worry stones firm yet smooth, colorful, and even a bit magical if you add some glitter. Gather these simple essentials, and you’ll be ready to create calming gems you’ll cherish.
- All-purpose flour: The base of your dough, providing structure and sturdiness.
- Salt: Enhances the dough’s firmness and helps it dry effectively.
- Warm water: Binds the flour and salt into a pliable dough—adjust to get the perfect consistency.
- Gel food coloring: Adds vibrant, lasting color to your stones without affecting texture.
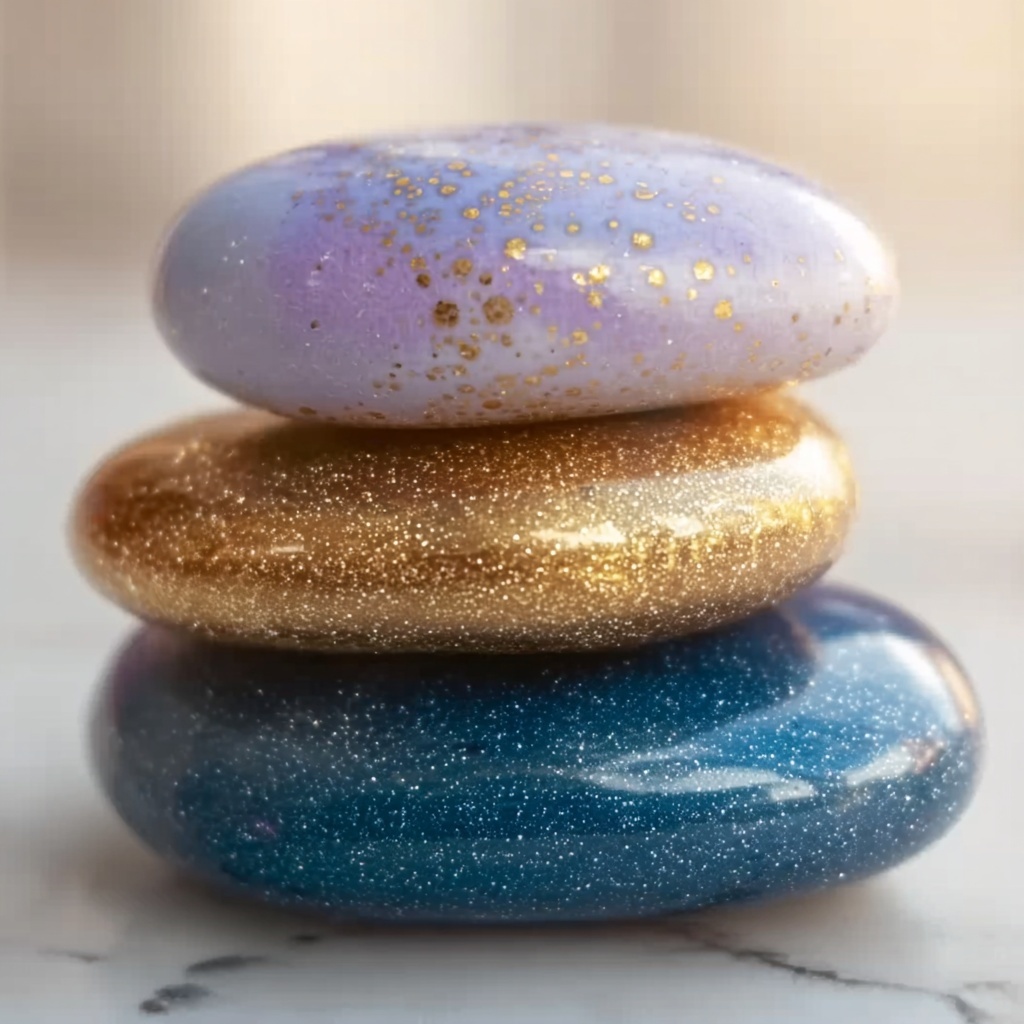
- Sparkly glitter (optional): Gives your gems a magical shimmer that truly makes them stand out.
How to Make DIY Worry Stones: Craft Your Own Calming Gems Recipe
Step 1: Mix the Dry Ingredients
Start by blending the all-purpose flour and salt in a large mixing bowl until they’re fully combined. This foundation is what gives your worry stones their perfect balance of firmness and smoothness.
Step 2: Add Warm Water Gradually
Slowly pour warm water into the dry mix while stirring gently. The goal here is to form a dough that’s neither too sticky nor too dry. Feel free to adjust by adding a little more flour or water until you have a texture that feels just right to work with.
Step 3: Incorporate Your Chosen Color
Pick the gel food coloring that makes you happiest and add a few drops to your dough. Knead thoroughly for several minutes, working the color evenly through the mix until it’s vibrant and consistent throughout.
Step 4: Add Some Sparkle
Here’s where you can let your creativity shine! Sprinkle in your chosen glitter and knead it evenly through the dough to add a twinkle to your worry stones. This step is optional but truly elevates the look and feel.
Step 5: Shape Your Worry Stones
Pinch off small portions of dough and mold them into smooth oval or pebble shapes. Don’t forget to carve a gentle thumb indent in the middle of each stone – this is key to the authentic worry stone experience, making them especially satisfying to hold and rub.
Step 6: Let Your Stones Dry
Place your finished worry stones on a parchment-lined tray with a bit of space between each. Allow them to air dry fully for 24 to 48 hours until they are hard and dry to the touch. Patience here is important for getting stones that will last and feel just right.
How to Serve DIY Worry Stones: Craft Your Own Calming Gems Recipe

Garnishes
While worry stones aren’t something you eat, they do pair beautifully with thoughtful little touches. You can lightly buff your stones with a soft cloth for a subtle sheen or apply a thin layer of natural beeswax to give them an inviting, silky finish that’s even more soothing to the touch.
Side Dishes
You might consider pairing your calming gems with a small pouch or decorative box. These make excellent companions for storing your stones when you’re not using them, perfect for carrying in your pocket or bag to have this calming ritual always at hand.
Creative Ways to Present
To gift or display your DIY worry stones, think beyond the traditional. Tie a bundle with twine and attach a handwritten note about the calming benefits, or nestle stones inside a little handmade fabric pouch. Customizing their presentation as much as the stones themselves makes the whole experience extra special for you and anyone you share them with.
Make Ahead and Storage
Storing Leftovers
Your worry stones will last indefinitely once fully dried, so there aren’t exactly leftovers to worry about, but if you decide to make a larger batch, simply store the unfinished dough wrapped tightly in plastic wrap in the refrigerator for up to a week.
Freezing
Since this recipe involves a dough that’s best fresh and pliable, freezing the dough is not recommended—it can affect texture and workability. Instead, make smaller batches as needed for the best crafting experience.
Reheating
As these calming gems are not edible and solidify after drying, reheating isn’t part of the process. However, if you want to speed up drying next time, you can place them in a warm, dry spot or an oven set to low heat for a short time, keeping a close eye to avoid any cracks.
FAQs
Can I use other types of coloring besides gel food coloring?
Gel food coloring is best for vibrant colors without affecting dough texture, but you can try natural colorants like powdered spices or cocoa powder for subtle tones. Just remember these might change the texture or drying time.
How long does it take for the worry stones to dry completely?
Air drying typically takes between 24 to 48 hours depending on thickness and humidity. Thinner stones dry faster, but it’s worth waiting to ensure they are fully hardened.
Is glitter necessary for the worry stones?
Not at all! Glitter is entirely optional and adds a bit of sparkle if you like, but your stones will still be beautiful and calming without it.
Can children make these worry stones safely?
Yes, this is a fantastic kid-friendly craft. Just make sure little ones handle gel coloring carefully and wash hands afterward—adult supervision is always a good idea during the mixing process.
How do I create the thumb indent so it feels authentic?
Simply press your thumb gently but firmly into the stone while it’s still pliable, then smooth the edges slightly. This indent is what makes rubbing the stone so soothing and is a hallmark of traditional worry stones.
Final Thoughts
If you’re looking for a delightful, hands-on project that results in something both beautiful and calming, the DIY Worry Stones: Craft Your Own Calming Gems Recipe is a must-try. It’s playful, relaxing, and truly satisfying to create these personal little treasures. Once you make your first worry stone, you’ll understand why they’ve been cherished for centuries as a simple way to soothe stress and invite peace. So grab your ingredients, pick your favorite colors, and start crafting your own calming gems today!
Print
DIY Worry Stones: Craft Your Own Calming Gems Recipe
- Prep Time: 10 minutes
- Cook Time: 0 minutes
- Total Time: 24-48 hours (drying time)
- Yield: Variable; depends on size of stones made
- Category: Craft
- Method: No-Cook
- Cuisine: None
Description
Create your own calming worry stones with this simple and fun DIY recipe. Using basic ingredients like flour, salt, and water, you can craft personalized worry stones, adding vibrant gel food coloring and optional sparkly glitter for a decorative touch. These handmade calming gems air-dry to a firm, smooth finish perfect for soothing stress and anxiety.
Ingredients
Basic Dough Ingredients
- 2 parts all-purpose flour
- 2 parts salt
- 1 part warm water
Coloring and Decoration
- Gel food coloring (your choice, a few drops)
- Sparkly glitter (fine or chunky, optional)
Instructions
- Mix Dry Ingredients: In a mixing bowl, combine the all-purpose flour and salt thoroughly until they are perfectly blended, forming the base of your dough.
- Add Water: Gradually pour in the warm water, mixing continuously. Aim for a dough consistency that is neither too dry nor too sticky. Adjust by adding more water or flour as needed.
- Add Color: Choose your favorite gel food coloring and add a few drops to the dough. Knead the dough until the color is vibrant and uniformly distributed.
- Add Glitter (Optional): If desired, sprinkle glitter into the dough and knead to evenly incorporate it, adding a sparkling effect to your worry stones.
- Shape Stones: Divide the dough into small pieces and shape each into an oval or pebble shape. Press your thumb gently in the center to create the characteristic indent of a worry stone.
- Air Dry: Place the shaped stones on a tray lined with parchment paper. Allow them to air-dry undisturbed for 24 to 48 hours until they become firm and completely dry.
Notes
- Adjust dough consistency by adding small amounts of water or flour to avoid stickiness or dryness.
- Gel food coloring provides vibrant hues without affecting dough texture significantly.
- Allowing sufficient drying time is essential for stones to harden properly.
- Store finished worry stones in a dry place to maintain their firmness.
- Children should be supervised while crafting, especially when handling small pieces and glitter.

