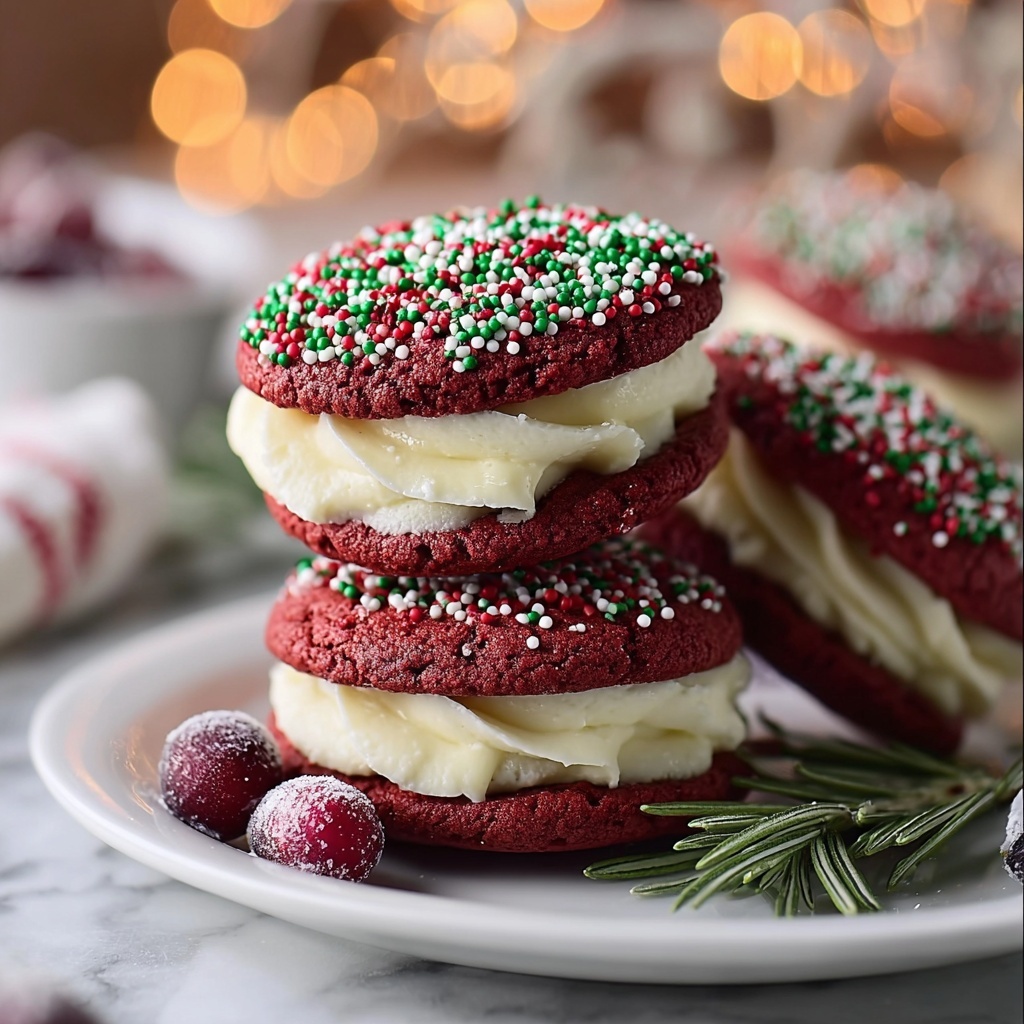
If you’re looking for a playful and festive dessert that combines the classic charm of red velvet with a fun holiday twist, you’ve got to try this Red Velvet Wreath Whoopie Pies Recipe. These delightful treats showcase soft, vibrant red velvet cakes shaped into charming wreaths, filled with a luscious cream cheese frosting, and finished with green icing and red sprinkles that make each bite feel like a celebration. Perfect for sharing with friends or impressing guests, this recipe brings warmth, color, and incredible flavor to any table.
Ingredients You’ll Need
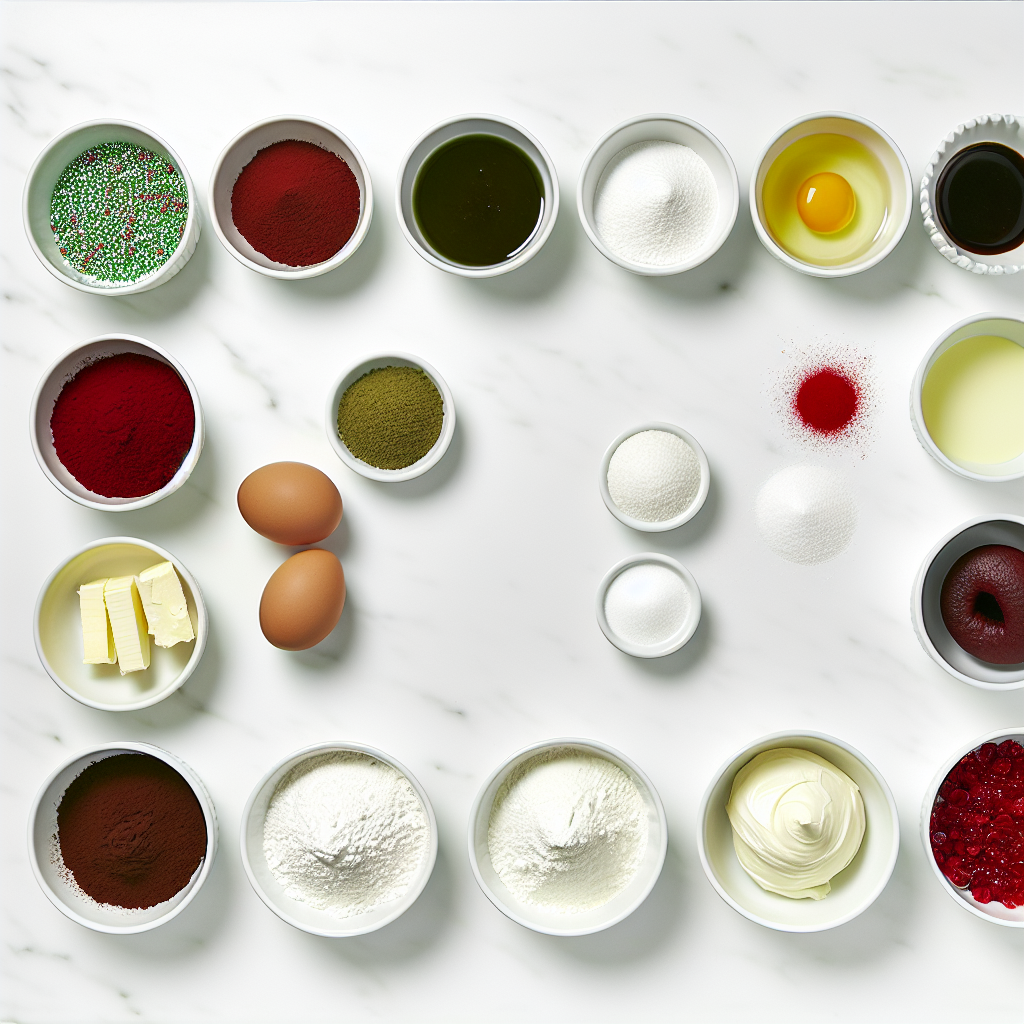
Gathering a handful of simple yet impactful ingredients is all you need to create these irresistible whoopie pies. Each component plays a vital role, from the cocoa-infused flour providing depth to the rich cream cheese frosting giving that creamy, tangy contrast. Let’s break down the essentials before you start baking.
- 2 cups all-purpose flour: This gives the structure to your whoopie pies, making them perfectly soft but sturdy enough to hold the filling.
- 1/4 cup cocoa powder: Adds a subtle chocolate undertone that complements the red velvet flavor beautifully.
- 1 teaspoon baking powder: Helps your batter rise for those soft, fluffy cakes.
- 1/2 teaspoon baking soda: Works alongside the baking powder to lighten texture and keep it tender.
- 1/4 teaspoon salt: Enhances all the flavors, balancing sweetness and richness.
- 1/2 cup unsalted butter (softened): For rich flavor and a buttery crumb.
- 1 cup granulated sugar: Sweetens the dough perfectly without overpowering.
- 1 large egg: Binds ingredients together and provides moisture.
- 1 teaspoon vanilla extract: Infuses warm aromatic sweetness to the batter.
- 1 cup buttermilk: Ensures the texture remains tender and adds a pleasant tang.
- 1 tablespoon red food coloring: The key to that iconic festive red velvet look.
- 8 ounces cream cheese (softened): Essential for the dreamy, tangy filling that’s the perfect partner to the cakes.
- 1/2 cup unsalted butter (softened): Adds creaminess and richness to the frosting.
- 2 cups powdered sugar: Sweetens and thickens the frosting for the ideal spreadable consistency.
- 1 teaspoon vanilla extract: Enhances the flavor of the creamy filling.
- Green icing: For decorating the wreath edges and giving that festive flair.
- Red sprinkles or sugar pearls: Little festive pops of color that add texture and cheer.
How to Make Red Velvet Wreath Whoopie Pies Recipe
Step 1: Preheat and Prep
Start by preheating your oven to 350°F (175°C) and lining your baking sheets with parchment paper. This step is crucial to ensure your whoopie pies bake evenly and release easily from the pan, setting you up for success right from the beginning.
Step 2: Whisk Dry Ingredients
In a mixing bowl, combine the all-purpose flour, cocoa powder, baking powder, baking soda, and salt. Whisk these dry ingredients well; this ensures even leavening and that every bite has a perfectly balanced chocolate flavor embedded in the red velvet crumb.
Step 3: Cream Butter and Sugar
In a separate large bowl, beat the softened butter and granulated sugar until the mixture turns light and fluffy. This step aerates the batter, which means your whoopie pies will have that signature soft, melt-in-your-mouth texture.
Step 4: Add Egg and Vanilla
Mix in the large egg and vanilla extract thoroughly. These add moisture and flavor, contributing to the richness of your whoopie pie dough.
Step 5: Incorporate Dry and Wet Ingredients
Slowly add the dry ingredients alternately with the buttermilk, mixing gently until the batter is smooth. Stir in the red food coloring last for that striking, festive red that will really grab attention on the dessert plate.
Step 6: Shape the Wreaths
Using a piping bag or spoon, carefully portion the batter into small wreath shapes on your baking sheets, leaving a small hole in the center of each. This charming detail not only looks festive but also helps your whoopie pies bake evenly with just the right thickness.
Step 7: Bake and Cool
Bake for 8 to 10 minutes, keeping an eye on them so the edges don’t brown too much. Once baked, transfer the wreaths to a wire rack to cool completely. Cooling is essential so the filling won’t melt when applied.
Step 8: Make the Cream Cheese Filling
Beat the softened cream cheese and butter together until silky and smooth. Add the powdered sugar and vanilla extract, then mix again until your frosting reaches that irresistible creamy consistency that’s not too stiff yet holds its shape perfectly.
Step 9: Assemble and Decorate
Pipe a generous dollop of cream cheese filling onto the flat side of one wreath cookie and sandwich it with another. Once assembled, decorate the edges with green icing and sprinkle red pearls or sprinkles to mimic holly berries, giving you those unmistakable festive wreath vibes.
How to Serve Red Velvet Wreath Whoopie Pies Recipe
Garnishes
Adding green icing and red sprinkles isn’t just for looks; it adds texture and a delightful sweetness contrast to the cream cheese filling. You might also try a light dusting of edible glitter or a few tiny white sugar stars for a snowy effect that makes these whoopie pies truly magical on the table.
Side Dishes
These whoopie pies shine as a standalone dessert, but pairing them with a warm drink like hot chocolate or a spiced chai latte can elevate your holiday treat experience. A simple bowl of fresh berries or a scoop of vanilla ice cream also complements the creamy richness while adding a refreshing element.
Creative Ways to Present
Arrange your Red Velvet Wreath Whoopie Pies on a festive platter with some pine sprigs or holly leaves for a beautiful presentation. You could also stack them in a tiered dessert stand or wrap individual pies in clear cellophane tied with ribbons as delightful edible gifts for friends and family.
Make Ahead and Storage
Storing Leftovers
Keep your whoopie pies fresh by storing them in an airtight container in the refrigerator. This helps maintain the cream cheese filling’s creamy texture and prevents the cakes from drying out. They’re best enjoyed within three to four days for maximum freshness.
Freezing
If you want to prepare these treats in advance, freeze the assembled whoopie pies by placing them on a tray until firm, then transferring them to a freezer-safe container or bag. They keep well for up to two months and thaw quickly at room temperature or in the fridge overnight.
Reheating
Red Velvet Wreath Whoopie Pies are best served chilled or at room temperature, so reheating isn’t usually necessary. If you prefer them slightly warm, let them sit at room temperature for about 20 minutes before enjoying.
FAQs
Can I make these without red food coloring?
Absolutely! While the red food coloring gives that classic look, you can skip it and still enjoy delicious cocoa-flavored whoopie pies. Alternatively, natural food colorings like beet juice powder can add a subtle red tint.
What if I don’t have buttermilk on hand?
No worries! You can make a simple buttermilk substitute by adding 1 tablespoon of white vinegar or lemon juice to 1 cup of milk. Let it sit for 5 minutes before using, and it works just as well in the recipe.
Can I use a different frosting instead of cream cheese?
While cream cheese frosting complements red velvet perfectly, a classic buttercream or even whipped cream can be tasty alternatives if you prefer a lighter or different flavor profile.
How do I pipe the wreath shape if I don’t have a piping bag?
If you don’t have a piping bag, use a plastic sandwich bag with one corner snipped off. It works just as well for shaping the batter into wreaths and is a handy kitchen hack.
Are these whoopie pies suitable for freezing after decorating?
Yes, but keep in mind that delicate decorations like sprinkles may lose texture on thawing. For best results, freeze the pies before decorating and add your final touches after they thaw.
Final Thoughts
This Red Velvet Wreath Whoopie Pies Recipe is truly a joyful way to bring some festive cheer to your kitchen and dessert table. With vibrant colors, a harmonious blend of flavors, and that beautiful wreath shape, these pies are sure to become a seasonal favorite. I encourage you to gather your ingredients, have fun shaping and decorating, and savor every bite with your loved ones. Happy baking and happy holidays!
Print
Red Velvet Wreath Whoopie Pies Recipe
- Prep Time: 20 minutes
- Cook Time: 10 minutes
- Total Time: 30 minutes
- Yield: 10 whoopie pies
- Category: Dessert
- Method: Baking
- Cuisine: American
Description
These Red Velvet Wreath Whoopie Pies are a festive and show-stopping treat perfect for holiday celebrations. Soft and moist red velvet cake cookies are shaped like wreaths, baked to perfection, then sandwiched with a creamy, dreamy cream cheese frosting. Finished with green icing and red sprinkles, these delightful whoopie pies bring a charming seasonal touch to any dessert table.
Ingredients
Dry Ingredients
- 2 cups all-purpose flour
- 1/4 cup cocoa powder
- 1 teaspoon baking powder
- 1/2 teaspoon baking soda
- 1/4 teaspoon salt
Wet Ingredients
- 1/2 cup unsalted butter, softened (for batter)
- 1 cup granulated sugar
- 1 large egg
- 1 teaspoon vanilla extract
- 1 cup buttermilk
- 1 tablespoon red food coloring
Frosting
- 8 ounces cream cheese, softened
- 1/2 cup unsalted butter, softened (for frosting)
- 2 cups powdered sugar
- 1 teaspoon vanilla extract
Decoration
- Green icing
- Red sprinkles or sugar pearls
Instructions
- Preheat Oven and Prepare Baking Sheets: Preheat your oven to 350°F (175°C) and line baking sheets with parchment paper to prevent sticking and ensure even baking.
- Mix Dry Ingredients: In a medium bowl, whisk together the all-purpose flour, cocoa powder, baking powder, baking soda, and salt until well combined.
- Cream Butter and Sugar: In a separate large bowl, beat the softened butter and granulated sugar together until the mixture is light and fluffy. Then, add the egg and vanilla extract, mixing thoroughly to combine.
- Combine Wet and Dry Mixtures: Gradually add the dry ingredients alternately with the buttermilk into the butter mixture, starting and ending with the dry ingredients. Mix until everything is smooth and well incorporated. Stir in the red food coloring until the batter is uniformly red.
- Form Wreath Shapes: Using a piping bag or spoon, pipe or spoon the batter onto the prepared baking sheets in small wreath shapes, making sure to leave a small hole in the center to resemble a wreath.
- Bake the Cookies: Bake the wreath-shaped cookies in the preheated oven for 8 to 10 minutes. Once baked, transfer them to a wire rack to cool completely before assembling.
- Prepare the Cream Cheese Frosting: Beat the softened cream cheese and butter together until smooth and creamy. Gradually add the powdered sugar and vanilla extract and continue beating until the frosting is light and fluffy.
- Assemble the Whoopie Pies: Pipe or spread the cream cheese frosting onto the flat side of one cookie, then sandwich it with another wreath cookie, pressing gently to adhere.
- Decorate the Wreaths: Finish by decorating each whoopie pie with green icing to mimic wreath greenery, and add red sprinkles or sugar pearls as festive berries for a colorful, holiday touch.
Notes
- Ensure cookies are completely cooled before adding frosting to prevent melting.
- You can substitute buttermilk with milk plus 1 tablespoon vinegar or lemon juice and let sit for 5 minutes.
- Use gel food coloring for more vibrant red color without thinning the batter.
- Store assembled whoopie pies in an airtight container in the refrigerator for up to 3 days.
- Room temperature cream cheese and butter are essential for smooth frosting.


