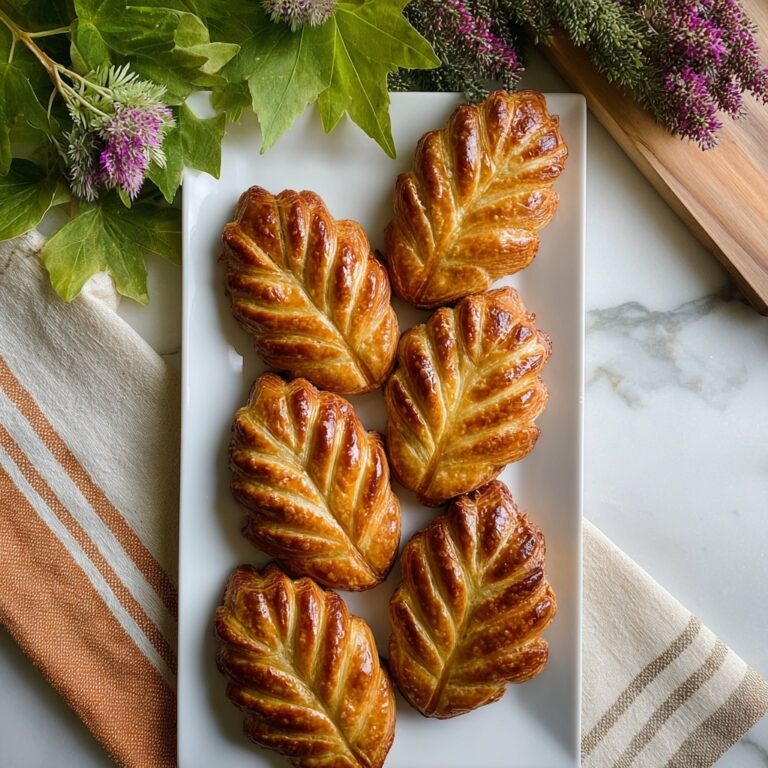
If you have a craving for something uniquely delightful and utterly comforting, then this Irresistible Milk Mochi: Soft, Chewy Bliss You Can Make Today Recipe is exactly what you need. The moment you bite into these tender, chewy little pillows, you’ll experience a perfect harmony of creamy milk richness and the gentle chewiness of glutinous rice flour that feels like a warm hug in dessert form. With simple, wholesome ingredients and a bit of love, you’ll bring a touch of traditional Asian sweetness to your kitchen that everyone will adore.
Ingredients You’ll Need
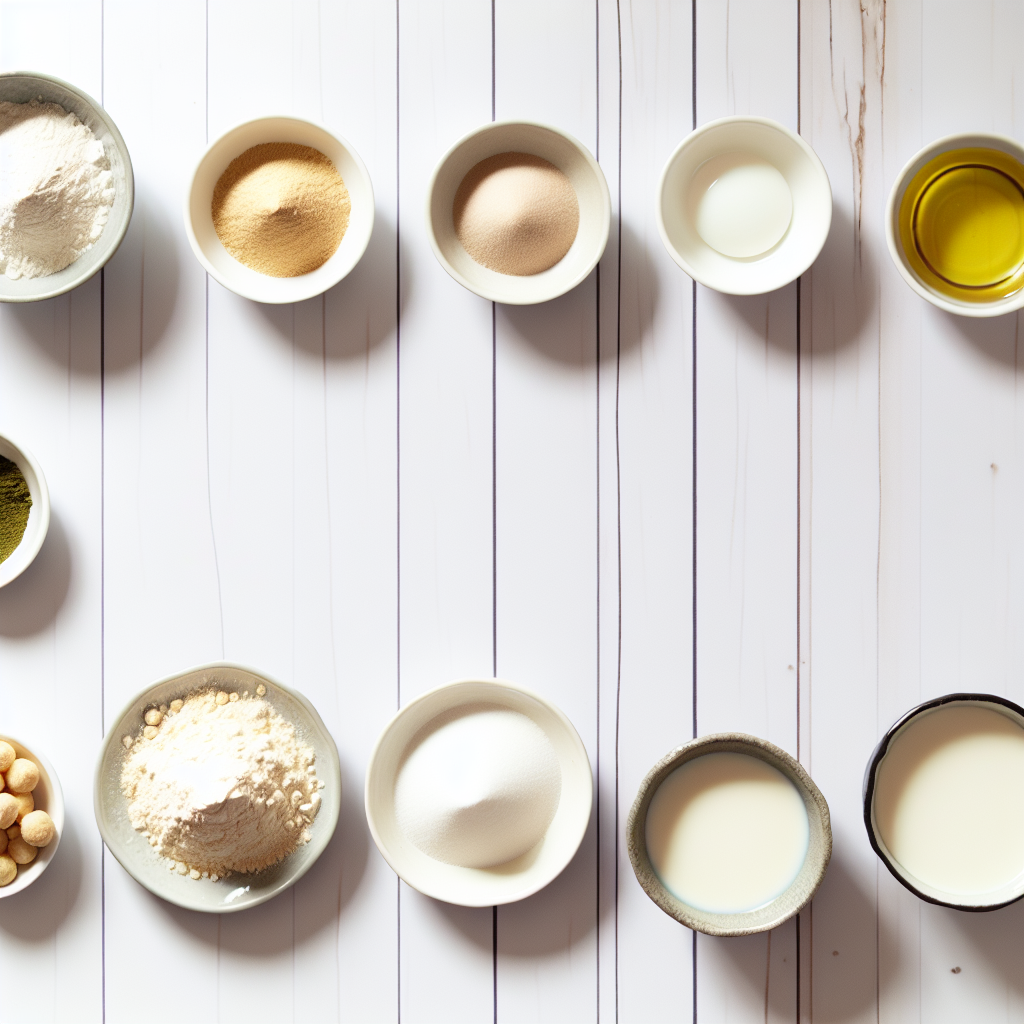
This recipe is a beautiful example of how simplicity can deliver outstanding results. Each ingredient plays a critical role, from the glutinous rice flour that creates that iconic chewy texture to the whole milk that enriches every bite with creamy goodness. Here’s what you’ll gather to make your mochi dreams come true:
- 150 g glutinous rice flour: Essential for authentic chewy texture you expect in mochi.
- 30 g cornstarch: Helps improve texture and keeps your mochi from sticking too much.
- 25 g sugar: Sweetens the mochi naturally; feel free to adjust to your preference or swap with honey or another sweetener.
- 20 g corn oil: Adds moisture and subtle richness for a smooth chew.
- 290 ml whole milk: The key for that creamy, luscious base that makes this recipe so special.
- Roasted soybean flour: For coating, adds a lovely nutty finish that amps up the flavor.
- Matcha powder (optional): Offers an earthy note and a beautiful green hue if you want to get fancy.
How to Make Irresistible Milk Mochi: Soft, Chewy Bliss You Can Make Today Recipe
Step 1: Blend and Prepare Your Batter
Start by combining your glutinous rice flour, cornstarch, sugar, corn oil, and whole milk in a large bowl. Stir everything together until the mixture is silky smooth, with no lumps lingering. If you want to take it a step further, pass the batter through a fine sieve—this little trick guarantees an ultra-smooth consistency that makes the final mochi even more delightful.
Step 2: Cook the Mixture Slowly
Pour your batter into a non-stick pan and set it on low heat. Stir continuously and patiently for about 25 minutes. Watch as it gradually thickens, transforming from a milky liquid into a sticky, thick mass. This slow cooking builds the signature chewiness and melds flavors beautifully, so keep stirring—you’re almost there!
Step 3: Cool and Knead the Dough
Once your mixture has thickened and clumped together, remove the pan from heat. Let it cool just enough to handle safely. Wearing gloves, knead the dough for roughly 5 minutes—this step is crucial for developing that elastic, smooth texture that makes eating mochi so satisfying.
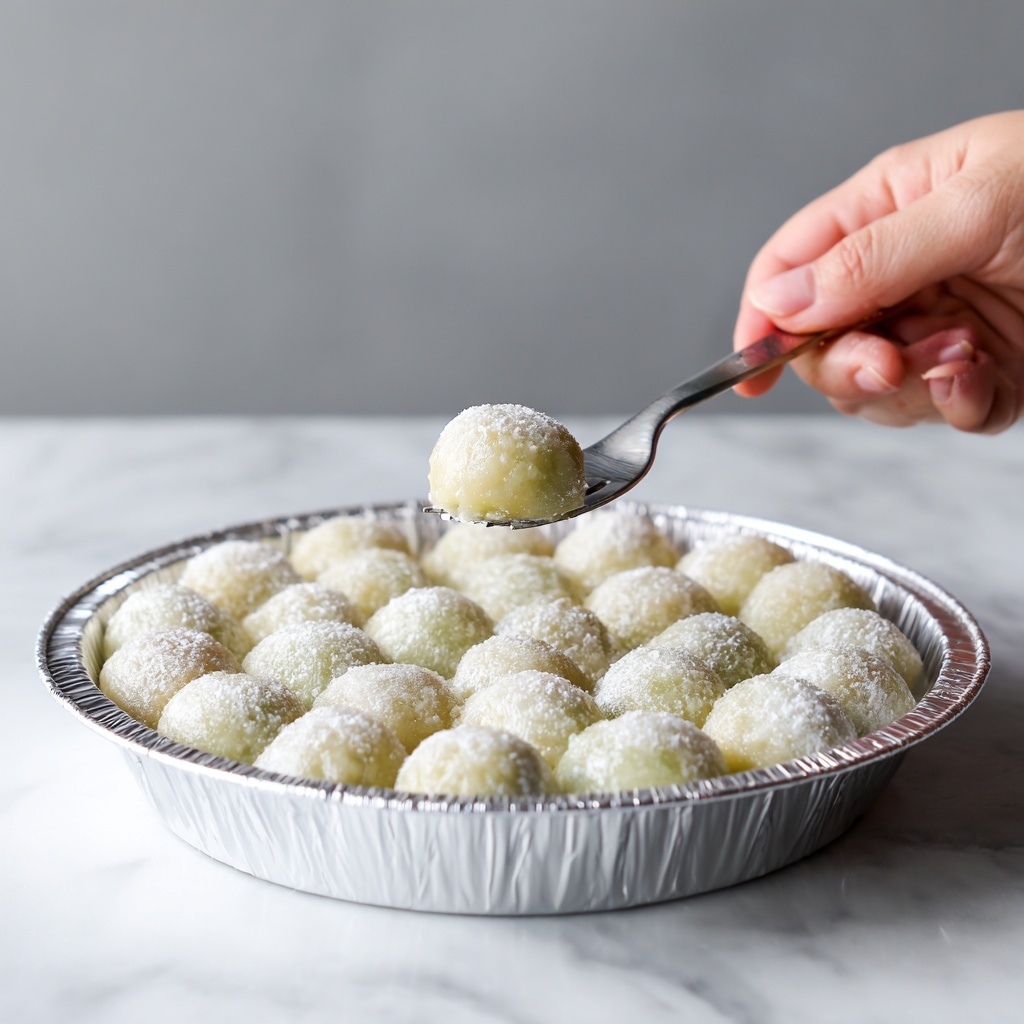
Step 4: Shape and Coat Your Mochi
Roll the dough into a long strip on a clean surface, then cut it into small triangles or any shape you prefer. Coat each piece generously with roasted soybean flour. If you’re feeling adventurous, lightly dust some matcha powder on top to add a vibrant color and subtle earthy flavor. And voilà! Your soft, chewy milk mochi is ready to be enjoyed.
How to Serve Irresistible Milk Mochi: Soft, Chewy Bliss You Can Make Today Recipe
Garnishes
Sprinkling your mochi with roasted soybean flour is classic, bringing out a toasty, nutty aroma that pairs perfectly with the milky chewiness inside. For a pop of color and a gentle bitterness that balances the sweetness, a light dusting of matcha powder elevates the flavor and presentation. Feel free to experiment with a pinch of sesame seeds or a drizzle of sweetened condensed milk to add a personal touch.
Side Dishes
Mochi pairs wonderfully with a hot cup of green tea or jasmine tea, as the warm, slightly astringent beverages contrast deliciously with the mochi’s creamy texture. You might also consider serving alongside fresh fruit slices, such as sweet mango or vibrant berries, to add brightness and an extra layer of flavor complexity to your dessert experience.
Creative Ways to Present
For an eye-catching dessert, arrange your mochi triangles in a circular pattern on a beautiful plate, dusting some matcha powder lightly over the top. Alternatively, stack them in mini towers or place them in individual cupcake liners for a party-ready treat. The soft pastel tones and inviting shapes make these little bites irresistible centerpieces for your dessert table.
Make Ahead and Storage
Storing Leftovers
If you find yourself with extra mochi (which is very possible, given how tempting they are!), store them in an airtight container at room temperature for up to 1 day. For slightly longer keeping, refrigeration is okay, but know that the texture may firm up a bit as the chill sets in.
Freezing
Mochi freezes well if you want to keep the joy around for longer. Wrap each piece individually in plastic wrap and place them in a freezer-safe bag or container. Frozen mochi can last up to one month. When ready to enjoy, thaw at room temperature for about 20 minutes before serving.
Reheating
To bring back that soft, chewy bliss, gently warm your mochi in a microwave for 10-15 seconds or steam lightly until soft but not melted. Avoid overheating, as it can alter the texture and taste. This simple reheating routine revives the magic every single time.
FAQs
Can I use milk alternatives for this Irresistible Milk Mochi: Soft, Chewy Bliss You Can Make Today Recipe?
Absolutely! While whole milk adds rich creaminess, you can substitute almond milk, soy milk, or oat milk for a dairy-free version. Just keep in mind that the flavor and texture may vary slightly depending on your choice.
Is cornstarch necessary in the recipe?
Yes, cornstarch plays an important role in improving the texture and preventing the mochi from becoming overly sticky, making it easier to handle and enjoy.
Why should I knead the mochi dough?
Kneading develops the elastic nature of the dough, giving the mochi that signature chewy texture that’s so satisfying. Skipping this step could result in a denser, less enjoyable bite.
Can I add flavors or fillings to this mochi?
Definitely! While this recipe shines in its simplicity, you can peek into adding fillings like sweet red bean paste or even flavor the dough with a touch of vanilla or coconut extract for a personalized twist.
How long does it take to prepare this mochi?
From start to finish, expect about 40 minutes. The slow cooking and kneading are key, but the process is very manageable and rewarding with minimal fuss.
Final Thoughts
There’s something incredibly rewarding about making your own mochi at home, especially when it’s as delightful as this Irresistible Milk Mochi: Soft, Chewy Bliss You Can Make Today Recipe. It’s simple enough for a weekend project but elegant and delicious enough to share with friends and family. I invite you to dive in, get your hands a little sticky, and discover the joy of homemade mochi for yourself. Trust me, you’ll be hooked!
Print
Irresistible Milk Mochi: Soft, Chewy Bliss You Can Make Today Recipe
- Prep Time: 10 minutes
- Cook Time: 25 minutes
- Total Time: 40 minutes
- Yield: 4 servings
- Category: Dessert
- Method: Stovetop
- Cuisine: Japanese
- Diet: Vegetarian
Description
Experience the delightful texture of Irresistible Milk Mochi, a traditional Japanese treat that is soft, chewy, and bursting with creamy flavor. Made with glutinous rice flour and whole milk, this easy-to-make recipe yields perfectly tender mochi coated in nutty roasted soybean flour and optional earthy matcha powder for a beautifully balanced dessert you can enjoy anytime.
Ingredients
Mochi Base
- 150 g glutinous rice flour (Essential for authentic texture.)
- 30 g cornstarch (Improves texture and reduces stickiness.)
- 25 g sugar (Adjust to taste or use alternative sweeteners.)
- 20 g corn oil (Provides moisture and richness.)
- 290 ml whole milk (Key for creaminess and richness.)
Coating
- Roasted soybean flour (Enhances flavor with a nutty finish.)
- Matcha powder (Optional; adds a hint of earthiness and beautiful color.)
Instructions
- Mix Ingredients: In a large bowl, combine the glutinous rice flour, cornstarch, sugar, corn oil, and whole milk. Stir thoroughly until the mixture is smooth and well blended.
- Strain Batter (Optional): For an even smoother texture, strain the batter through a fine sieve to remove any lumps before cooking.
- Cook Mochi Mixture: Pour the batter into a non-stick pan and cook over low heat. Stir continuously for about 25 minutes until the mixture thickens into a sticky, elastic mass.
- Cool and Knead: Remove the pan from heat and allow the mochi to cool slightly. Wearing gloves, knead the dough for approximately 5 minutes until it becomes smooth and elastic.
- Shape Mochi: Roll the dough into a long strip and cut into triangle pieces for individual mochi servings.
- Coat Mochi: Generously coat each mochi triangle with roasted soybean flour and dust with matcha powder if desired, adding an extra layer of flavor and color.
Notes
- Use gloves when kneading the mochi to prevent stickiness and for easier handling.
- Matcha powder is optional but recommended for a traditional and vibrant twist.
- Adjust sugar quantity to your preference or substitute with alternative sweeteners such as honey or maple syrup.
- Ensure low heat cooking and constant stirring to prevent burning and uneven cooking.
- Store mochi in an airtight container at room temperature for up to 2 days for optimal freshness.


