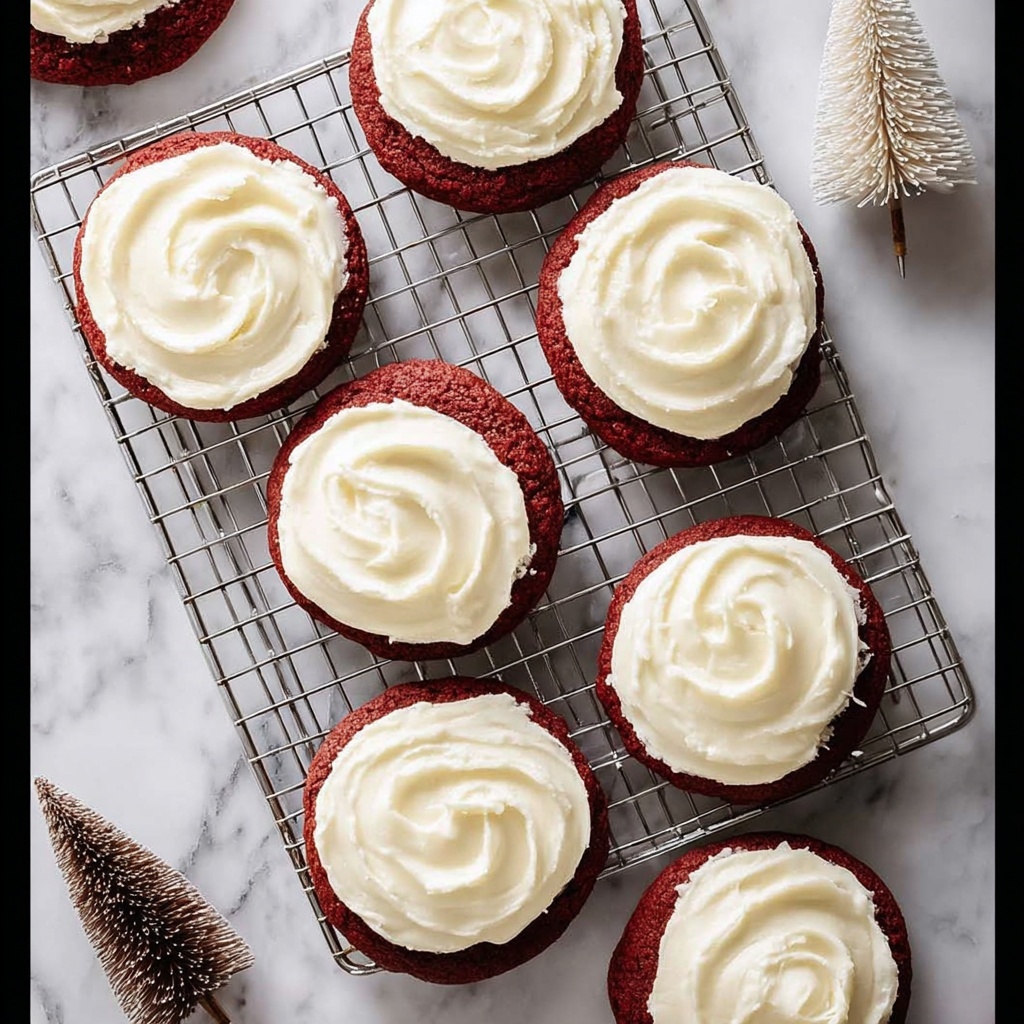
If you adore the classic charm of red velvet and crave a twist that bursts with flavor and texture, then this Red Velvet Cookies with Cream Cheese Frosting Recipe is about to become your new obsession. Imagine soft, chewy red velvet cookies with just the hint of cocoa, crowned with a luscious, tangy cream cheese frosting that melts in your mouth. It’s the perfect balance of rich, sweet, and velvety smoothness wrapped into one delicious bite, ideal for sharing with friends or indulging on your own. Whether you’re a seasoned baker or just starting out, this recipe delivers show-stopping cookies that simply can’t be resisted.
Ingredients You’ll Need
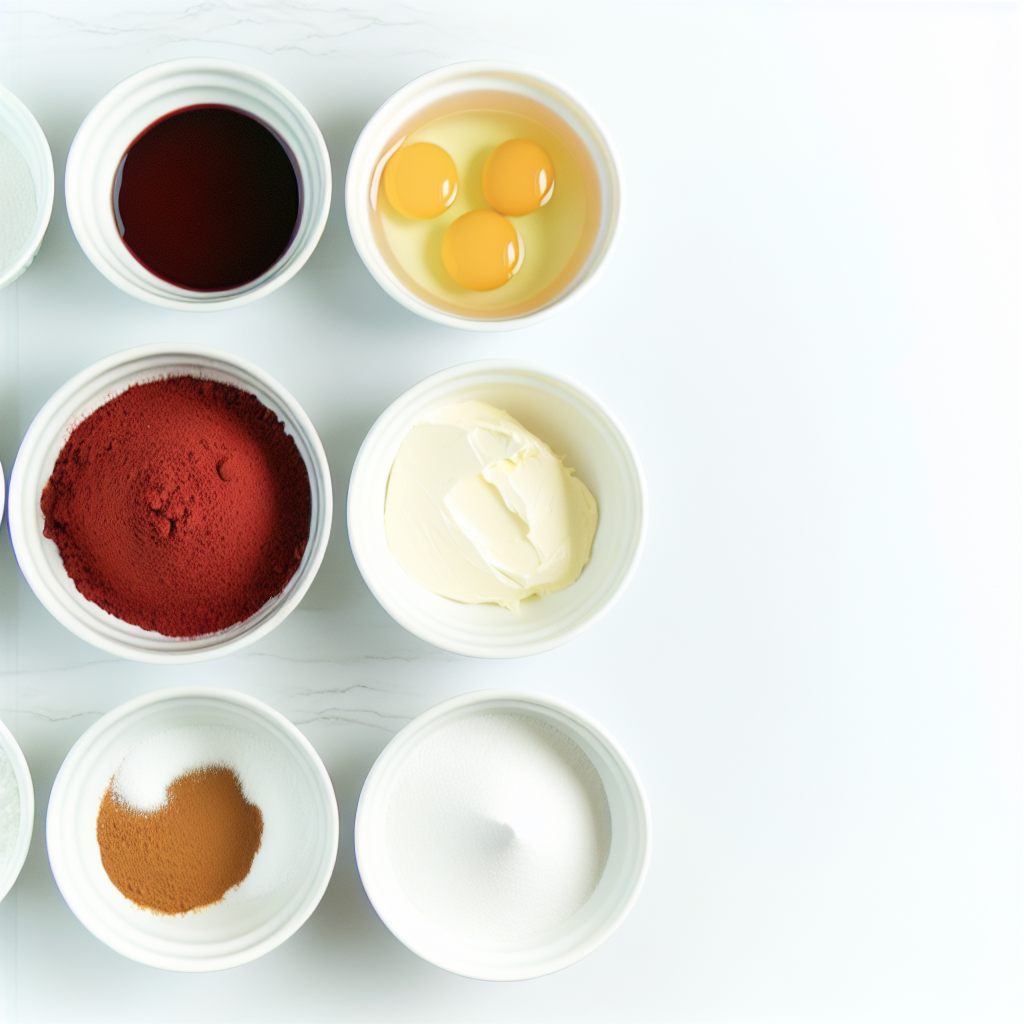
These ingredients are wonderfully straightforward yet essential in crafting the perfect red velvet cookie experience. Each element plays a unique role: from providing moisture and tenderness to delivering that signature color and flavor combo you’ll love.
- 1 cup Butter (softened): For creamy richness and tender crumb.
- 1 cup Brown Sugar: Adds deep molasses sweetness and moisture.
- 3/4 cup Sugar: For the perfect balance of sweetness and crisp edges.
- 2 large Eggs: Bind everything together and keep cookies chewy.
- 2 teaspoons Pure Vanilla Extract: Brings warmth and depth to the flavor.
- 1 to 2 teaspoons Red Food Coloring: Creates that iconic vibrant red hue.
- 3 Tablespoons Unsweetened Cocoa Powder: Provides subtle chocolate undertones.
- 2 1/2 cups Flour: The foundation that holds all ingredients firmly.
- 1 teaspoon Cornstarch: Adds softness and tenderness to the cookie texture.
- 1/2 teaspoon Baking Soda: Helps the cookies rise gently for a light bite.
- 3/4 teaspoon Salt: Balances sweetness and enhances flavor.
- 6 Tablespoons Butter (softened): For the cream cheese frosting’s silky texture.
- 8 ounces Cream Cheese (softened): The star of the frosting, creamy and tangy.
- 3 1/2 cups Powdered Sugar: Sweetens and thickens frosting perfectly.
How to Make Red Velvet Cookies with Cream Cheese Frosting Recipe
Step 1: Prep and Cream the Base
Start by heating your oven to 385 degrees. In a large mixing bowl, cream together the softened butter, brown sugar, and granulated sugar for about four minutes until the mixture is light and fluffy. This step is key for creating a tender and airy cookie base.
Step 2: Add Eggs, Vanilla, and Color
Next, mix in the eggs one at a time, followed by the vanilla extract and red food coloring. The vibrant color is what makes these cookies visually stunning, while the vanilla enhances the overall flavor experience.
Step 3: Fold in Dry Ingredients
Carefully fold in the cocoa powder, flour, cornstarch, baking soda, and salt. This gentle folding prevents overmixing and ensures your cookies maintain a soft, chewy texture without any toughness.
Step 4: Scoop and Space Your Cookies
Using a cookie scoop or spoon, drop the dough onto a parchment-lined baking sheet, spacing them at least two inches apart. This spacing allows them to spread just enough without running into each other.
Step 5: Bake and Cool
Bake your cookies for 9 to 10 minutes, until the edges look set but the centers remain soft. Let them sit on the baking sheet for an additional 5 minutes before transferring them to a cooling rack. Cool completely before frosting for best results.
Step 6: Make the Cream Cheese Frosting
While the cookies cool, whip together the softened butter and cream cheese for 1 to 2 minutes until light and creamy. Add in powdered sugar and continue whipping until the frosting is smooth and fluffy, adding a teaspoon of milk or vanilla extract if you want a thinner or more flavorful frosting.
Step 7: Frost and Enjoy
Spread the luscious cream cheese frosting over each cooled cookie. This final touch makes these cookies irresistibly moist and flavorful, perfect for any occasion.
How to Serve Red Velvet Cookies with Cream Cheese Frosting Recipe
Garnishes
Sprinkle a few mini white chocolate chips, crushed red velvet cake crumbs, or even festive red and white sprinkles on top of the frosting. These simple garnishes add a fun texture and elevate the visual appeal just a little more.
Side Dishes
Pair your red velvet cookies with a tall glass of cold milk, a steaming cup of coffee, or a creamy hot chocolate for an indulgent treat. The creamy frostings and rich cookies complement warm drinks beautifully.
Creative Ways to Present
Try stacking the cookies like mini sandwich cakes or arrange them on a pretty platter with fresh berries for a party. Wrapping a few in cellophane tied with a red ribbon also makes charming homemade gifts that show you care.
Make Ahead and Storage
Storing Leftovers
Since cream cheese frosting is involved, store any leftover cookies in an airtight container in the refrigerator. This keeps the frosting firm and the cookies fresh for up to five days, so you can enjoy them without worry.
Freezing
Red Velvet Cookies with Cream Cheese Frosting Recipe cookies freeze beautifully. Lay them flat on a tray in a single layer, freeze until solid, then stack with parchment paper layers between. Keep them in a sealed container or bag for up to three months.
Reheating
To enjoy thawed cookies at their best, let them come to room temperature naturally. If you prefer a slightly warm treat, microwave for 10 seconds—but be careful not to melt the frosting too much.
FAQs
Can I use regular cocoa powder instead of unsweetened?
Yes, but it’s best to use unsweetened cocoa powder to keep the chocolate flavor balanced without added sweetness, which could throw off the cookie’s taste.
What if I don’t have red food coloring?
You can experiment with natural alternatives like beet juice powder, but the traditional red velvet look comes from red food coloring, which also contributes slightly to flavor.
Can I make the cookies without frosting?
Absolutely! The cookies themselves are delicious on their own. However, the cream cheese frosting is what transforms them into a decadent treat.
Is it possible to make these gluten-free?
Yes, by substituting the all-purpose flour with a gluten-free blend that includes xanthan gum, you can create a similar texture and maintain the cookie’s tenderness.
How long do these cookies take to bake?
They require 9 to 10 minutes at 385 degrees. Since ovens vary, keep an eye on them; edges should be set while centers stay soft for that perfect chewy texture.
Final Thoughts
If you’re ready to surprise your taste buds and impress anyone lucky enough to share your cookies, you really must try this Red Velvet Cookies with Cream Cheese Frosting Recipe. The combination of velvety red velvet dough and tangy, creamy frosting is a match made in heaven, perfect for festive occasions or a cozy treat anytime. Baking these cookies is not just about following steps—it’s about creating joyful moments and sharing sweet love through every bite.
Print
Red Velvet Cookies with Cream Cheese Frosting Recipe
- Prep Time: 15 minutes
- Cook Time: 10 minutes
- Total Time: 29 minutes
- Yield: 20 servings
- Category: Dessert
- Method: Baking
- Cuisine: American
Description
Delightfully soft and moist Red Velvet Cookies topped with a rich and creamy homemade cream cheese frosting. These vibrant red cookies are perfect for any occasion, combining classic red velvet flavors with a luscious frosting that enhances their decadent taste.
Ingredients
Cookie Dough
- 1 cup Butter (softened)
- 1 cup Brown Sugar
- 3/4 cup Sugar
- 2 large Eggs
- 2 teaspoons Pure Vanilla Extract
- 1 to 2 teaspoons Red Food Coloring
- 3 Tablespoons Unsweetened Cocoa Powder
- 2 1/2 cups Flour
- 1 teaspoon Cornstarch
- 1/2 teaspoon Baking Soda
- 3/4 teaspoon Salt
Cream Cheese Frosting
- 6 Tablespoons Butter (softened)
- 8 ounces Cream Cheese (softened)
- 3 1/2 cups Powdered Sugar
- Optional: 1 teaspoon Milk (to thin frosting)
- Optional: 1 teaspoon Vanilla Extract (for extra flavor)
Instructions
- Preheat Oven: Set your oven to 385 degrees Fahrenheit to get it ready for baking the cookies.
- Cream Butter and Sugars: In a large mixing bowl, thoroughly cream the softened butter, brown sugar, and sugar together for about 4 minutes until the mixture is light and fluffy.
- Add Wet Ingredients: Beat in the eggs, vanilla extract, and red food coloring for an additional minute to combine all the flavors evenly.
- Incorporate Dry Ingredients: Gently fold in the cocoa powder, flour, cornstarch, baking soda, and salt until just combined. Avoid overmixing to keep your cookies tender.
- Prepare Baking Sheet: Drop scoops of the cookie dough onto a parchment paper-lined, light-colored baking sheet spaced at least two inches apart to prevent spreading together.
- Bake Cookies: Bake the cookies for 9 to 10 minutes, then remove from the oven and allow them to set on the baking sheet for 5 minutes before transferring them to a wire rack to cool completely.
- Make Cream Cheese Frosting: In a bowl, whip softened butter and cream cheese together for 1 to 2 minutes until smooth. Gradually add powdered sugar and continue whipping until creamy. If desired, add milk to thin and vanilla extract for extra flavor.
- Frost Cookies: Once the cookies are fully cooled, spread the cream cheese frosting evenly on top of each cookie.
- Storage: Store the frosted cookies in a covered container. Because of the cream cheese frosting, refrigerate if not eating immediately. These cookies also freeze well for longer storage.
Notes
- Ensure butter and cream cheese are softened for smooth mixing.
- Red food coloring amount can be adjusted to achieve preferred color intensity.
- Allow cookies to cool completely before frosting to prevent melting.
- Cookies are best stored in the refrigerator due to cream cheese frosting.
- These cookies freeze well; thaw in the fridge before serving.


