“`html
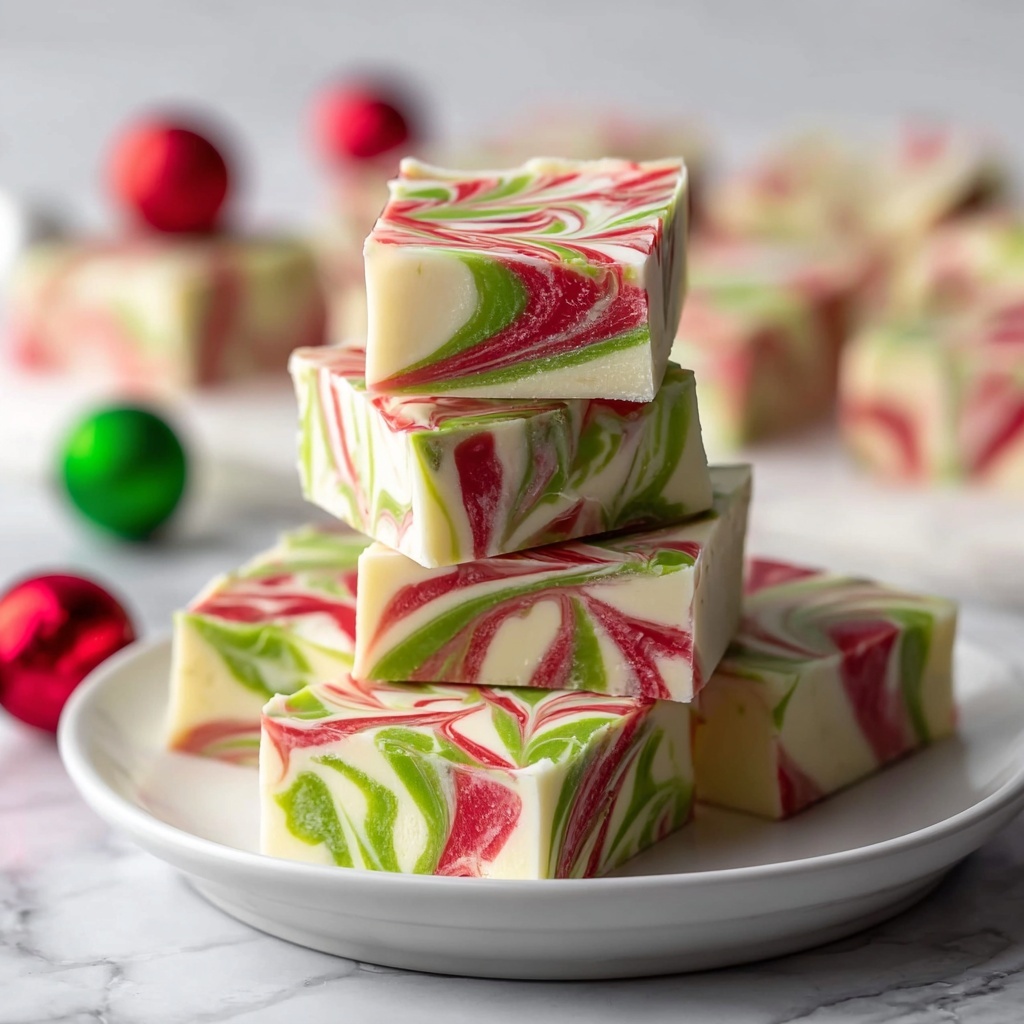
If you’re dreaming of a festive treat that captures the joyful spirit of the season, this Colorful Christmas Fudge Recipe is exactly what you need. With its creamy, rich base swirled with vibrant red and green hues, this fudge not only delights your taste buds but also looks stunning on any holiday dessert table. Easy to make yet impressive to present, this recipe brings together simple ingredients to create a dazzling, crowd-pleasing sweet that’s perfect for sharing with friends and family during your Christmas celebrations.
Ingredients You’ll Need
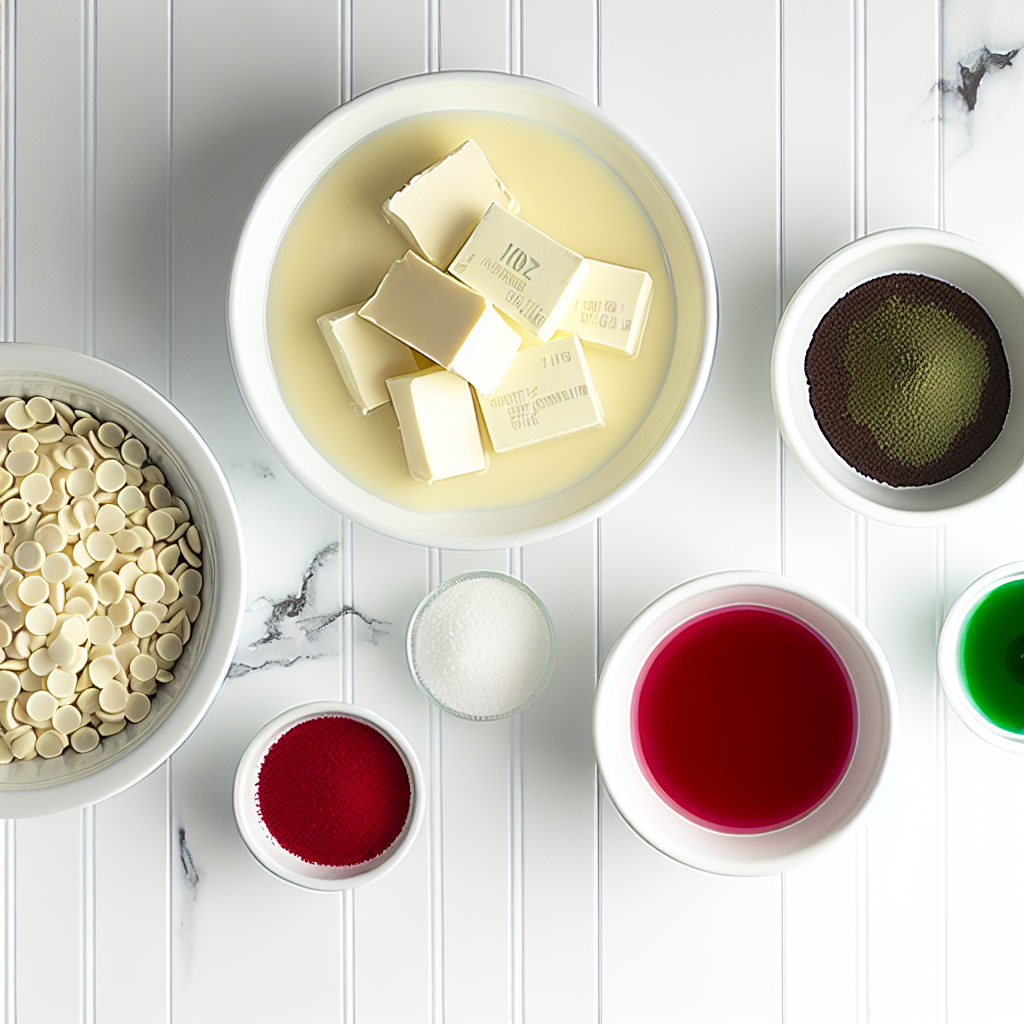
Gathering your ingredients for this Colorful Christmas Fudge Recipe is simple and straightforward. Each component plays a vital role: the white chocolate gives richness, the sweetened condensed milk adds sweet creaminess, butter lends smooth texture, and the gel food coloring brings that festive pop of color that makes this fudge truly stand out.
- White chocolate chips (22 oz or 2 bags): Choose a high-quality brand like Ghirardelli for a luscious, velvety texture and sweet flavor.
- Sweetened condensed milk (14 oz can): Adds the perfect creamy sweetness that balances the white chocolate beautifully.
- Unsalted butter (4 tablespoons, cold and cubed): Ensures a smooth, melt-in-your-mouth consistency without overpowering flavors.
- Red gel food coloring (¼-½ teaspoon): Helps create that iconic holiday scarlet swirl without altering the fudge’s texture.
- Green gel food coloring (¼-½ teaspoon): Adds a vibrant hue to complement the red, making the fudge delightfully festive.
How to Make Colorful Christmas Fudge Recipe
Step 1: Prep Your Pan
Start by lining an 8×8 inch straight-sided baking pan with parchment paper, making sure there’s enough overhang on the sides. This simple step will make lifting the fudge out a breeze once it’s set, and also prevents sticking.
Step 2: Melt Together the Base
In a medium saucepan over medium-low heat, gently combine your white chocolate chips, sweetened condensed milk, and cold butter cubes. Stir constantly for 4 to 6 minutes, patiently melting all the chocolate for a smooth, creamy mixture. Once everything is melted and silky, remove the pan from the heat to move on to adding colors.
Step 3: Create the Red Mixture
Transfer about one-third of that luscious white chocolate mixture into a small bowl. Add ¼ teaspoon of red gel food coloring and stir thoroughly until the color is completely uniform with no white streaks. Feel free to add more coloring, a little at a time, until you reach the perfect festive red shade.
Step 4: Make Your Green Mixture
Repeat the process by transferring another third of the white chocolate mixture into a separate bowl. Stir in ¼ teaspoon of green gel food coloring until the color is smooth and even. Add a touch more if you want a deeper green to brighten your fudge’s look.
Step 5: Arrange the Colorful Swirls
Now for the fun part. Spoon random dollops of the remaining plain white chocolate mixture, the red mixture, and the green mixture into the lined pan. Alternate colors as you go to build a multiswirled pattern that looks delightfully whimsical.
Step 6: Swirl the Colors
Grab a wooden skewer or butter knife and gently swirl the three colors together. Don’t overmix—just enough to create a beautiful decorative festive pattern that’s bursting with holiday cheer.
Step 7: Smooth the Surface
Place a small piece of parchment paper on top of the soft fudge and gently press down to smooth the surface. Go easy here so you don’t disturb your lovely swirl design, but this touch ensures a clean, polished look once set.
Step 8: Chill Until Set
Pop the pan into the refrigerator and let the fudge chill for 2 to 3 hours, or until it’s firm to the touch. This patience pays off with perfectly cuttable, melt-in-your-mouth squares.
Step 9: Slice and Serve
Once your fudge is set, use the parchment paper overhang to lift it from the pan. Place it on a cutting board, then slice into sixty-four bite-sized 1-inch squares that are just right for sharing or gifting.
How to Serve Colorful Christmas Fudge Recipe
Garnishes
Although this fudge shines on its own, adding a sprinkle of crushed peppermint candy or festive holiday sprinkles on top before chilling adds a delightful crunch and even more seasonal charm. A light dusting of edible gold glitter can also make your fudge sparkle under holiday lights.
Side Dishes
This fudge pairs perfectly with a cup of hot cocoa or spiced eggnog, creating a cozy holiday experience. You can also serve it alongside a cheese platter or fresh fruit for a balance of sweetness and savory flavors during your festive gatherings.
Creative Ways to Present
Wrap individual squares in colorful cellophane tied with ribbon for a lovely homemade gift. Alternatively, arrange pieces on a festive platter with holly leaves or pine branches to bring a natural, seasonal touch to your dessert display that guests will admire.
Make Ahead and Storage
Storing Leftovers
Your Colorful Christmas Fudge Recipe keeps beautifully at room temperature in an airtight container for up to one week. For best texture and flavor, store it in a cool, dry place away from direct sunlight.
Freezing
If you want to prepare fudge ahead of time, freezing is an excellent option. Wrap the sliced fudge tightly in plastic wrap, then place in a freezer-safe bag or container. It will keep well for up to 3 months and can be thawed overnight in the fridge before serving.
Reheating
Fudge is best enjoyed chilled or at room temperature, so reheating is generally not necessary. If it feels too firm after refrigeration, allowing it to sit at room temperature for 10 to 15 minutes will soften it perfectly for serving.
FAQs
Can I use regular food coloring instead of gel?
While you can use regular food coloring, gel food coloring is preferable because it provides vibrant colors without thinning the fudge mixture, preserving its perfect texture.
What if I don’t have red and green food coloring?
Feel free to get creative with your colors! Any gel food coloring works well, so you can choose blue and white for a winter theme or any festive colors you love.
How do I know when the fudge is fully set?
The fudge should feel firm to the touch and not sticky or soft. Refrigerating it for at least 2 to 3 hours typically ensures it’s properly set and ready to cut.
Can I add nuts or other mix-ins?
Absolutely! Chopped pecans or crushed candy canes fold in nicely just before pouring the mixture into the pan, adding delightful texture and flavor twists.
Is this recipe suitable for gift-giving?
Definitely! This Colorful Christmas Fudge Recipe makes for a beautiful, homemade gift that friends and family will adore, especially when wrapped thoughtfully.
Final Thoughts
There is something truly magical about this Colorful Christmas Fudge Recipe that brings warmth and joy to any holiday celebration. Its simple ingredients, striking appearance, and rich, creamy flavor make it a recipe you will want to return to year after year. Trust me, once you try it, you’ll be sharing this cheerful, tasty tradition with everyone on your gift list and holiday table. So go ahead and give it a whirl—your sweetest holiday memories are waiting to be made!
“`
Print
Colorful Christmas Fudge Recipe
- Prep Time: 15 minutes
- Cook Time: 6 minutes
- Total Time: 2 hours 21 minutes
- Yield: 64 pieces
- Category: Dessert
- Method: Stovetop
- Cuisine: American
Description
This Colorful Christmas Fudge Recipe creates a festive and visually stunning sweet treat perfect for holiday celebrations. Made with creamy white chocolate, sweetened condensed milk, and swirled with vibrant red and green gel food coloring, this fudge combines luscious flavor with a beautiful multiswirled effect. It’s easy to make on the stovetop and sets firm in the refrigerator, producing 64 bite-sized squares that are ideal for sharing during the holidays.
Ingredients
Fudge Base
- 22 oz (2 11-oz. bags) white chocolate chips (Ghirardelli recommended)
- 14 oz can sweetened condensed milk
- 4 tablespoons unsalted butter, cold and cut into small cubes
Coloring
- ¼–½ teaspoon red gel food coloring (Americolor brand suggested)
- ¼–½ teaspoon green gel food coloring (Americolor brand suggested)
Instructions
- Prepare Pan: Line an 8×8 inch straight-sided baking pan with parchment paper, ensuring enough overhang on the sides for easy removal of the fudge once set.
- Melt Ingredients: In a medium saucepan over medium-low heat, combine white chocolate chips, sweetened condensed milk, and cold unsalted butter cubes. Stir constantly for 4 to 6 minutes until all chocolate chips are completely melted and the mixture is smooth. Remove from heat.
- Color Red Mixture: Transfer one-third of the melted white chocolate mixture into a small bowl. Add ¼ teaspoon red gel food coloring, stirring completely until the color is uniform with no white streaks. Add more coloring if needed to reach desired shade.
- Color Green Mixture: Transfer another one-third of the melted white chocolate mixture into a different small bowl. Add ¼ teaspoon green gel food coloring and stir thoroughly until evenly colored without streaks. Add more if necessary.
- Assemble Swirls: Spoon dollops of the remaining uncolored white chocolate mixture, red mixture, and green mixture randomly into the prepared pan, alternating to create a multiswirled effect.
- Create Swirl Pattern: Using a wooden skewer or butter knife, gently swirl the three colors together to form a decorative festive pattern on the surface.
- Smooth Surface: Place a small piece of parchment paper on top of the soft fudge and gently press down to create a smooth finish, taking care not to disturb the swirl design.
- Chill Fudge: Refrigerate the fudge for 2 to 3 hours or until completely firm and set.
- Slice and Serve: Remove fudge from refrigerator, lift out using parchment paper overhang, and place on a cutting board. Slice into sixty-four 1-inch square pieces and serve.
Notes
- Ensure the butter is cold and cubed to help the fudge come together smoothly.
- Use gel food coloring for vibrant colors without affecting the fudge’s consistency.
- Be gentle when swirling to maintain distinct colors and avoid over-mixing.
- Allow fudge to chill fully in the refrigerator for clean, easy slicing.
- Store fudge in an airtight container refrigerated for up to two weeks.


