“`html
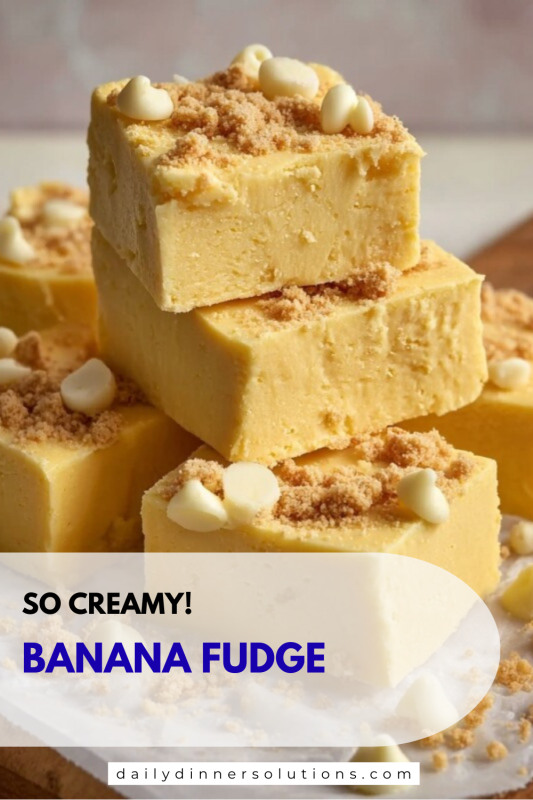
If you have a soft spot for nostalgic sweets that melt in your mouth, then you are absolutely going to adore this Creamy Banana Fudge Recipe. It’s a luscious, velvety treat bursting with the bright, comforting flavor of banana, intertwined with the perfect balance of sweetness and creaminess. This recipe is not just easy to make but truly captures that homemade charm in every bite, making it an absolute showstopper whether you’re bringing it to a potluck or indulging at home. Get ready to fall in love with fudge all over again, but with a deliciously fruity twist!
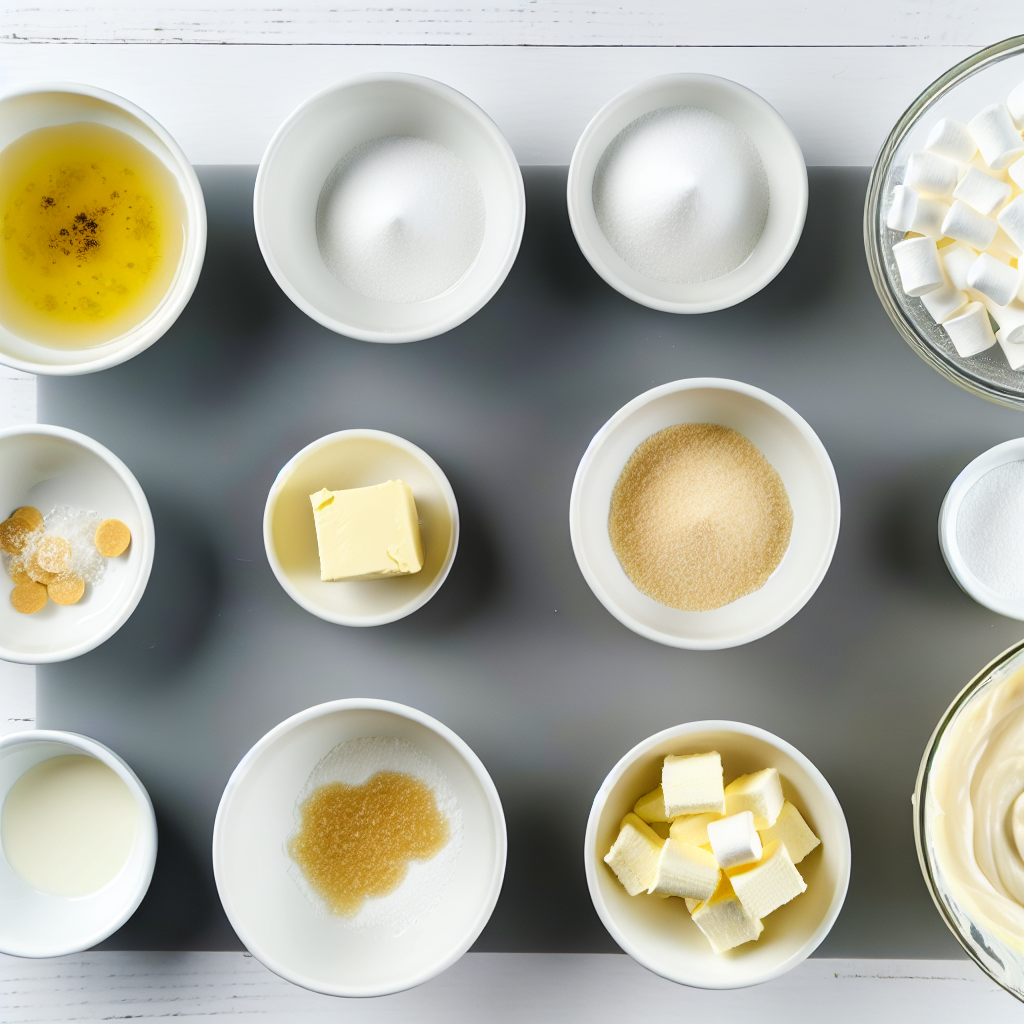
Ingredients You’ll Need
This Creamy Banana Fudge Recipe calls for simple ingredients that combine to create a rich taste and irresistibly smooth texture, with just the right hint of banana sweetness and a golden hue that’s just as delightful to see as it is to eat.
- Banana flavoring: This infuses the fudge with the unmistakable, sweet essence of banana that makes it unique and delightful.
- Yellow food color gel: Just a little gives the fudge that charming banana-yellow color, making it look as inviting as it tastes.
- Salted sweet cream butter: Provides a creamy base with a hint of saltiness that balances the fudge’s sweetness beautifully.
- Half and half: Adds a light creaminess that enhances smoothness without overpowering the flavor.
- Heavy cream: Brings a luscious richness that makes the fudge decadently soft and melts on your tongue.
- Clear vanilla flavoring: Elevates the overall flavor profile, giving subtle warmth and depth to every bite.
- Granulated sugar: The essential sweetener that transforms this fudge into the indulgent treat it is.
- White baking chips: Melted into the mix to create velvety sweetness and help with smooth texture.
- Marshmallow fluff: The secret to that gooey, dreamy consistency fudge lovers crave.
- Crushed Nilla wafers (optional): Adds a light crunch and nostalgic flavor garnish for extra fun.
How to Make Creamy Banana Fudge Recipe
Step 1: Prepare Your Baking Dish
Start off by lining a 9×9-inch baking dish with parchment paper, making sure it extends up all four sides to help you lift out the fudge easily later. Spray lightly with nonstick cooking spray to prevent sticking. This simple setup is key to getting perfectly cut fudge squares without messy edges or frustration.
Step 2: Blend Banana Flavor and Color
In a small bowl, stir together the banana flavoring and yellow food color gel until nicely combined. This mixture will infuse your fudge with both that unmistakable banana aroma and a gorgeous sunny shade, giving your fudge character and charm even before it hits the taste buds.
Step 3: Melt Butter and Mix Creams
In a heavy-bottomed saucepan over medium heat, melt the salted sweet cream butter with the half and half and heavy cream, stirring continuously. This ensures the fats and liquids emulsify into a creamy, luscious base, setting the stage for perfectly smooth fudge.
Step 4: Incorporate Sugar and Bring to Simmer
Add the granulated sugar and keep stirring as the mixture comes to a gentle simmer, about 6 to 7 minutes. Let it simmer for 3 more minutes so the sugar fully dissolves, creating a sweet, syrupy foundation crucial for that authentic fudge texture that melts perfectly in your mouth.
Step 5: Melt White Baking Chips
Remove from heat and add your white baking chips. Cover the pot and let it rest for 3-4 minutes to allow the chips to soften and melt without direct heat. Stir until you achieve a smooth, creamy blend. This step packs in a dreamy, sweet richness that makes the fudge so irresistible.
Step 6: Fold in Marshmallow Fluff
Now add the marshmallow fluff and gently stir until it’s fully incorporated. Marshmallow fluff is the magic ingredient that gives this fudge its signature creamy, gooey texture you’ll love. It also adds just the right hint of sweetness without overpowering the banana essence.
Step 7: Add Banana Flavor and Color Mixture
Pour in your banana flavor and yellow color mix. Stir well to create an even, vibrant color and ensure every bite is infused with that bright banana flavor. This step brings everything together, transforming the fudge into a mouthwatering, golden-hued delight that’s as pretty as it is delicious.
Step 8: Spread the Fudge and Chill
Spread the luscious banana fudge evenly into your prepared baking dish, smoothing the surface with a spatula. For added texture and nostalgia, sprinkle crushed Nilla wafers on top. Cover the dish with aluminum foil, let it rest at room temperature for 30 minutes, then refrigerate for at least 4 hours until fully set and firm.
Step 9: Cut and Enjoy
Once chilled and set, lift the fudge out of the pan using the parchment paper “handles” and slice into 25 generous squares. This fudge is ready to serve, share, and savor. Trust me, these creamy squares will disappear fast!
How to Serve Creamy Banana Fudge Recipe
Garnishes
Enhance your fudge presentation with a sprinkle of crushed Nilla wafers for crunch, or a few thin banana chips for an elegant touch. Fresh mint leaves also add a burst of color and a hint of freshness that pairs beautifully with the sweet fudge.
Side Dishes
This fudge pairs wonderfully with fresh fruit like sliced strawberries or even a scoop of banana or vanilla ice cream for an indulgent dessert platter. For a cozy pairing, a hot cup of coffee, chai tea, or even warm milk brings out the fudge’s creamy richness.
Creative Ways to Present
Arrange your fudge squares on a decorative plate lined with a banana leaf or parchment paper for a tropical touch. You can also stack pieces pyramid-style on a cake stand for an enticing centerpiece at parties or wrap individual pieces in colorful wax paper for a charming homemade gift.
Make Ahead and Storage
Storing Leftovers
Leftover Creamy Banana Fudge Recipe pieces store best in an airtight container in the refrigerator. This keeps them fresh and deliciously creamy for up to a week—perfect for satisfying those sweet cravings over several days.
Freezing
You can absolutely freeze this fudge to enjoy later. Cut into pieces, wrap them individually in plastic wrap, then place in a freezer-safe container or zip-top bag. Frozen fudge holds well for up to three months. Thaw overnight in the fridge before serving.
Reheating
If you’d like that fresh-from-the-kitchen softness, let the fudge come to room temperature before enjoying. You can also warm it gently in the microwave for just a few seconds to bring back its melt-in-your-mouth creaminess—just be careful not to overheat.
FAQs
Can I use fresh bananas instead of banana flavoring?
Fresh bananas won’t provide the same creamy texture or concentrated banana flavor that banana flavoring delivers. For this particular fudge, the flavoring and gel help achieve that perfect banana taste without affecting the consistency.
How long does the fudge need to chill?
It’s important to refrigerate the fudge for at least 4 hours to ensure it fully sets and cuts cleanly. Rushing this step can result in a softer consistency that’s harder to slice.
Is it possible to make this fudge vegan?
Yes, by substituting dairy ingredients with coconut milk and vegan butter, and ensuring marshmallow fluff is vegan, you can create a plant-based version of this creamy banana fudge.
What are the best tools for cutting fudge?
A sharp, sturdy knife warmed slightly with hot water works wonders for clean, smooth fudge cuts. Wiping the knife between slices prevents sticking and crumbling.
Can I add nuts or other mix-ins?
Absolutely! Chopped nuts like walnuts or pecans add a lovely crunch, and a swirl of peanut butter can give a fun twist. Just fold these in gently before chilling for extra texture and flavor.
Final Thoughts
Making this Creamy Banana Fudge Recipe has brightened my kitchen and brought sheer joy to my family with every bite. It’s a straightforward, foolproof way to bring a little sweetness and a lot of smiles to your day. Whether you’re a seasoned fudge lover or trying something new, this banana twist is sure to become a cherished favorite. So go ahead, treat yourself and those you love to a batch of this creamy, dreamy fudge—you won’t regret it!
“`
Print
Creamy Banana Fudge Recipe
- Prep Time: 20 minutes
- Cook Time: 15 minutes
- Total Time: 4 hours 35 minutes
- Yield: 25 pieces
- Category: Dessert
- Method: Stovetop
- Cuisine: American
- Diet: Vegetarian
Description
This Banana Fudge recipe is a deliciously sweet and creamy treat that perfectly combines the rich flavor of banana with smooth, luscious fudge texture. Made with simple ingredients like banana flavoring, butter, cream, white baking chips, and marshmallow fluff, it offers an easy yet impressive dessert that sets beautifully in the refrigerator. Ideal for satisfying sweet cravings or serving at gatherings, this fudge delivers a delightful banana flavor with a beautiful yellow hue and a subtle crunchy garnish of crushed Nilla wafers.
Ingredients
Flavor & Color
- 2 teaspoons banana flavoring
- ½ teaspoon yellow food color gel
Dairy & Fats
- ¾ cup salted sweet cream butter
- ½ cup half and half
- ⅓ cup heavy cream
- 1 teaspoon clear vanilla flavoring
Sweets & Mix-ins
- 3 cups granulated sugar, plus 2 tablespoons
- 1¾ cups white baking chips
- 7 ounces marshmallow fluff
- 2 tablespoons crushed Nilla wafers, optional garnish
Instructions
- Prepare the Baking Dish: Line a 9×9-inch baking dish with parchment paper extending up all four sides. Lightly spray the parchment with nonstick cooking spray to ensure easy removal of the fudge once set. Set aside.
- Mix Banana Flavoring and Color: In a small glass bowl, combine the banana flavoring and yellow food color gel. Stir well and set aside for later use to ensure even color distribution.
- Combine Butter and Creams: In a heavy-bottomed saucepan over medium heat, combine the salted sweet cream butter, half and half, heavy cream, and clear vanilla flavoring. Stir continuously until the butter completely melts and the mixture is smooth.
- Add Sugar and Simmer: Stir in the granulated sugar and continue stirring as the mixture comes to a gentle simmer in about 6-7 minutes. Let it simmer for an additional 3 minutes to dissolve the sugar fully.
- Melt the Baking Chips: Remove the saucepan from heat. Add the white baking chips, cover the saucepan, and let it rest for 3-4 minutes allowing the chips to melt. Stir until the mixture is smooth and creamy.
- Incorporate Marshmallow Fluff: Add the marshmallow fluff to the melted mixture and stir gently until fully combined, creating a luscious, gooey texture.
- Blend Color and Flavor: Pour in the banana flavoring and yellow food gel mixture. Stir until the fudge achieves a uniform banana color and flavor throughout.
- Spread and Garnish: Evenly spread the fudge mixture into the prepared baking dish using a spatula. Sprinkle the crushed Nilla wafers over the top if using. Cover the dish with aluminum foil.
- Set the Fudge: Let the fudge sit at room temperature for 30 minutes, then refrigerate for at least 4 hours until fully set.
- Cut and Serve: Once set, lift the fudge out of the dish using the parchment paper handles. Use a sharp knife to cut the fudge into 25 evenly sized pieces. Serve and enjoy!
Notes
- Ensure the butter is fully melted before adding other ingredients to maintain smooth texture.
- Use high-quality white baking chips for a richer and more flavorful fudge.
- Store leftover fudge in an airtight container in the refrigerator to keep it fresh.
- For cleaner cuts, warm the knife slightly before slicing the fudge.
- Let the fudge chill completely for best texture and flavor development.