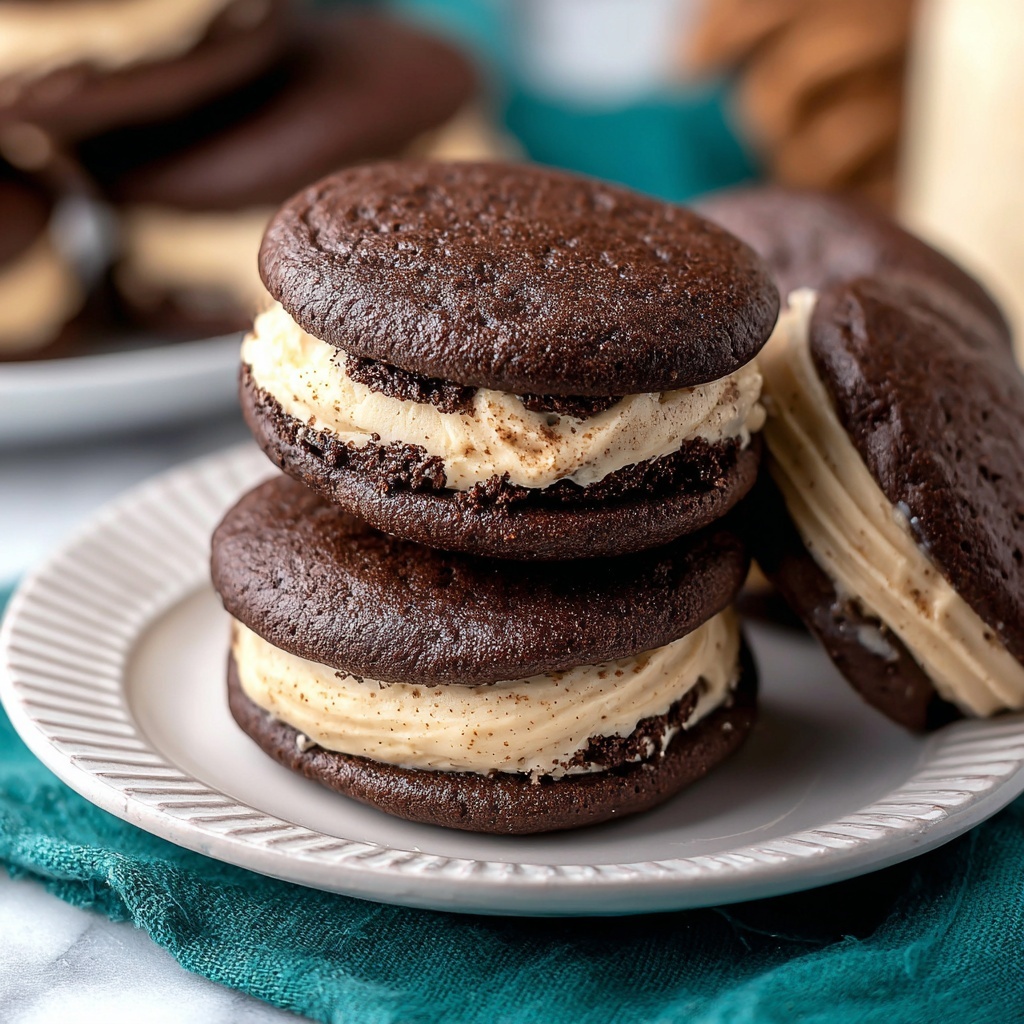
If you have a soft spot for nostalgic, chocolatey treats that bring a smile with every bite, then you are going to adore this recipe. The Best Whoopie Pies Ever Recipe combines pillowy chocolate cakes sandwiched with a luscious, fluffy marshmallow filling—creating a perfect balance of rich, sweet, and melt-in-your-mouth delight. Whether you’re making these for a special occasion or simply treating yourself, these classic American desserts will remind you how magical homemade whoopie pies can be. Get ready for a crowd-pleaser with every bite!
Ingredients You’ll Need
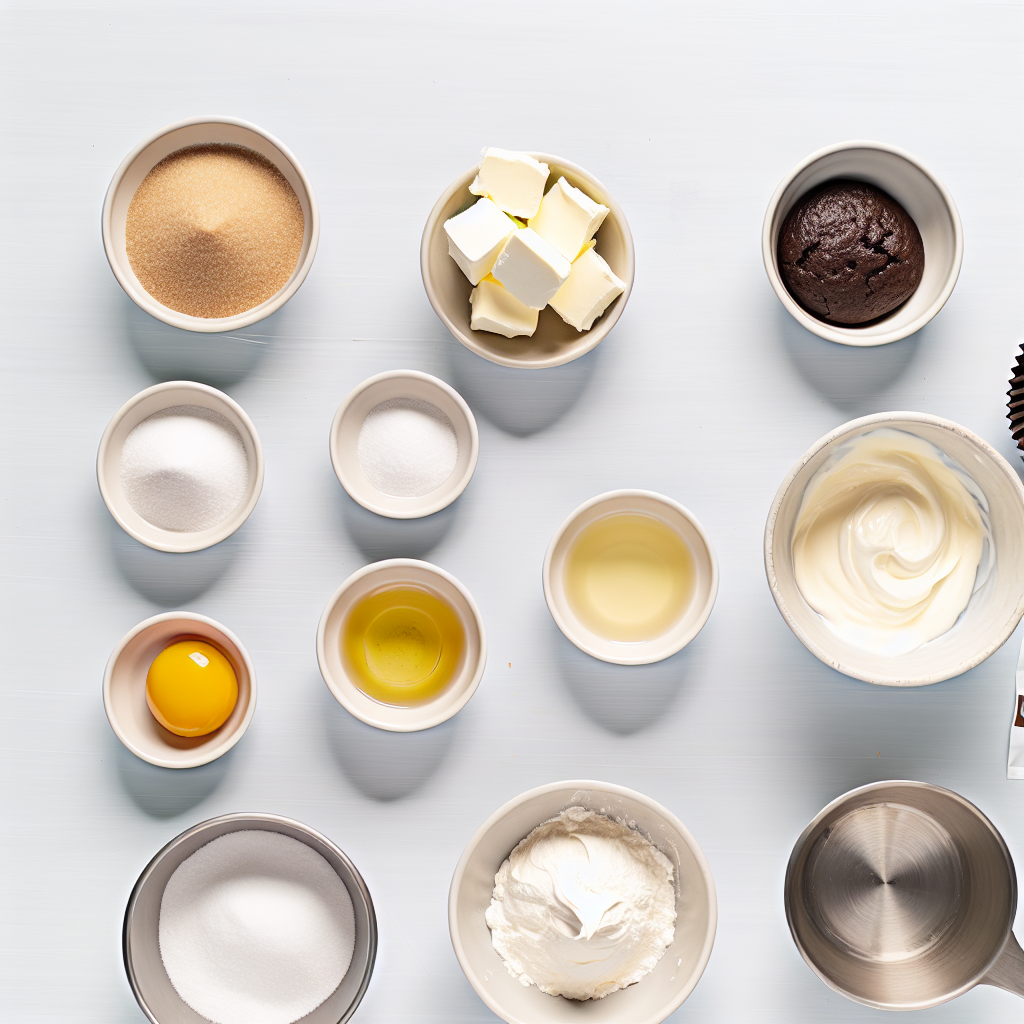
This recipe uses simple, everyday ingredients that come together beautifully to create a soft, moist cake with a creamy, dreamy filling. Each component plays a vital role—in giving your whoopie pies their texture, flavor, and that irresistible look, so don’t skip on quality!
- 1 cup granulated sugar: Sweetness that caramelizes slightly while baking, adding depth.
- 1/2 cup unsalted butter (softened): Provides richness and tenderness to the cake and filling.
- 1 large egg: Adds structure and helps bind the batter.
- 1 teaspoon vanilla extract: Infuses warmth and rounds out the chocolate flavor perfectly.
- 1 cup buttermilk: Contributes to the moistness and slight tang, balancing sweetness.
- 2 cups all-purpose flour: The sturdy base that supports the fluffy cake texture.
- 1/2 cup unsweetened cocoa powder: Delivers rich, deep chocolate flavor without extra sweetness.
- 1 1/2 teaspoons baking soda: Leavens the batter for that light, airy crumb.
- 1/2 teaspoon salt: Enhances all the flavors and balances sweetness.
- For the filling: 1/2 cup unsalted butter (softened), 1 1/2 cups powdered sugar, 1 cup marshmallow creme, 1 teaspoon vanilla extract—this combo creates the silky, fluffy marshmallow center you will love.
How to Make The Best Whoopie Pies Ever Recipe
Step 1: Prepare Your Workspace and Batter
Start by preheating your oven to 350°F and lining two baking sheets with parchment paper—this will keep the cakes from sticking and make cleanup a breeze. In a large bowl, cream together the sugar and softened butter until the mixture turns light and fluffy, which usually takes about 3 to 5 minutes with an electric mixer. Then, beat in the egg and vanilla extract until fully incorporated, ensuring your batter will be perfectly smooth.
Step 2: Combine Your Dry Ingredients
In a separate bowl, whisk together the all-purpose flour, cocoa powder, baking soda, and salt. This step guarantees that your cocoa and leavening agents are evenly distributed, so every bite has consistent flavor and texture. A well-mixed dry blend is crucial for these to come out just right.
Step 3: Mix the Batter
Add the dry ingredients into the creamed mixture alternately with the buttermilk—beginning and ending with the dry ingredients. This alternating method keeps your batter light and prevents overmixing, which can make the cakes tough. Stir gently just until combined; seeing a few streaks of flour is okay here because you don’t want to lose that lovely tender crumb.
Step 4: Bake the Cakes
Drop the batter by heaping tablespoons onto the lined baking sheets, spacing them about 2 inches apart to allow room for spreading. Bake for 10 to 12 minutes until the cakes puff up and spring back when you lightly touch them. This is your sign that they are perfectly baked, soft yet structured enough to hold the filling. Let them cool completely on a wire rack; cooling is key for the filling to stick and the flavors to settle.
Step 5: Make the Marshmallow Filling
Beat the softened butter until smooth, then gradually add the powdered sugar, beating until the mixture is fluffy and light. Incorporate the marshmallow creme and vanilla extract, mixing until you have a creamy, silky filling that’s light yet sturdy enough to hold these delightful sandwich cookies together.
Step 6: Assemble Your Whoopie Pies
Once your cakes are completely cooled, spread or pipe the marshmallow filling generously onto the flat side of half the cakes. Sandwich with the remaining cakes, pressing gently so the filling reaches the edges but doesn’t ooze out too much. For an extra fun and festive touch, consider rolling the edges in mini chocolate chips or sprinkles before chilling slightly—this step elevates The Best Whoopie Pies Ever Recipe to a whole new level.
How to Serve The Best Whoopie Pies Ever Recipe
Garnishes
While these whoopie pies are delicious on their own, you can add a visual and textural boost by rolling the edges in mini chocolate chips, crushed nuts, or colorful sprinkles. These simple garnishes add crunch and a pop of fun, perfect for parties or gifting.
Side Dishes
Pair these treats with a cold glass of milk, creamy hot cocoa, or a smooth cup of coffee to complement their rich chocolate and sweet filling. Fresh berries or a lightly sweetened fruit salad can be a refreshing contrast to these indulgent desserts.
Creative Ways to Present
For a festive touch, stack The Best Whoopie Pies Ever Recipe on a dessert tower or serve individually wrapped in decorative parchment or cellophane tied with ribbon. These charming presentations make them perfect for bake sales, gift-giving, or elegant dessert tables at celebrations.
Make Ahead and Storage
Storing Leftovers
Keep your whoopie pies fresh by storing them in an airtight container at room temperature for up to three days. This method preserves their softness and keeps the filling creamy but stable.
Freezing
If you want to prepare ahead or save extras, wrap each whoopie pie individually in plastic wrap, then place them in a freezer-safe bag or container. They freeze beautifully for up to two months without losing flavor or texture.
Reheating
To enjoy thawed whoopie pies as if freshly made, allow them to come to room temperature naturally. Avoid microwaving, which can make the filling melt too much. If desired, a short 5-minute warm-up in a low oven (around 300°F) wrapped loosely in foil can refresh their soft texture without drying.
FAQs
Can I make The Best Whoopie Pies Ever Recipe gluten-free?
Absolutely! Swap the all-purpose flour for a gluten-free flour blend designed for baking. Just make sure it contains xanthan gum or another binder to keep the cakes tender and together.
Is it essential to use buttermilk?
Buttermilk adds moisture and a slight tang that balances the sweet and chocolatey flavors beautifully. If you don’t have buttermilk, you can make a substitute by combining 1 cup milk with 1 tablespoon lemon juice or vinegar—let it sit for 5 minutes before use.
Can I use a different filling besides marshmallow creme?
While marshmallow creme makes the classic filling, you can experiment with cream cheese frosting or flavored buttercreams for a fun twist. Keep in mind the filling consistency should remain fluffy but firm enough to hold the sandwich together.
How do I prevent my whoopie pies from drying out?
Store them in an airtight container at room temperature or refrigerated. Avoid leaving them exposed to air for long periods, and adding a slice of bread inside the container can help keep moisture in.
Can I make the batter or filling ahead of time?
Yes! The batter can be prepared a few hours in advance and stored in the fridge. The filling is best made fresh or the day before and kept covered in the refrigerator. Just bring fillings to room temperature before assembling.
Final Thoughts
Now that you have everything you need to create The Best Whoopie Pies Ever Recipe, I hope you’re as excited as I am to get baking! These delightful little sandwiches are a perfect treat that never fails to bring joy, whether for family gatherings, picnics, or just a special treat at home. Once you try them, you’ll understand why they’re a beloved classic and will keep coming back to make them again and again.
Print
The Best Whoopie Pies Ever Recipe
- Prep Time: 20 minutes
- Cook Time: 12 minutes
- Total Time: 32 minutes
- Yield: 10 whoopie pies
- Category: Dessert
- Method: Baking
- Cuisine: American
- Diet: Vegetarian
Description
These classic American whoopie pies feature rich, soft chocolate cake sandwiches filled with a fluffy marshmallow creme filling. Perfectly tender and sweet, they offer a nostalgic treat that’s easy to make and irresistible to eat.
Ingredients
Cake:
- 1 cup granulated sugar
- 1/2 cup unsalted butter, softened
- 1 large egg
- 1 teaspoon vanilla extract
- 1 cup buttermilk
- 2 cups all-purpose flour
- 1/2 cup unsweetened cocoa powder
- 1 1/2 teaspoons baking soda
- 1/2 teaspoon salt
Filling:
- 1/2 cup unsalted butter, softened
- 1 1/2 cups powdered sugar
- 1 cup marshmallow creme
- 1 teaspoon vanilla extract
Instructions
- Prepare the Oven and Baking Sheets: Preheat the oven to 350°F (175°C) and line two baking sheets with parchment paper to prevent sticking.
- Cream Butter and Sugar: In a large bowl, beat together the granulated sugar and softened butter until the mixture is light and fluffy, which creates a tender texture for the cakes.
- Add Egg and Vanilla: Beat in the egg and vanilla extract until fully incorporated and smooth.
- Mix Dry Ingredients: In a separate bowl, whisk together the all-purpose flour, unsweetened cocoa powder, baking soda, and salt to evenly distribute the leavening and cocoa.
- Combine Ingredients Alternately: Add the dry ingredients to the wet mixture alternately with the buttermilk, starting and ending with the dry ingredients, mixing just until combined to avoid overworking the batter.
- Scoop Batter onto Sheets: Drop the batter by heaping tablespoons onto the prepared baking sheets, spacing each about 2 inches apart to allow spreading.
- Bake the Cakes: Bake for 10 to 12 minutes, or until the cakes are puffed and spring back when lightly touched, indicating they are done.
- Cool Completely: Remove from oven and transfer the cakes to a wire rack to cool completely before filling, ensuring the filling doesn’t melt.
- Prepare the Filling: Beat the softened butter until smooth, then gradually add powdered sugar and beat until fluffy. Fold in the marshmallow creme and vanilla extract until well combined.
- Assemble the Whoopie Pies: Spread or pipe the marshmallow filling onto the flat side of half the cooled cakes, then sandwich with the remaining cakes by gently pressing them together.
Notes
- For an extra special touch, roll the edges of the filled whoopie pies in mini chocolate chips or colorful sprinkles.
- Chilling the whoopie pies slightly before serving will make the filling firmer and easier to handle.
- Store the whoopie pies in an airtight container at room temperature for up to 3 days, or refrigerate to extend freshness.


